FALL ANTIQUE SALE!
Posted By Ruth Guerri On In Antiques | No Comments IT’S SCHEDULED! Our annual fall antique sale will be on Saturday, October 21, from 10:00 until 5:00. I’ve been hunting and digging for months, so it’s a BIG sale! It’s at the cabin in the shop/barn at #30 Log Cabin Lane, Labadie, MO! Lots to do in Labadie, food, shopping and sipping beer or whiskey, lol. Hope to see you all there, email or text with any questions.
Antiques
Posted By Ruth Guerri On In Antiques,Featured Posts | No Comments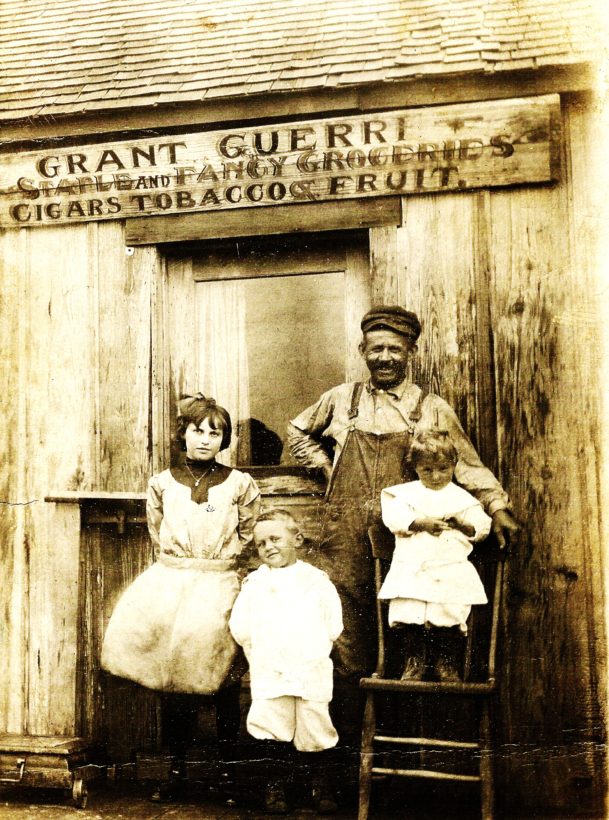 My Grandparents, Gaetano and Palmina Guerri ran a general store in a coal mining camp where they lived and worked with a group of Italian immigrants and my mother, Elsie was an antique dealer, shop owner and treasure hunter extraordinaire! Antiquing and shopkeeping are in my DNA!
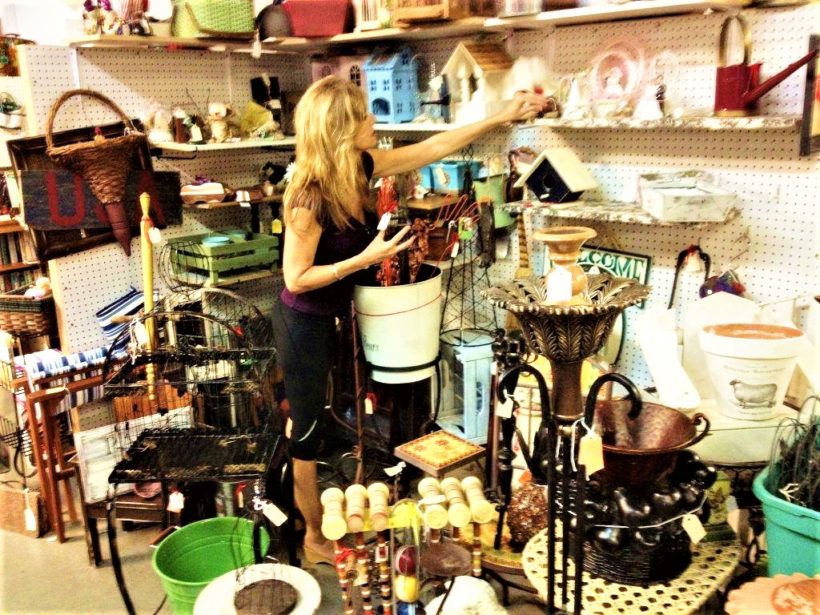 I love hunting for antiques just as much or more than selling them, it becomes an addiction. It’s so rewarding to find an antique, a piece of history that’s been neglected and turn it into something beautiful or useful. William Morris said: “Have nothing in your house that you do not know to be useful or believe to be beautiful.” These are words that I live by! It also appeals to my frugal nature. I work like a bloodhound to track down a deal. There’s an art to the hunt, it’s helpful to have a plan when searching or it can be overwhelming! Antique malls can be a good source but you must be focused when shopping, look for one or two, maybe 3 items per trip, if you’re like me, you just can’t focus on any more than that. If you find something, always negotiate, I find that they will usually lower the price. My favorite hunting ground is at Auctions, especially country auctions, they can be a treasure hunt! Always set a limit on the item you’re bidding on and know what you’ll do with that item, are you keeping it or selling it for profit, that will dictate your buying price and stick to it, it’s so easy to get carried away at an auction! Scroll down to see pics of my auction bargains.
 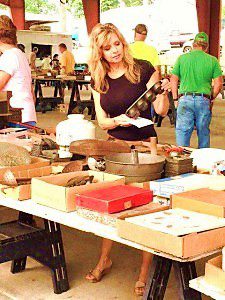 I also have success at Goodwill stores and resale/consignment shops, again, zero in on a few items. I look for lamps, picture frames, glassware, furniture, iron items, fabrics, and mirrors. But my favorite is digging through barns, basements, and attics, I’ve gotten some of my most prized possessions that way. We live in the country, so if I drive by an old house with a barn, I will stop in and ask if they have any antiques for sale. (I learned this from my mother who never knew a stranger!) I’m often invited in and allowed to rummage through their barn or attic! My husband found one of our cabins while helping an old farmer round up his runaway cattle!
I have refinished tons of furniture in my time, sometimes it’s just a new paint job or a minor repair, but sometimes stripping is in order, not one of my favorite tasks! But, the best way to get an antique at a bargain price is to be prepared to do a little work. You’ll find it to be very gratifying! But if you’re just not that into it, you can always buy antiques from me! 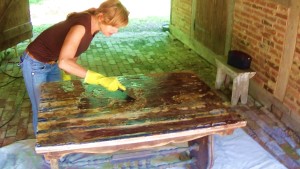 [1]I had an antique shop years ago, and I’m sure I will again, my handpainted furniture was always a quick seller in and a pleasure for me to create. I love to do faux finishes and handpainted flowers and designs, time-consuming but fun!
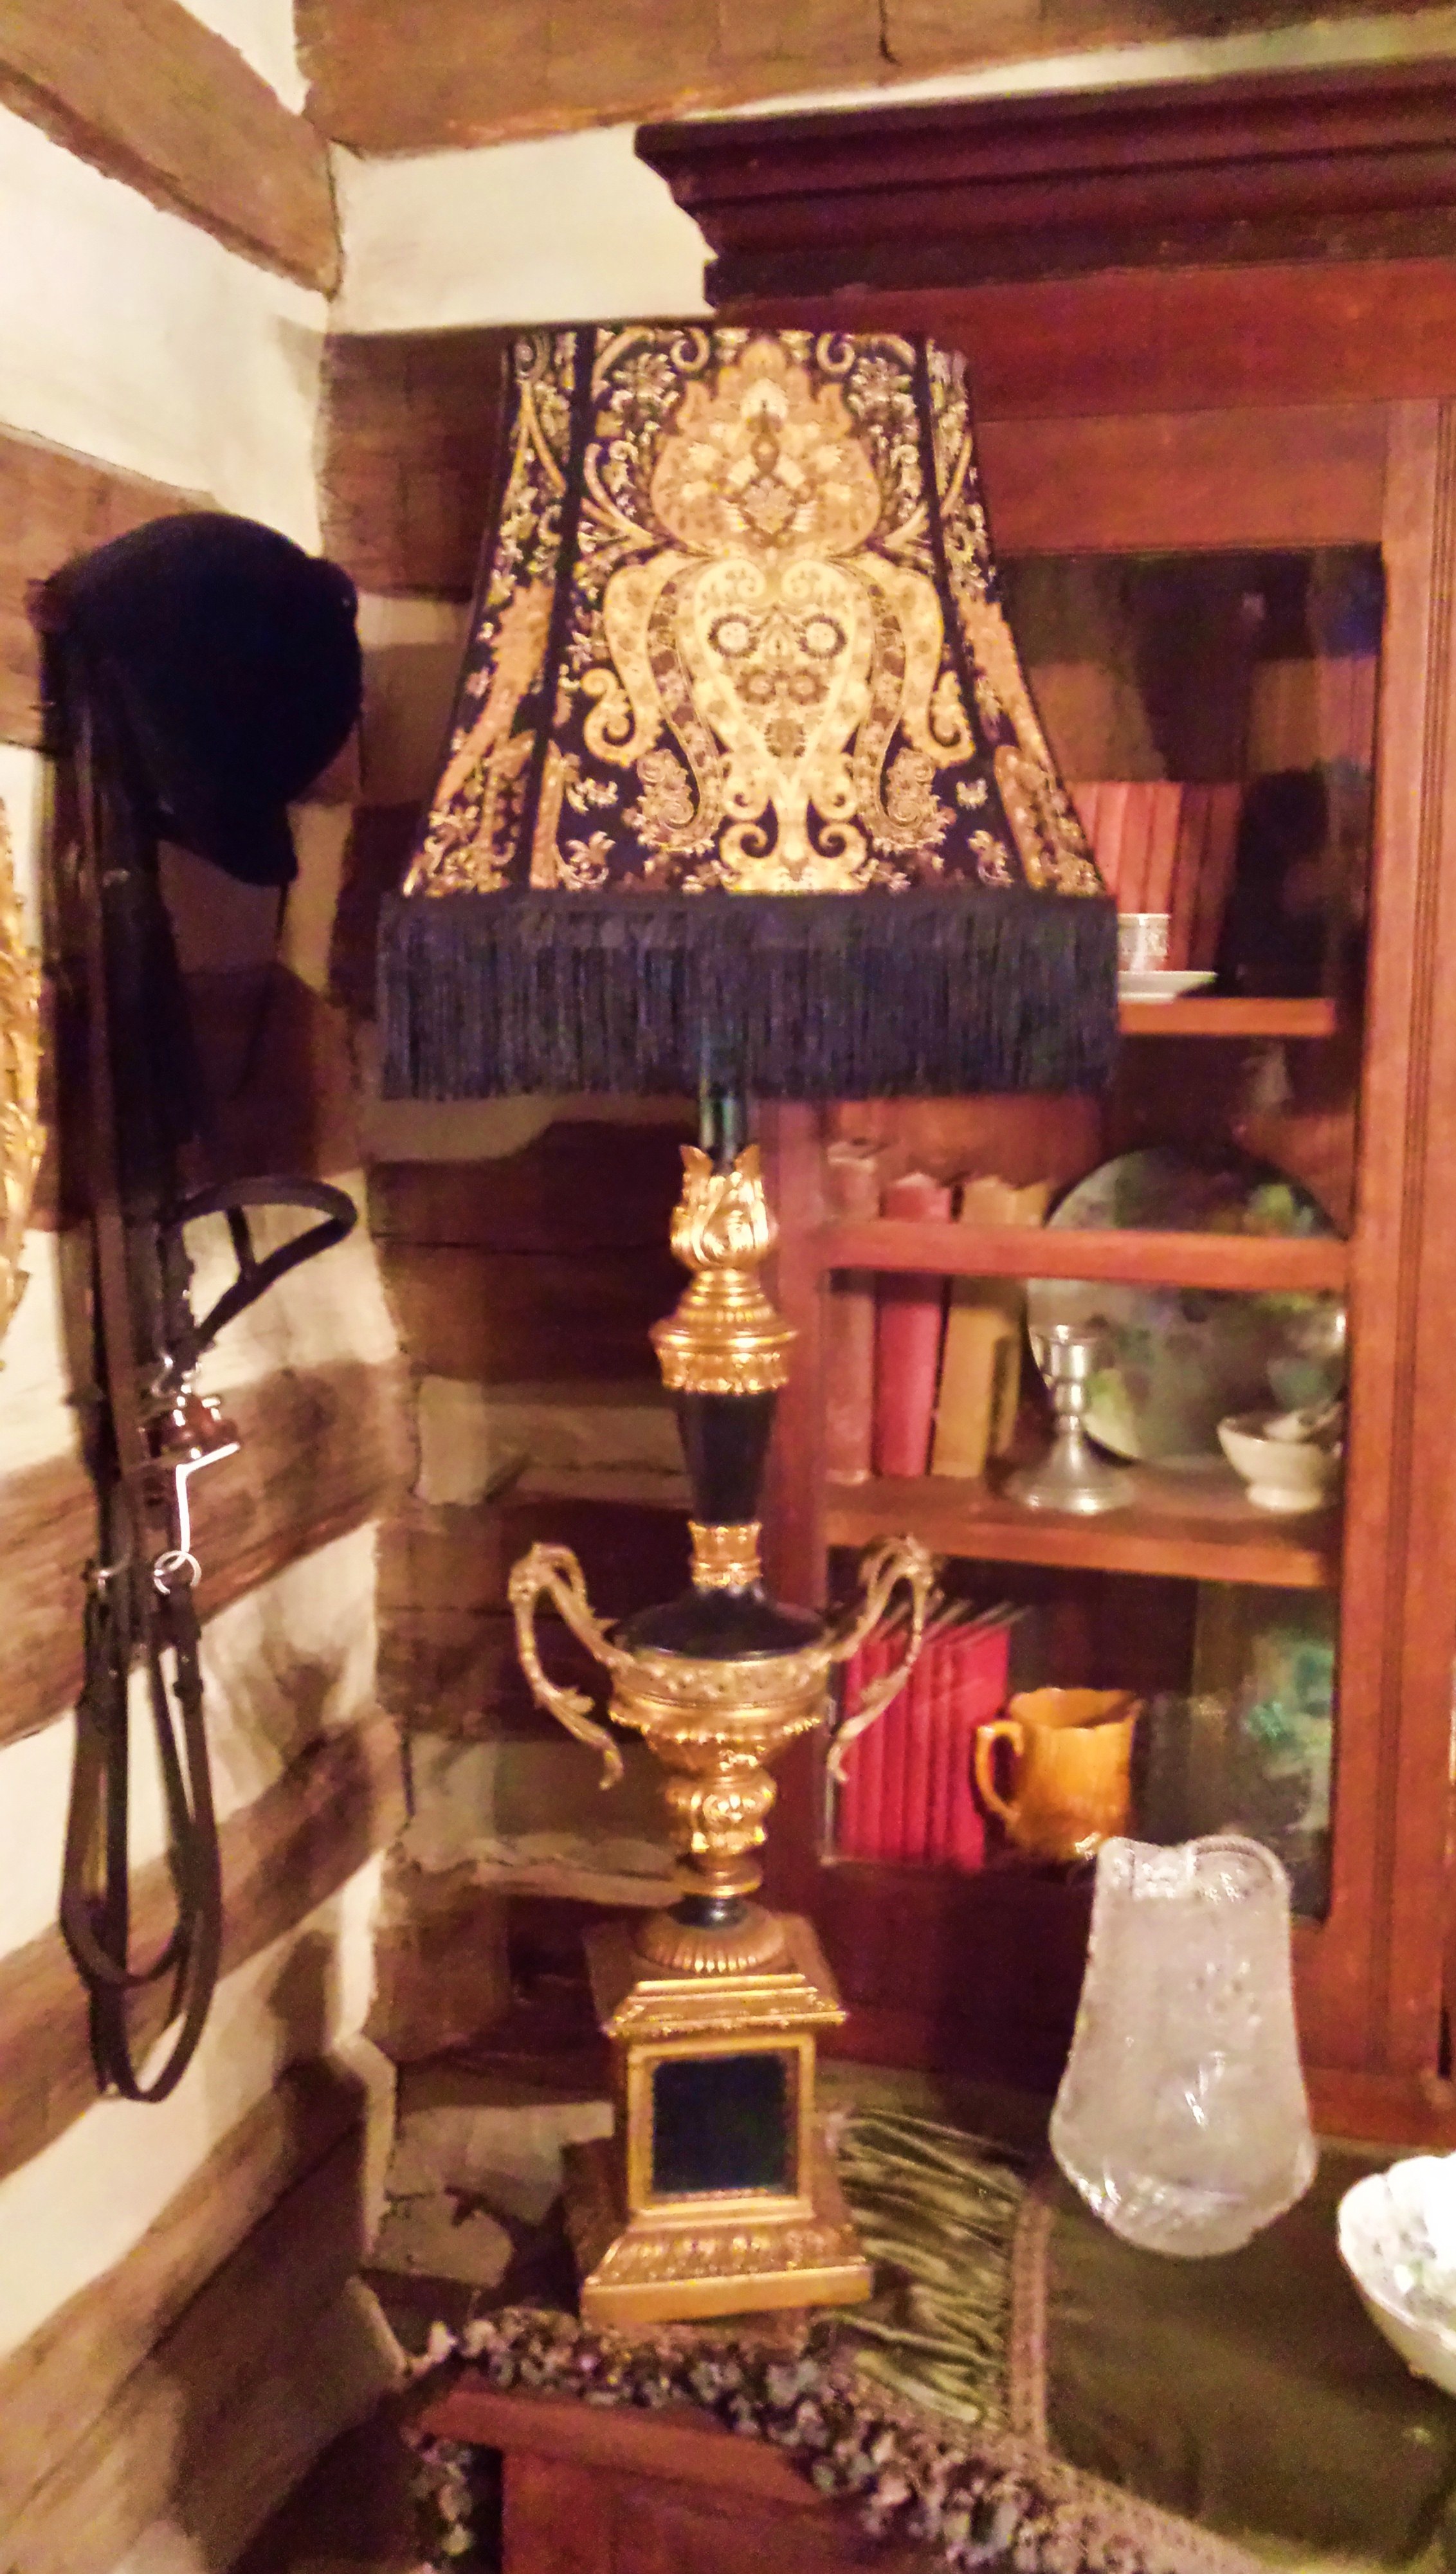
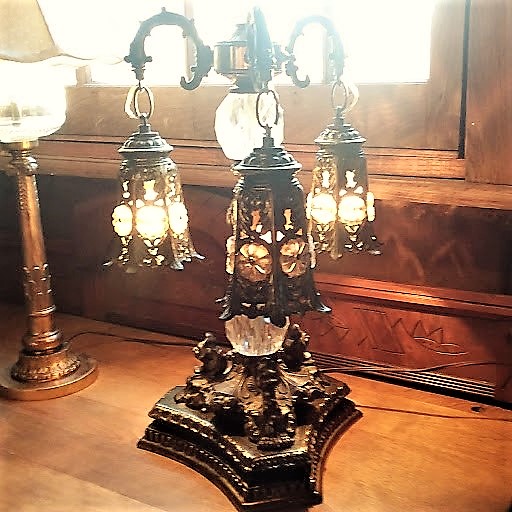
I also love to find interesting, appealing lamp bases and make shades for them, another quick seller. This beautiful lamp cost $26 to put together, $20 for the base, free shade from a junk store and $5 worth of fabric from a bargain bin at the fabric store. The fringe was in a $1 box at an auction. This is typical of how I shop and recreate.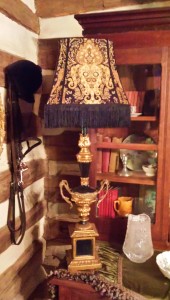 [2]Something else I always look for is antique picture frames that need some attention, I refinish them and buy prints for re-framing. They are also perfect for chalkboards and mirrors.
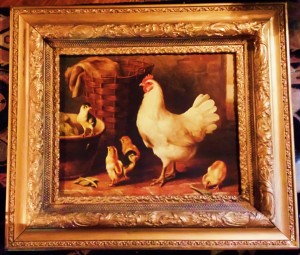 [3]
[3]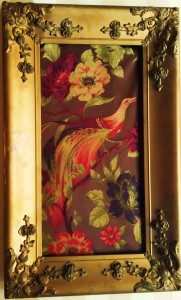 [4]Look how beautifully these turned out, the peacock was $15 to make and the chicken print was $25! I can’t part with these but just think what they could be sold for!
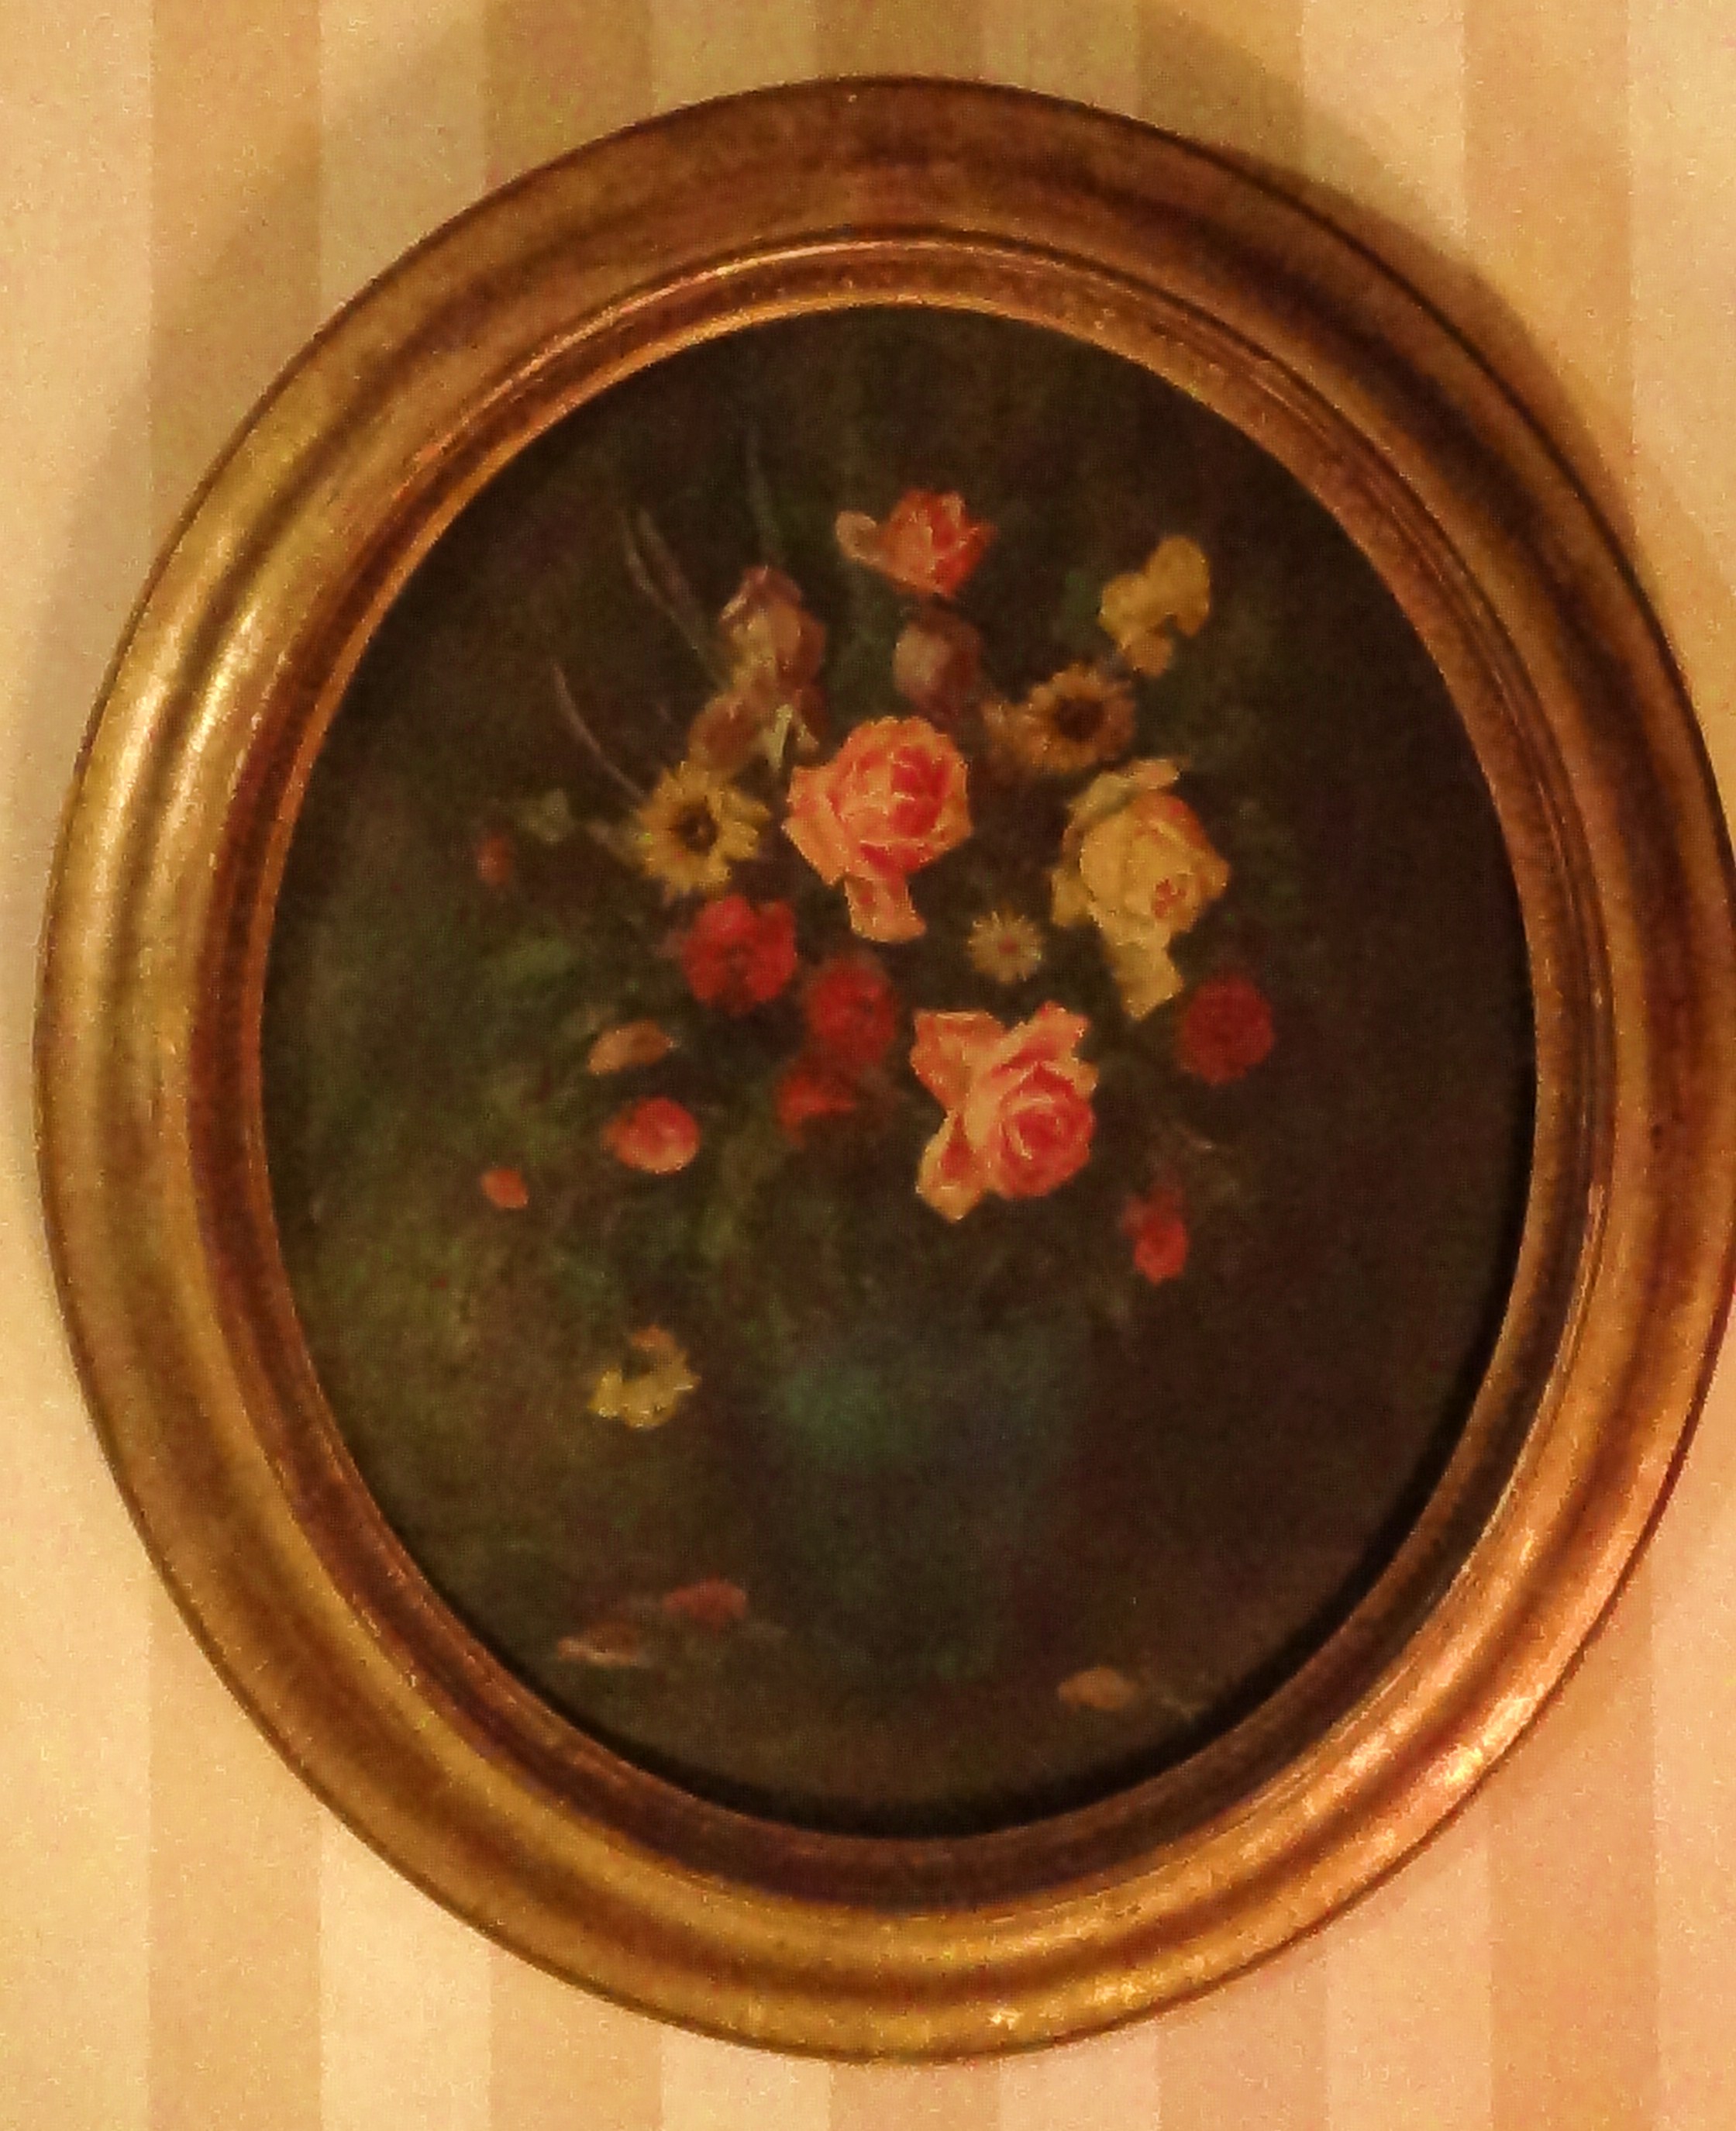
This beauty was a bargain in an antique shop because the oil painting was chipped and scratched and the frame needed work.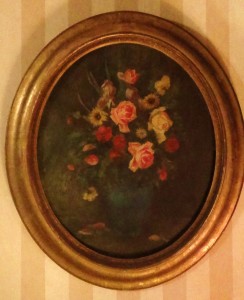 [5] I mixed up oil paints to match the colors and touched up the rough spots and used metallic gold and bronze paint for the frame. There is absolutely no way to tell it’s been repaired! It’s very easy to do, so don’t walk away from a bargain oil painting in need of repair! Grand total – $45!
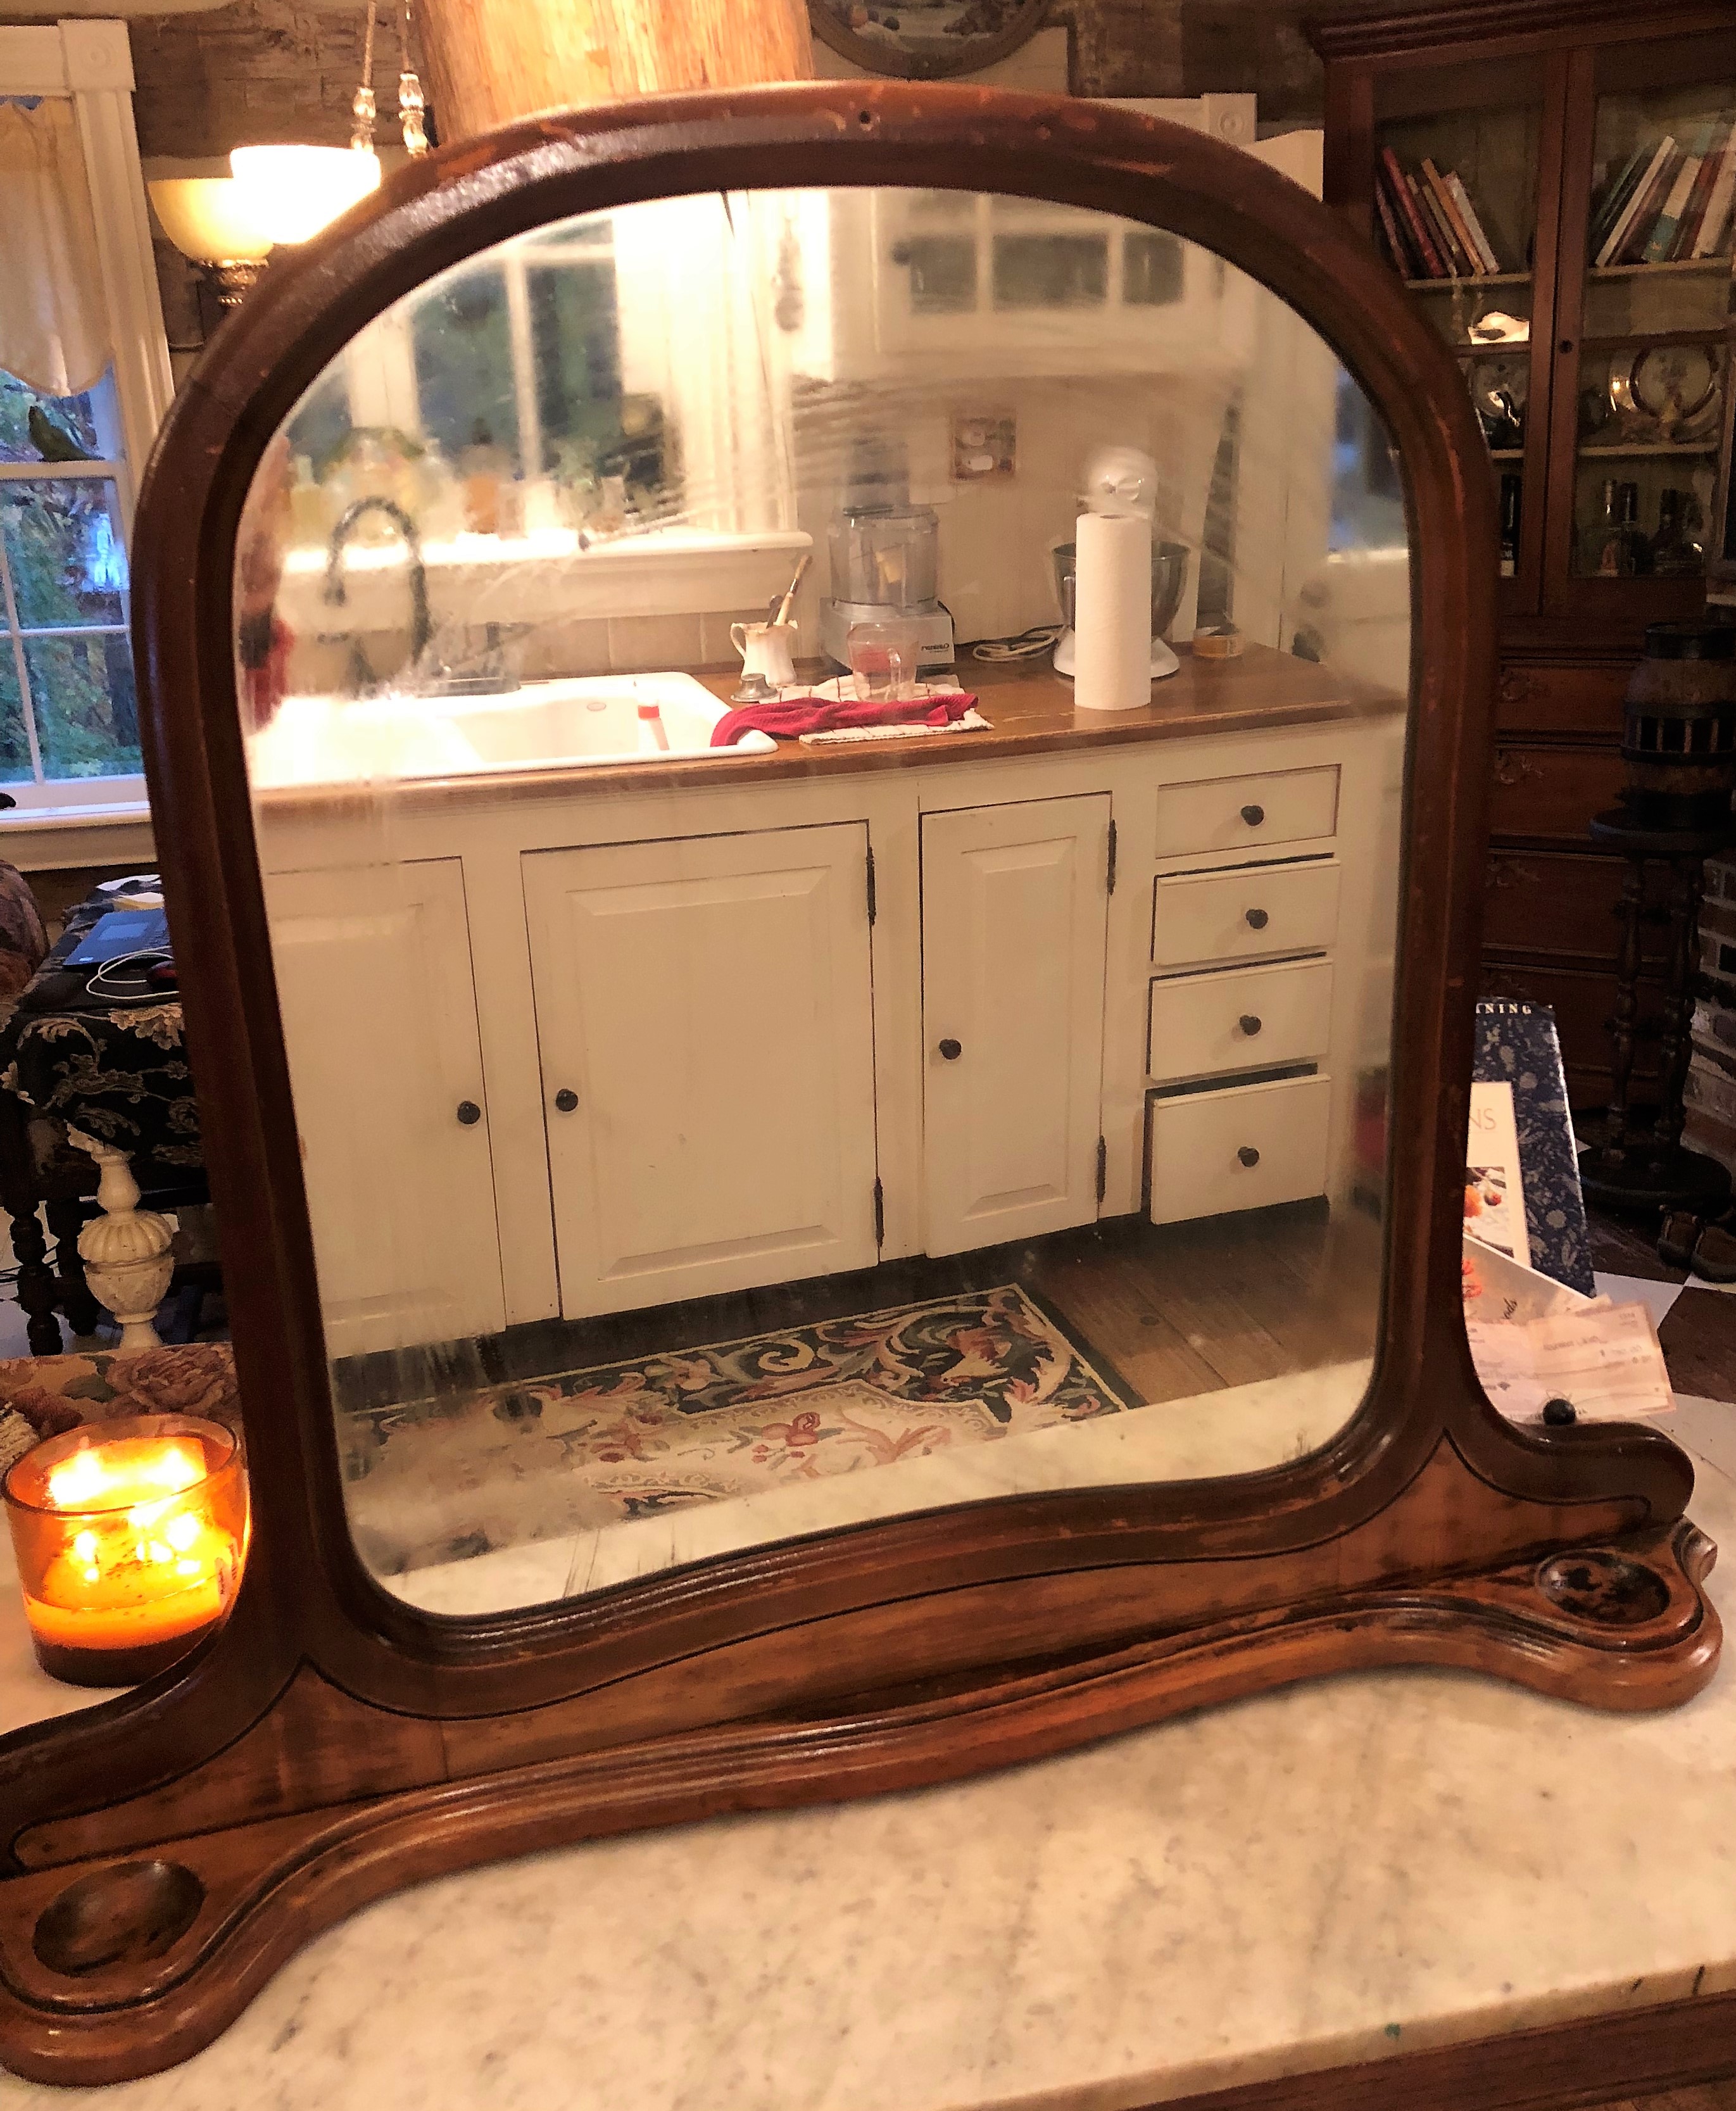
I love this one, the frame was free from a friend, I refinished it, re-glued it and bought the chicken print for $17!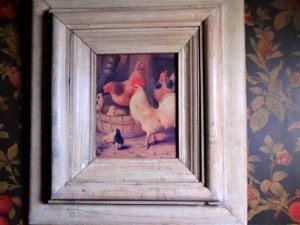 I found this gem in an old goat barn! It looked like it was ready for the trash heap! But it jumped out at me and I saw the potential. It was difficult to strip and refinish because of the turns and grooves, but it was so worth the work. The crackled mirror just adds charm, like something from Harry Potter, I wouldn’t think of replacing it with a new one. The grand total, $15!
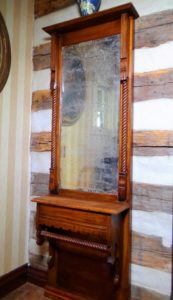


Auction Bargains
Summer Auction – July 16, 2016. We attended an auction very close to our cabin in the little river town of Pacific. A two-story Victorian packed with antiques! Twin sisters were born in the house and are 97 yrs old today! I found several items that I was delighted to buy, I had my eye on a dresser that was spectacular, but it went too high for my frugal nature, but this is what I did buy!
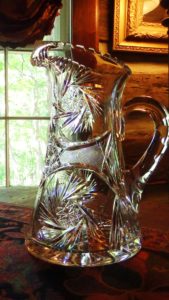
Ruby glass candy dish with silver jacket – $5.00!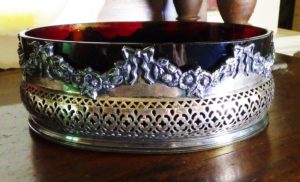 Leaded Crystal Pitcher, a steal at $17.00!
 Nippon jelly dish, fine and delicate $5.00
 Another leaded crystal piece, candle holder, beautiful! Also $17.00
 Nippon bowl, amazing color! $6.00!
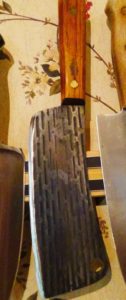
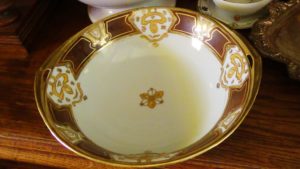 And last, but certainly not least, because I love this old meat cleaver, a real bargain at $11.00!
These treasures are from a beautiful fall auction at an old house in the country. The wardrobe was $25 because it was in a pile in pieces! And I love the graniteware, I use it in my blog, the whole lot was $15! That huge, beautiful picture frame was $10! The chairs were $2 a piece and the library table was $25! A good day!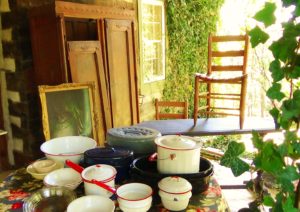 These items are from an estate auction, I love old earthenware, it was super cheap and the old copper water vessel was really a steal at $20! The amber glass pitcher has a hairline crack and no one wanted it! Sometimes I’m amazed at the things that other people buy and what they pass up! But that’s what makes it all so fun and interesting!
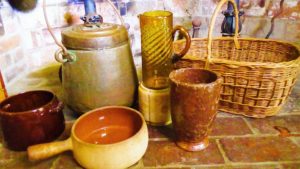 Stay tuned for more bargains, it never stops!
Shopping!
Posted By Ruth Guerri On In Antiques | No Comments It’s been A long cold winter! I’ve scoured the auctions and estate sales and packed the shop full of treasures for you. My next big sale will be the end of April, I’ll keep you posted, I haven’t set a date because I want it to be nice and warm. If you’d like to come out shopping before the sale, I’m always open by appointment just give me a call or text and we’ll set something up.
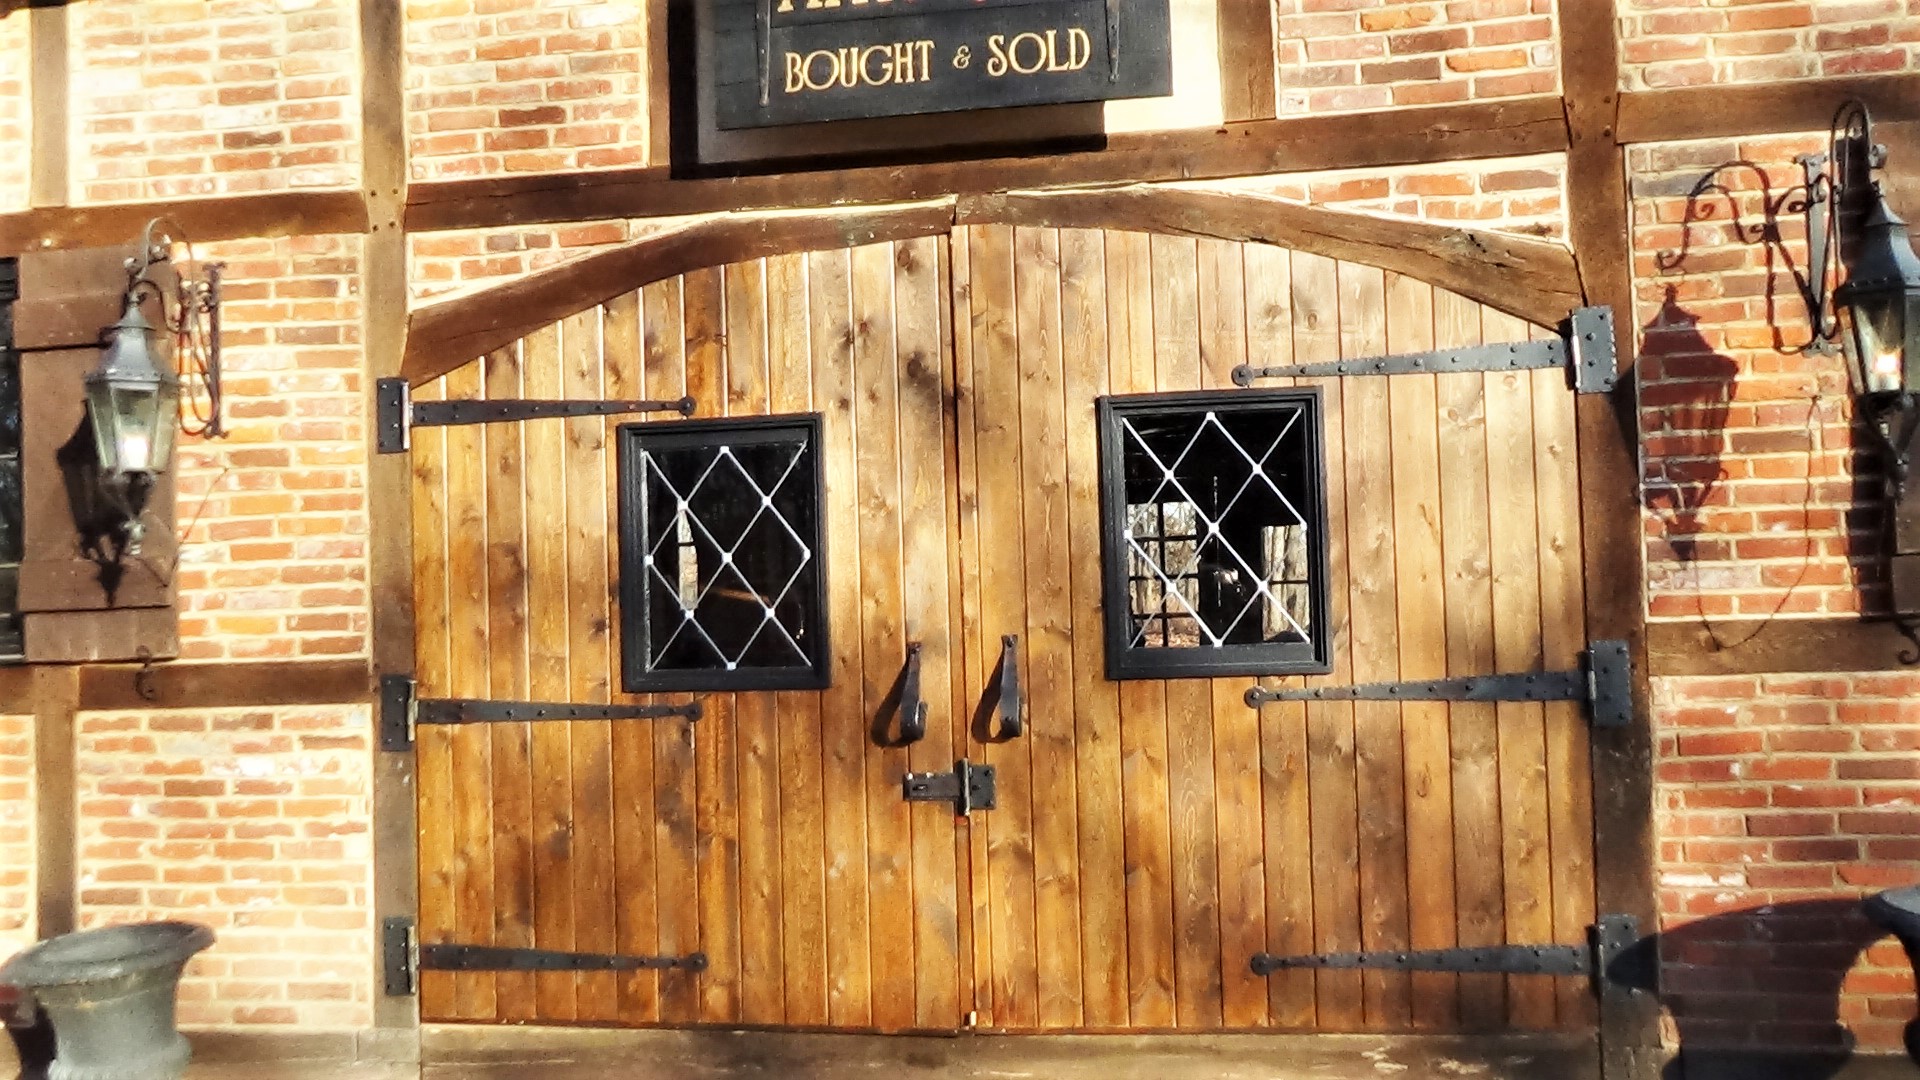
Barn Doors
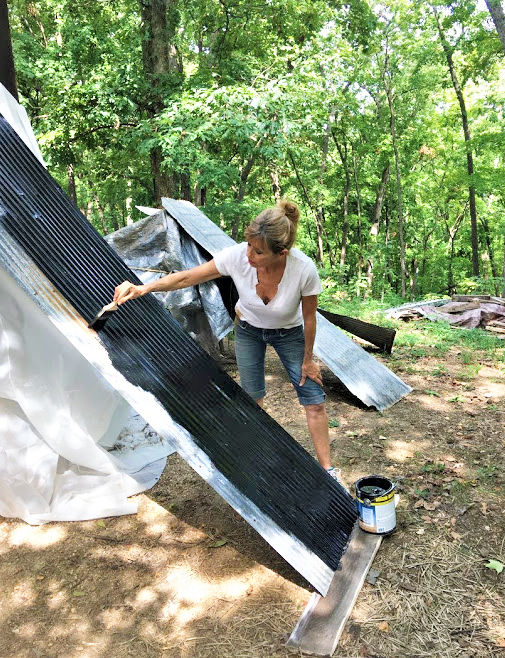
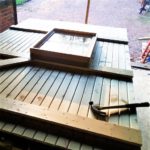
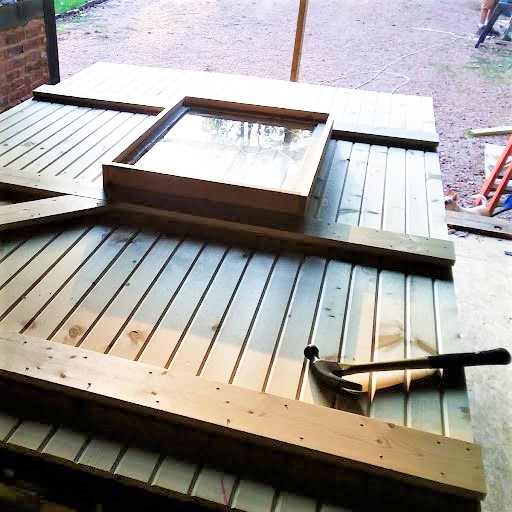
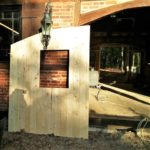
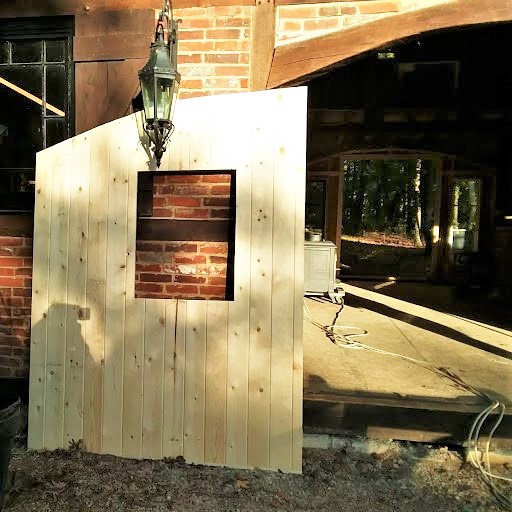
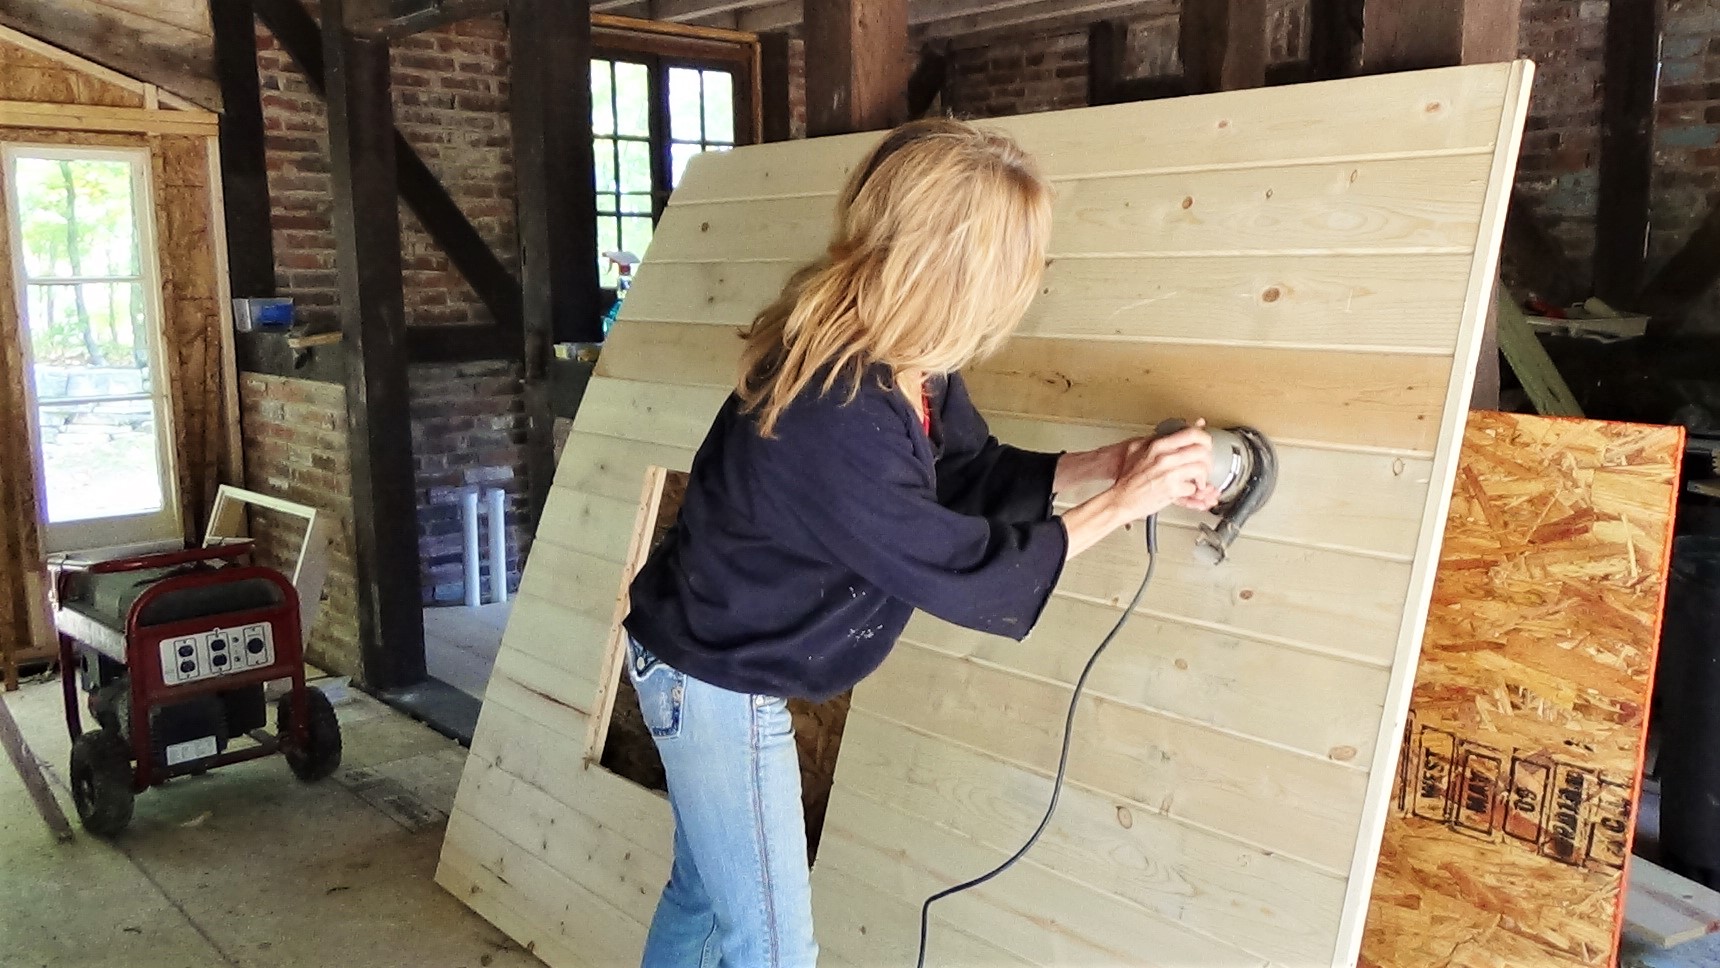
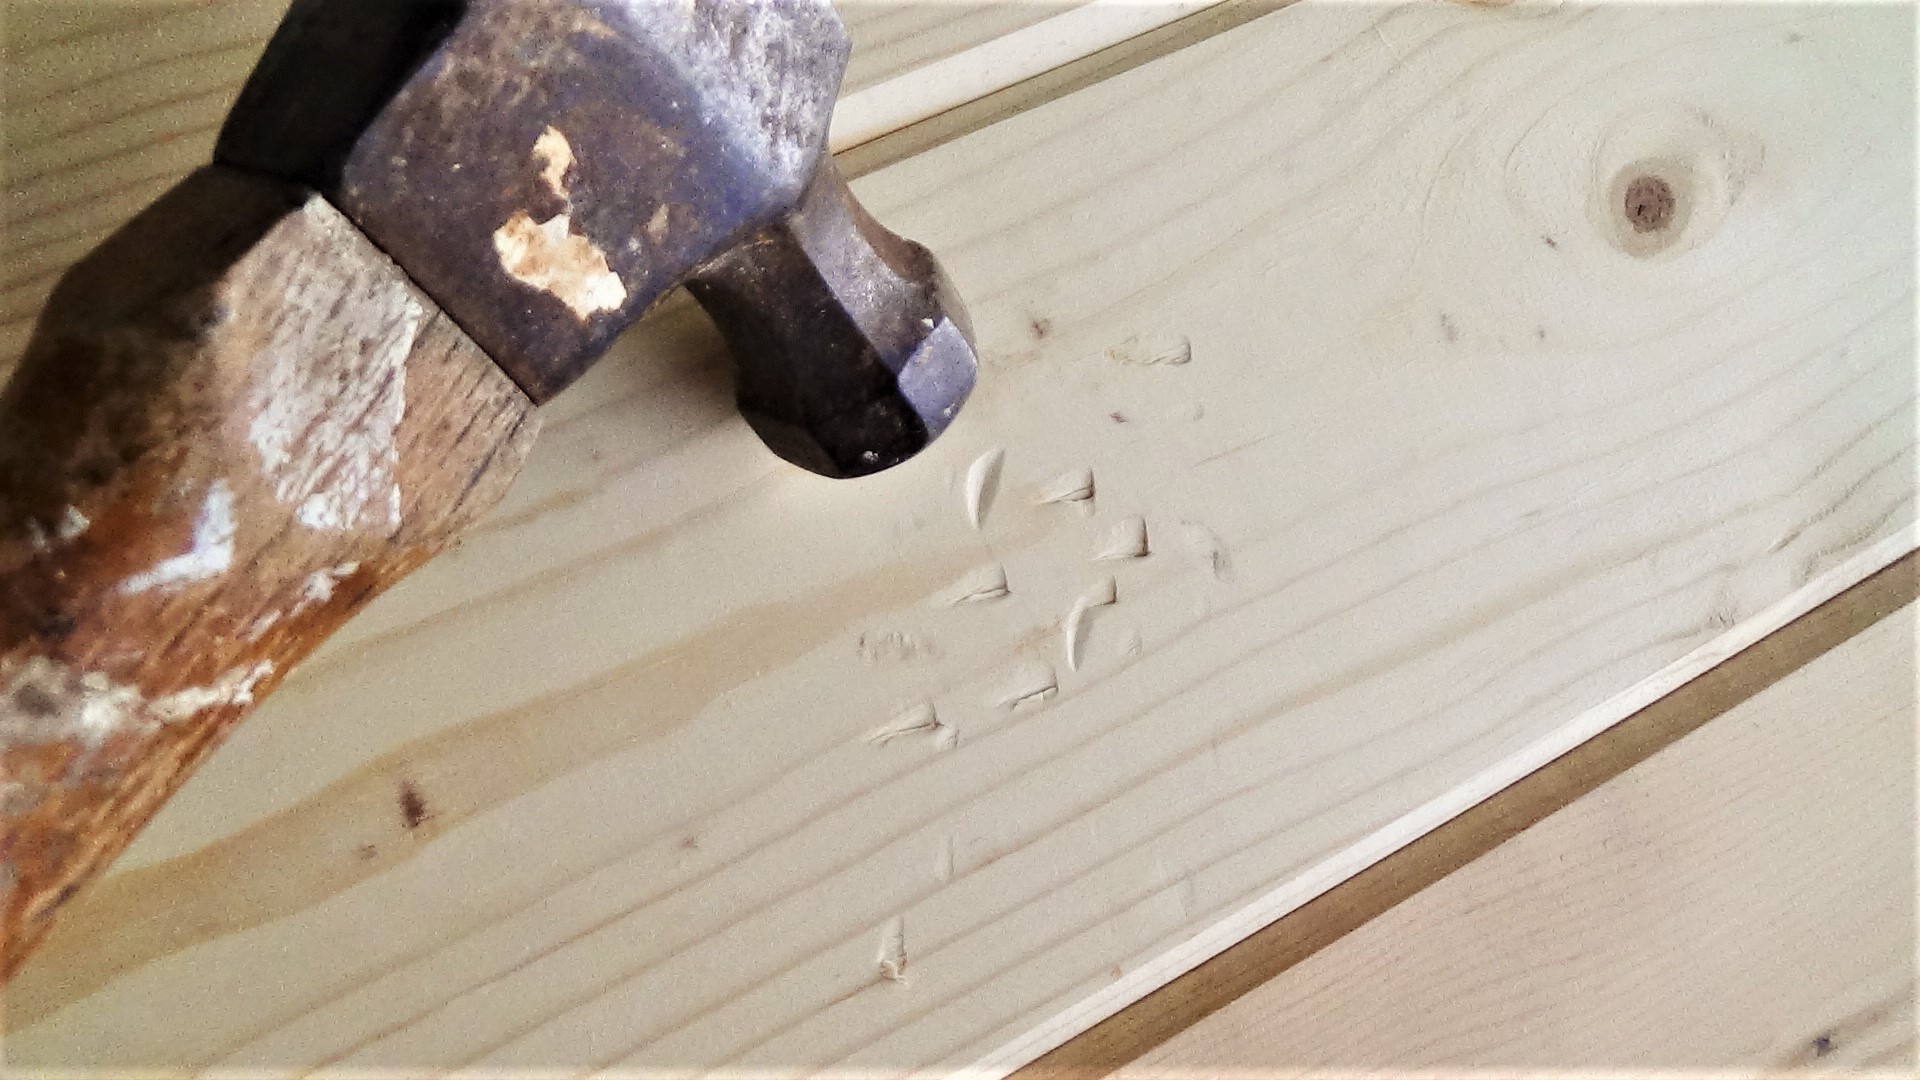
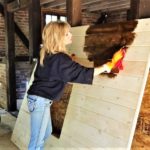
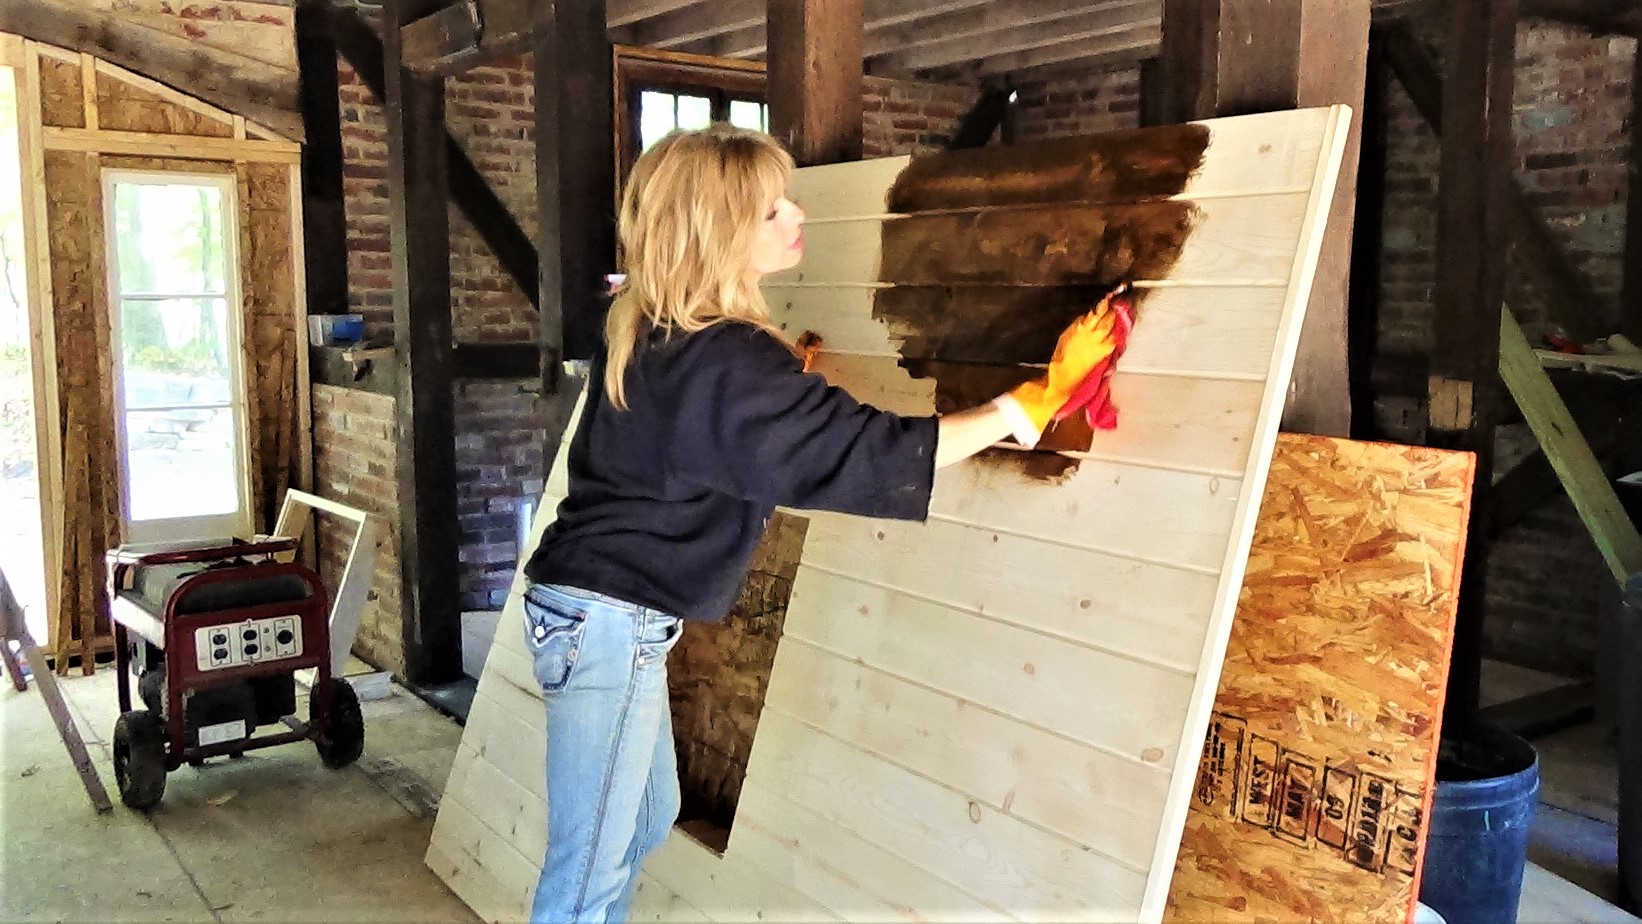
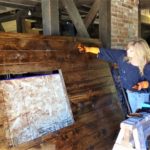
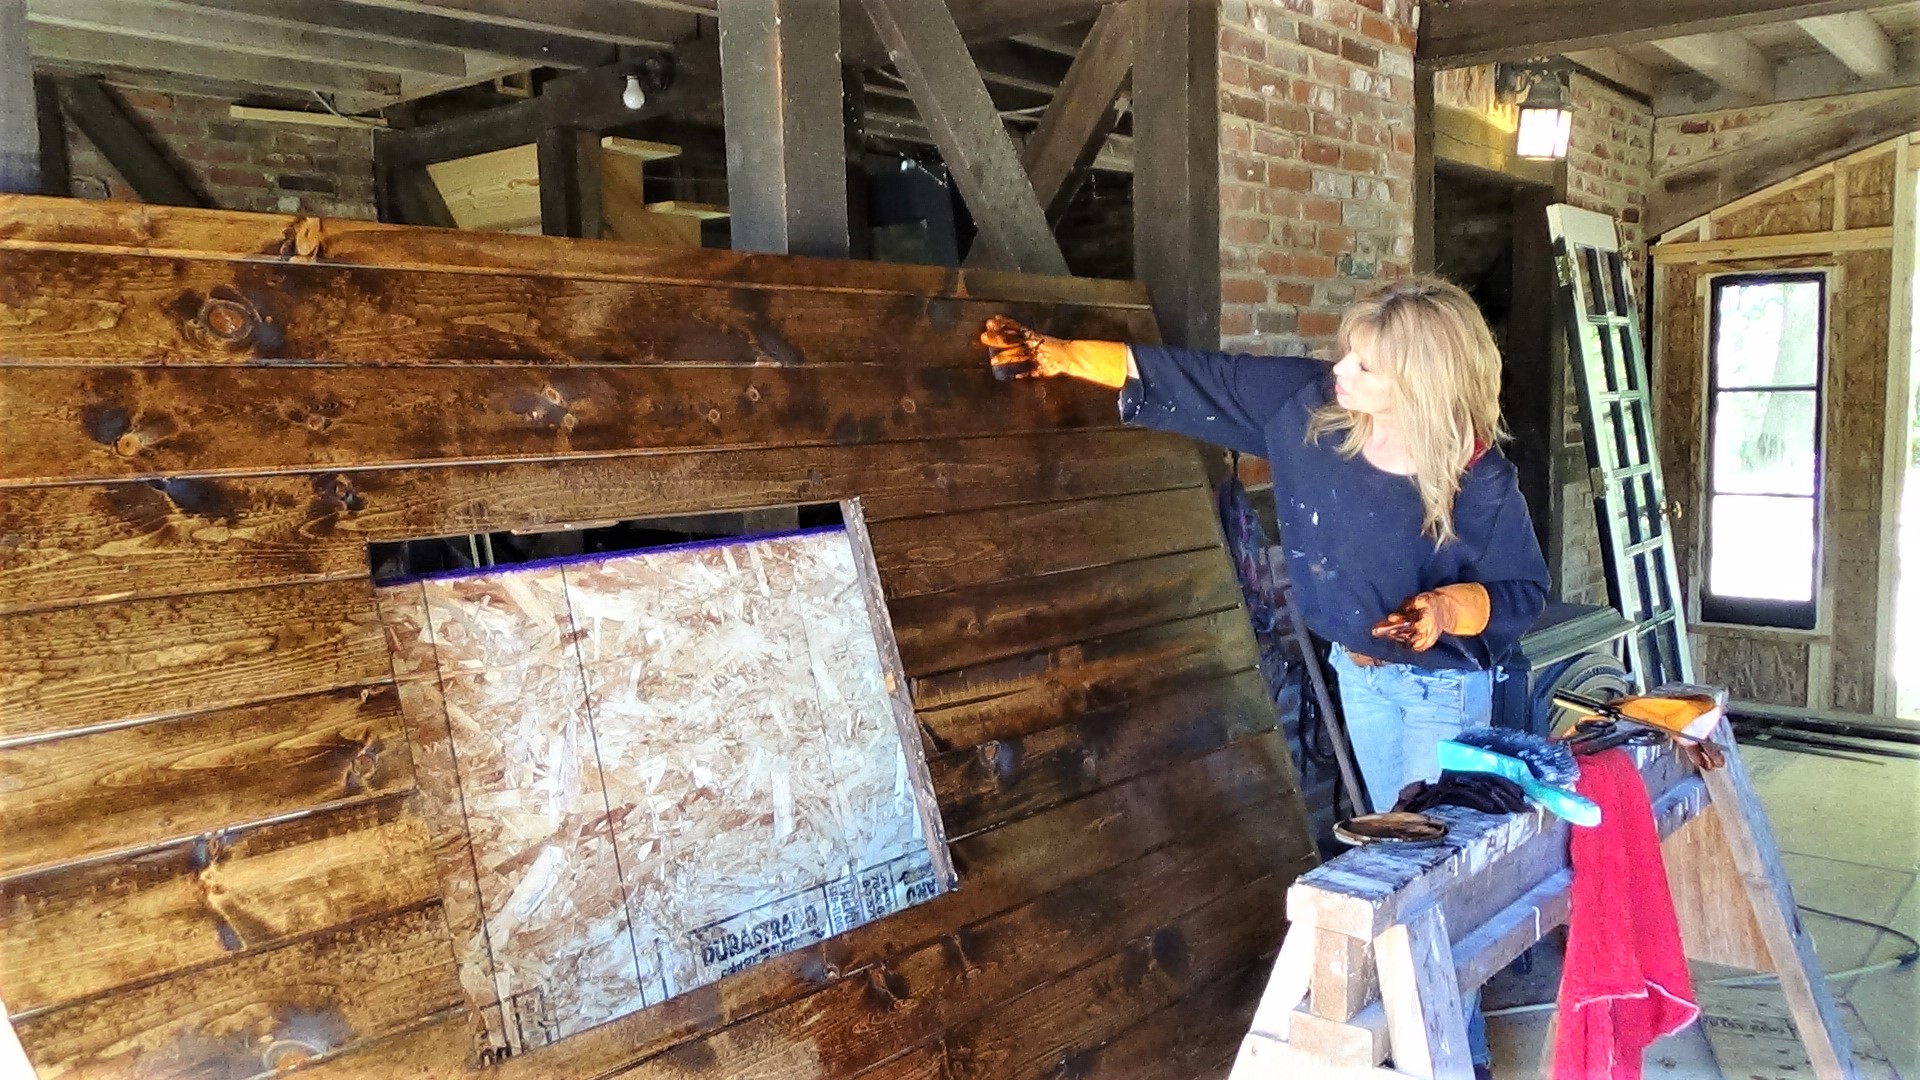
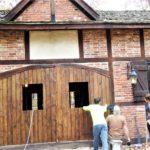
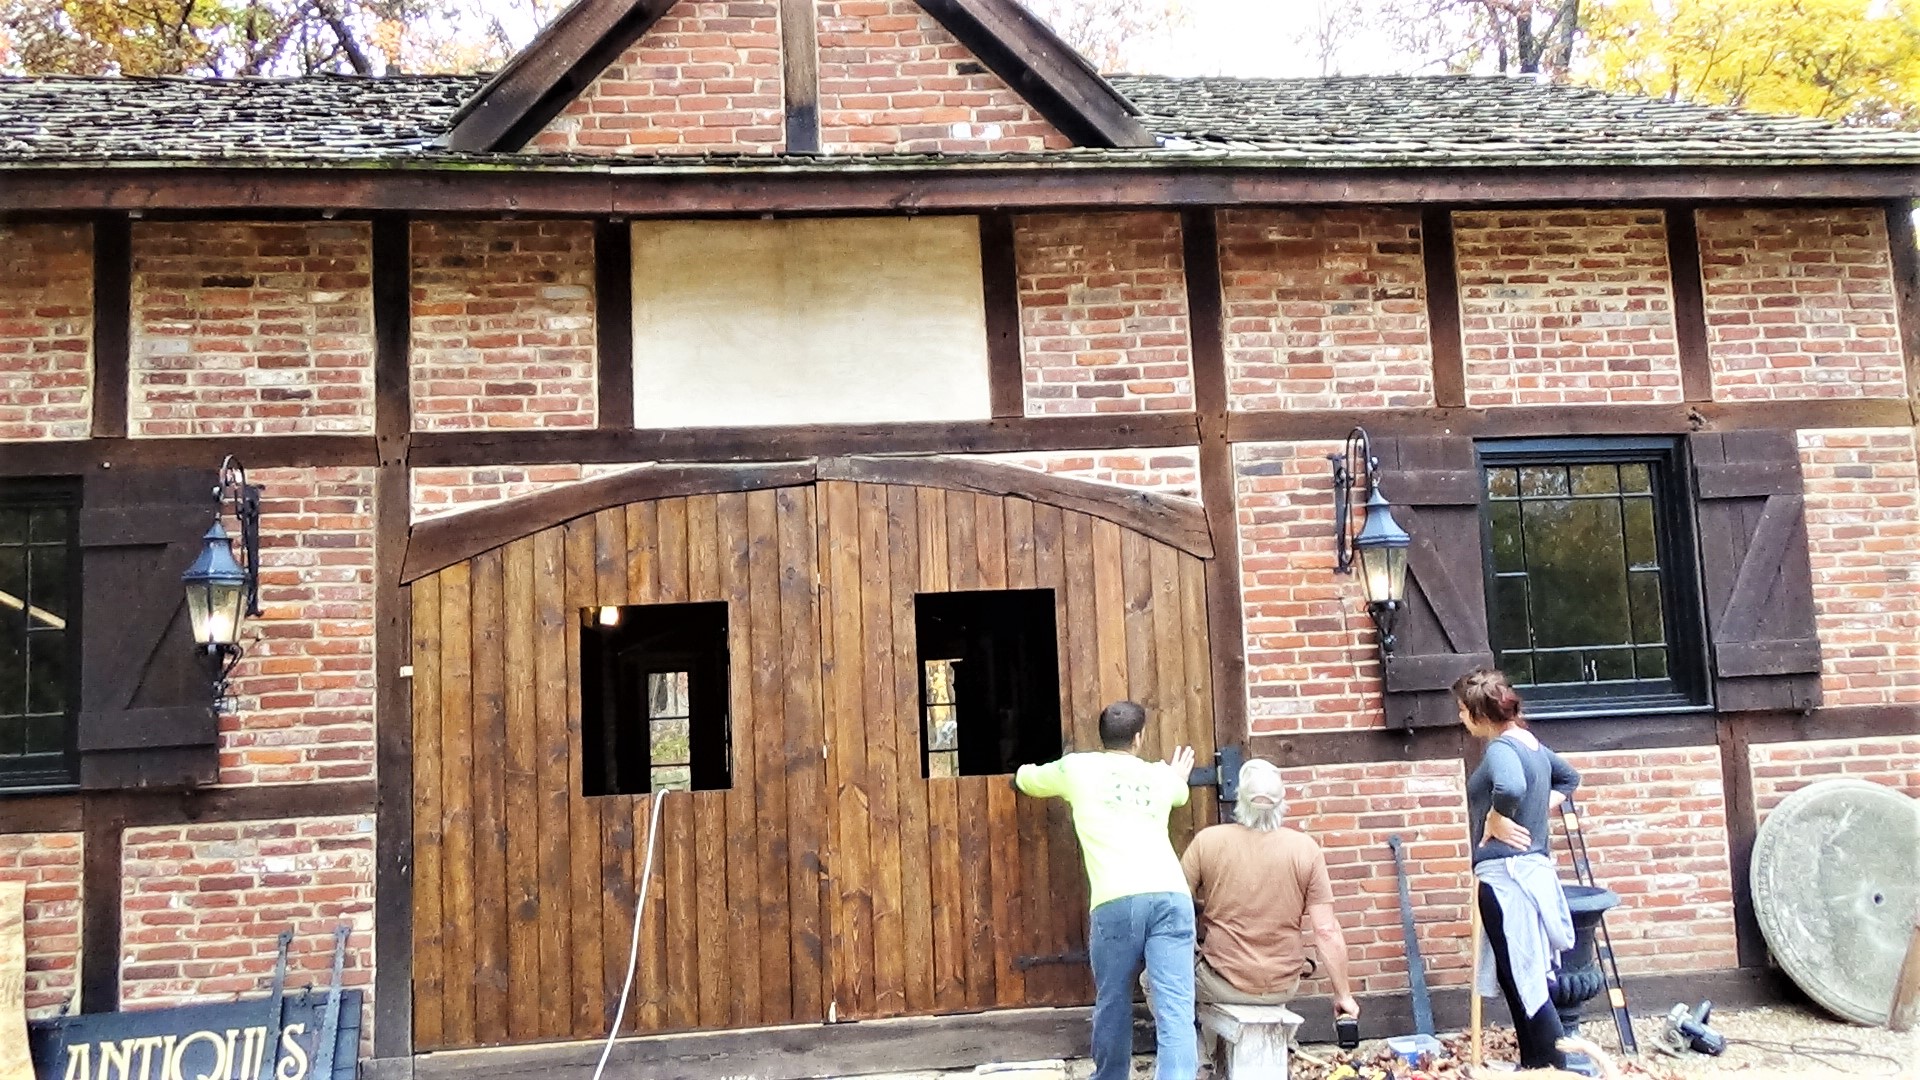
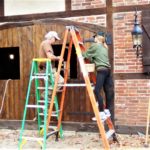
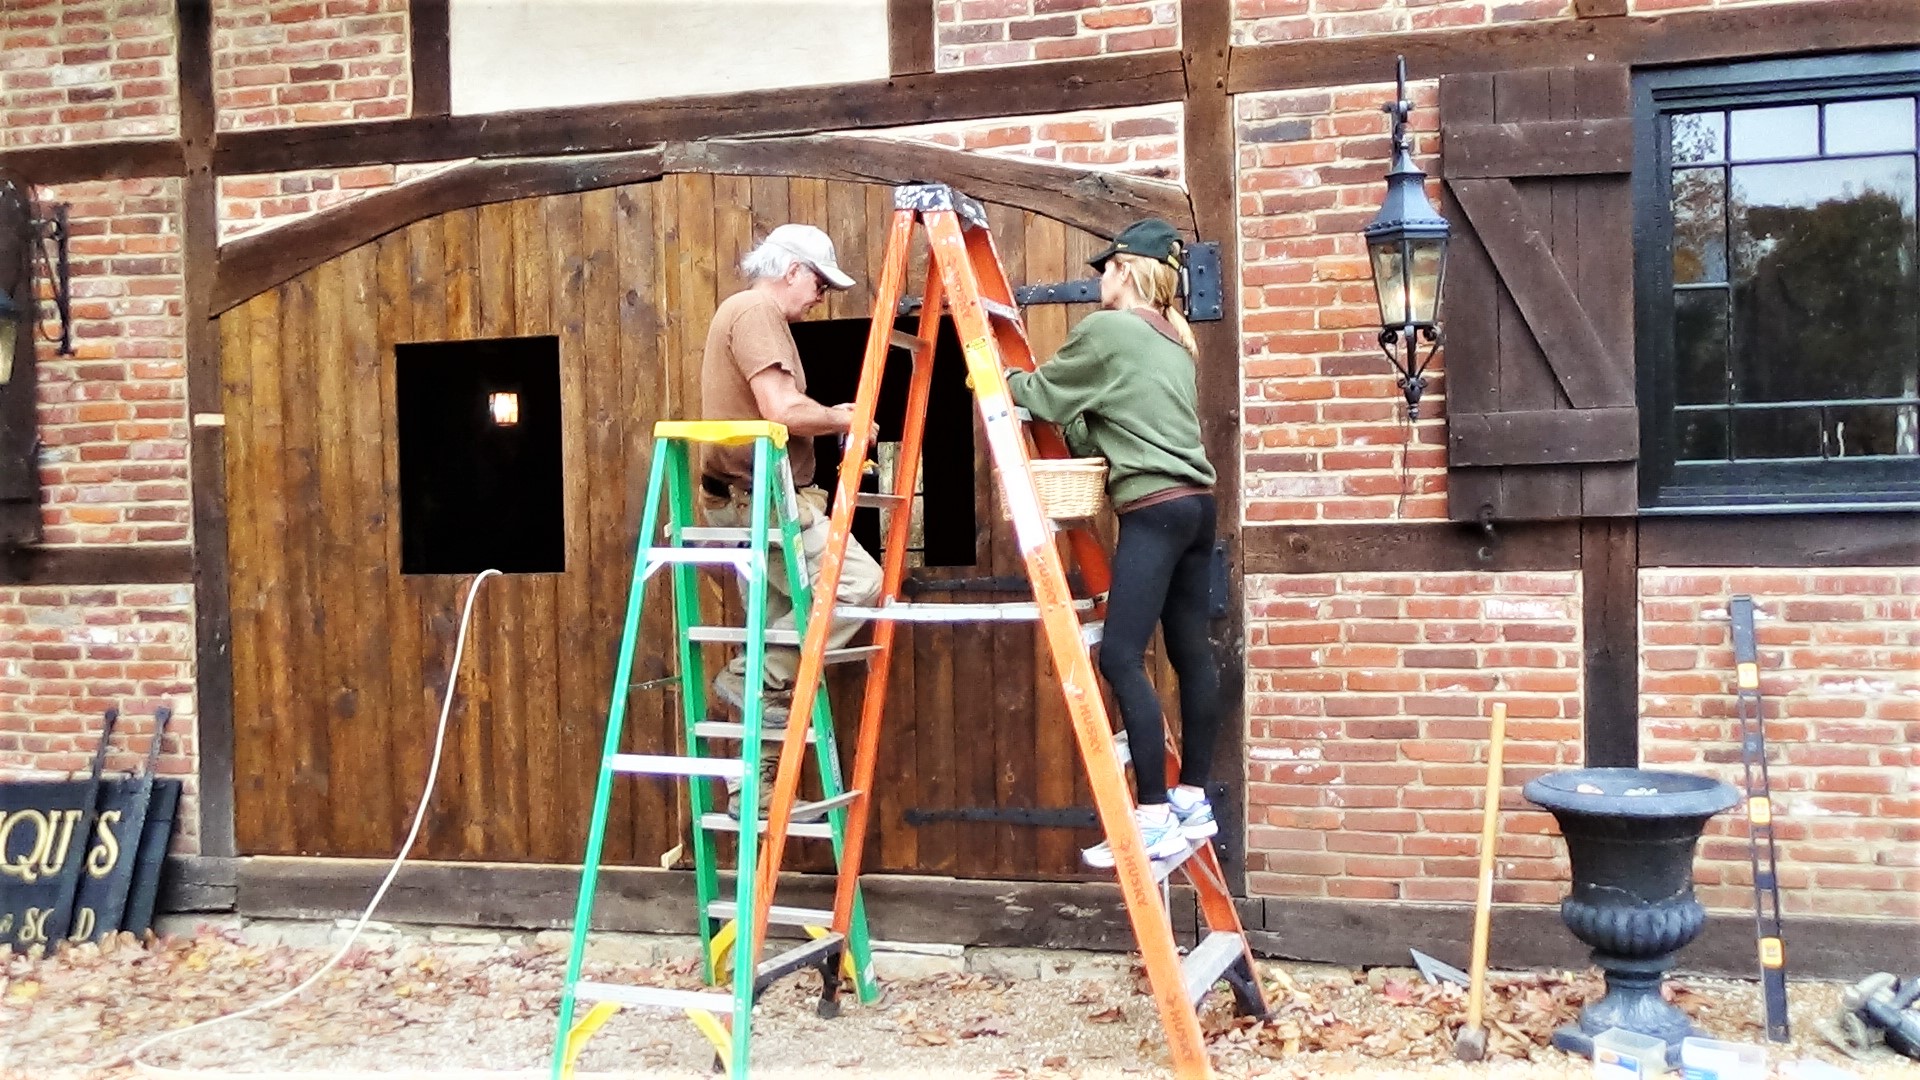
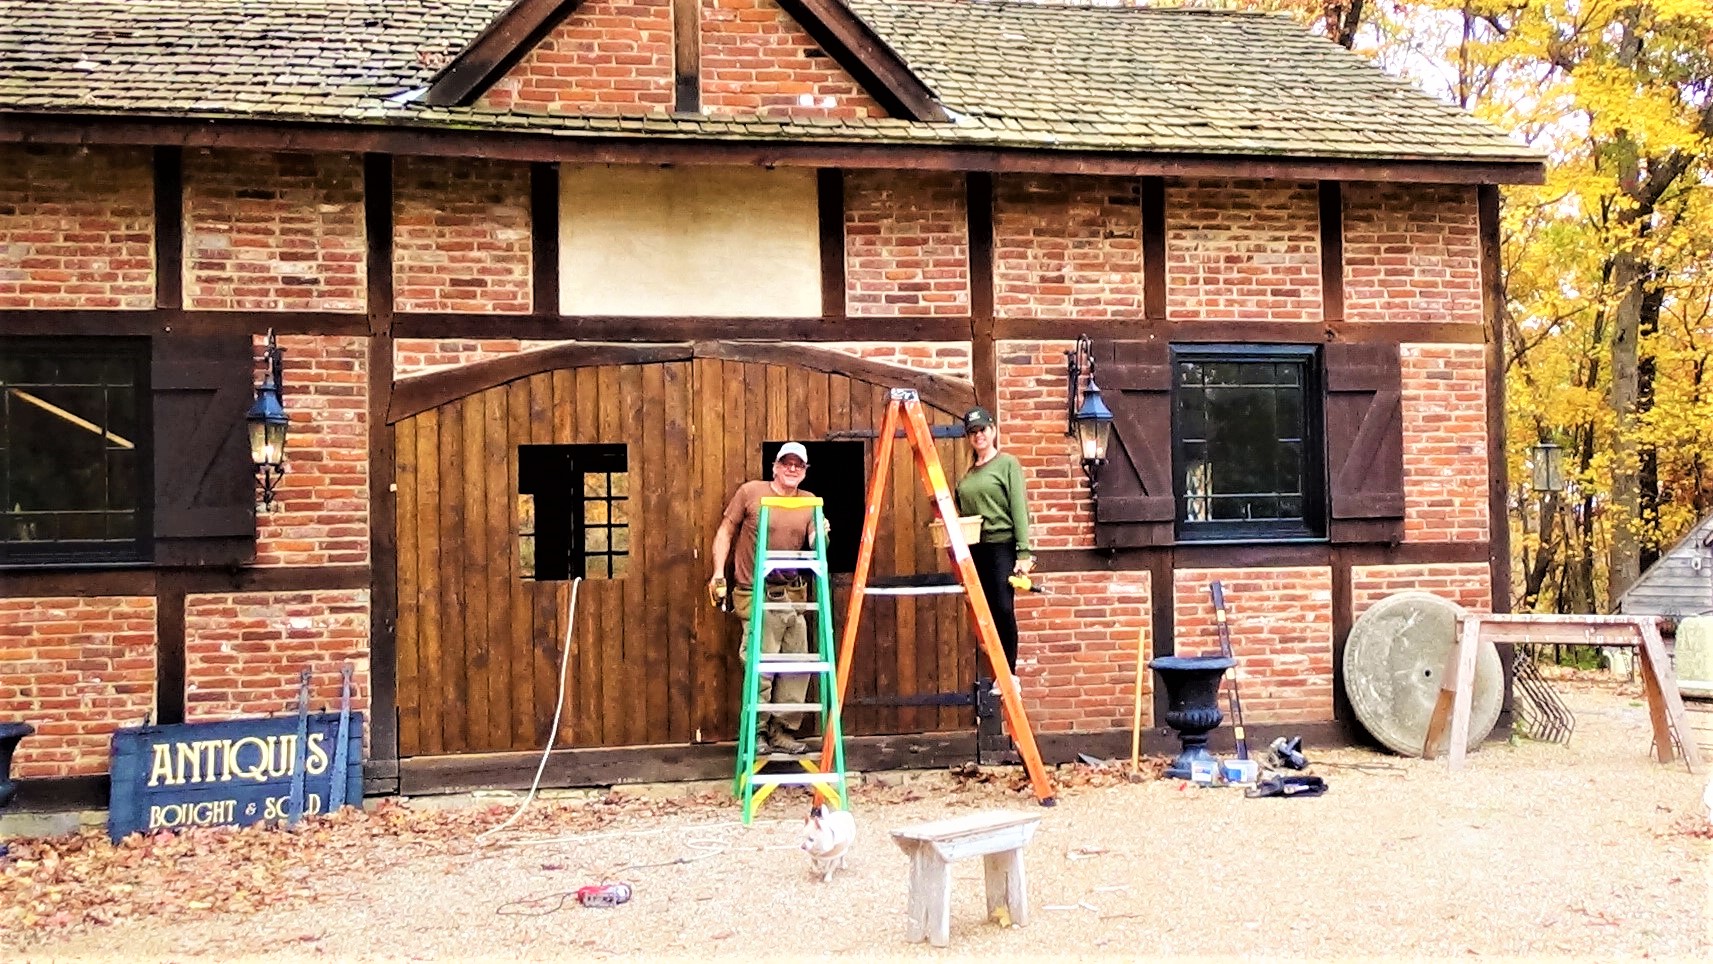
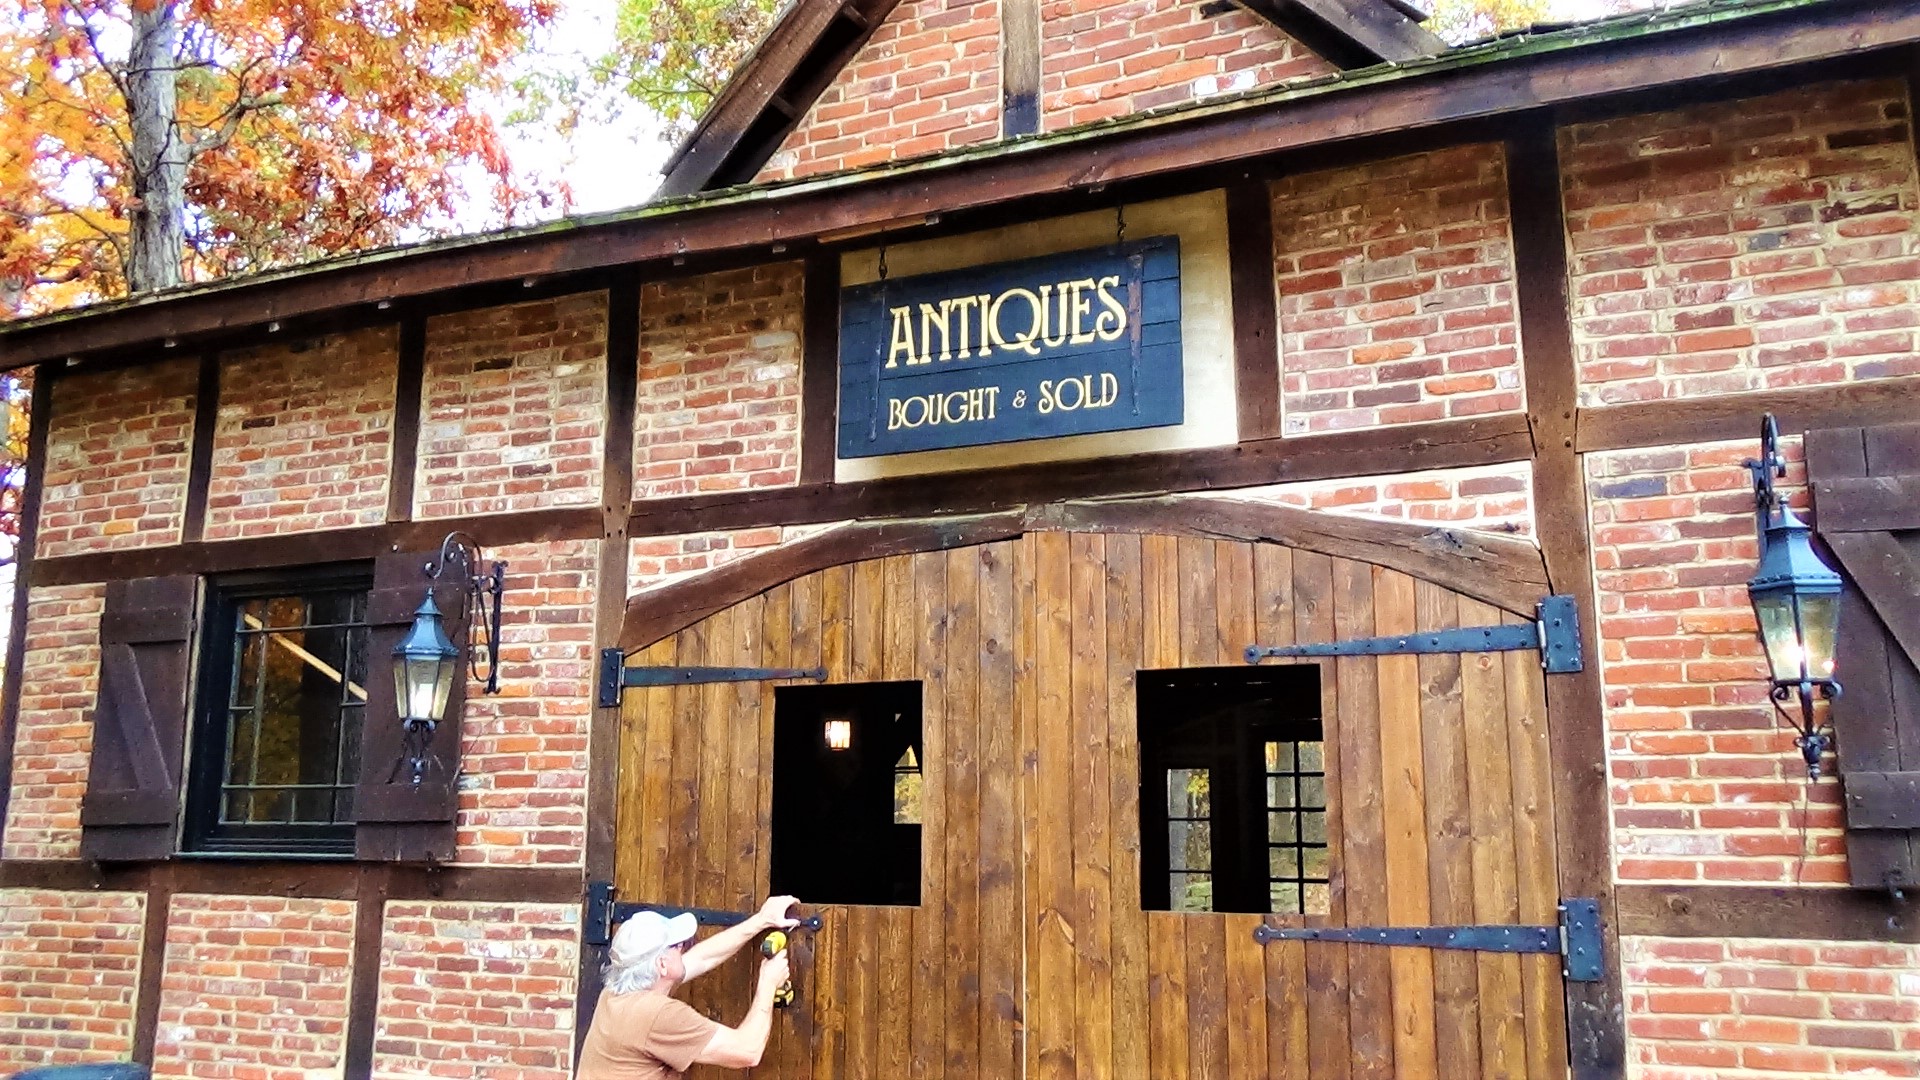
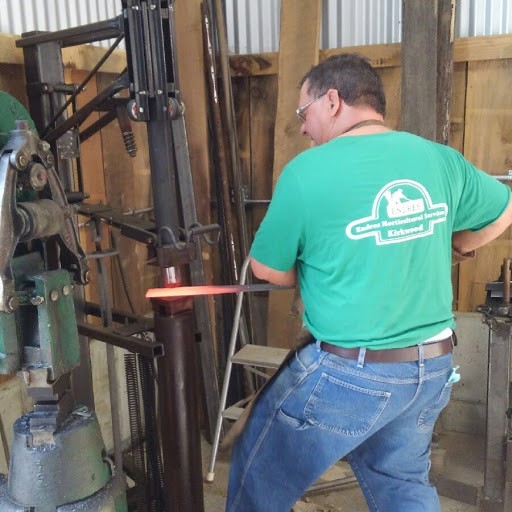
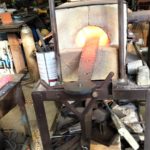
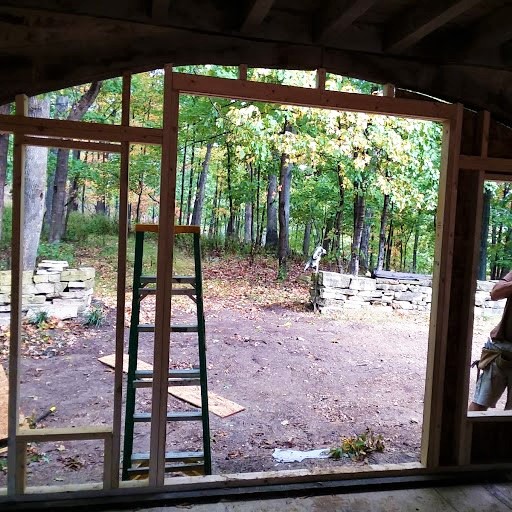
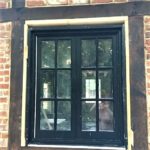
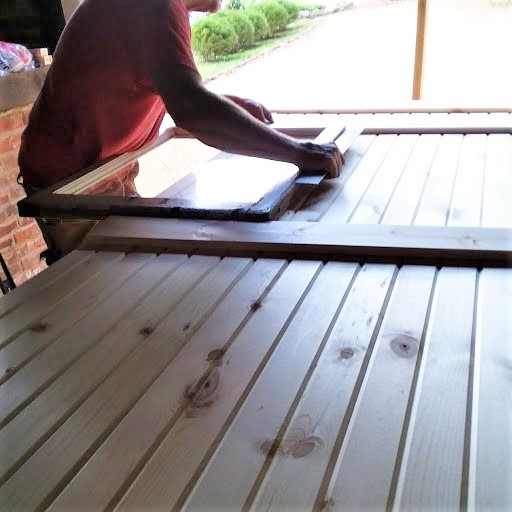
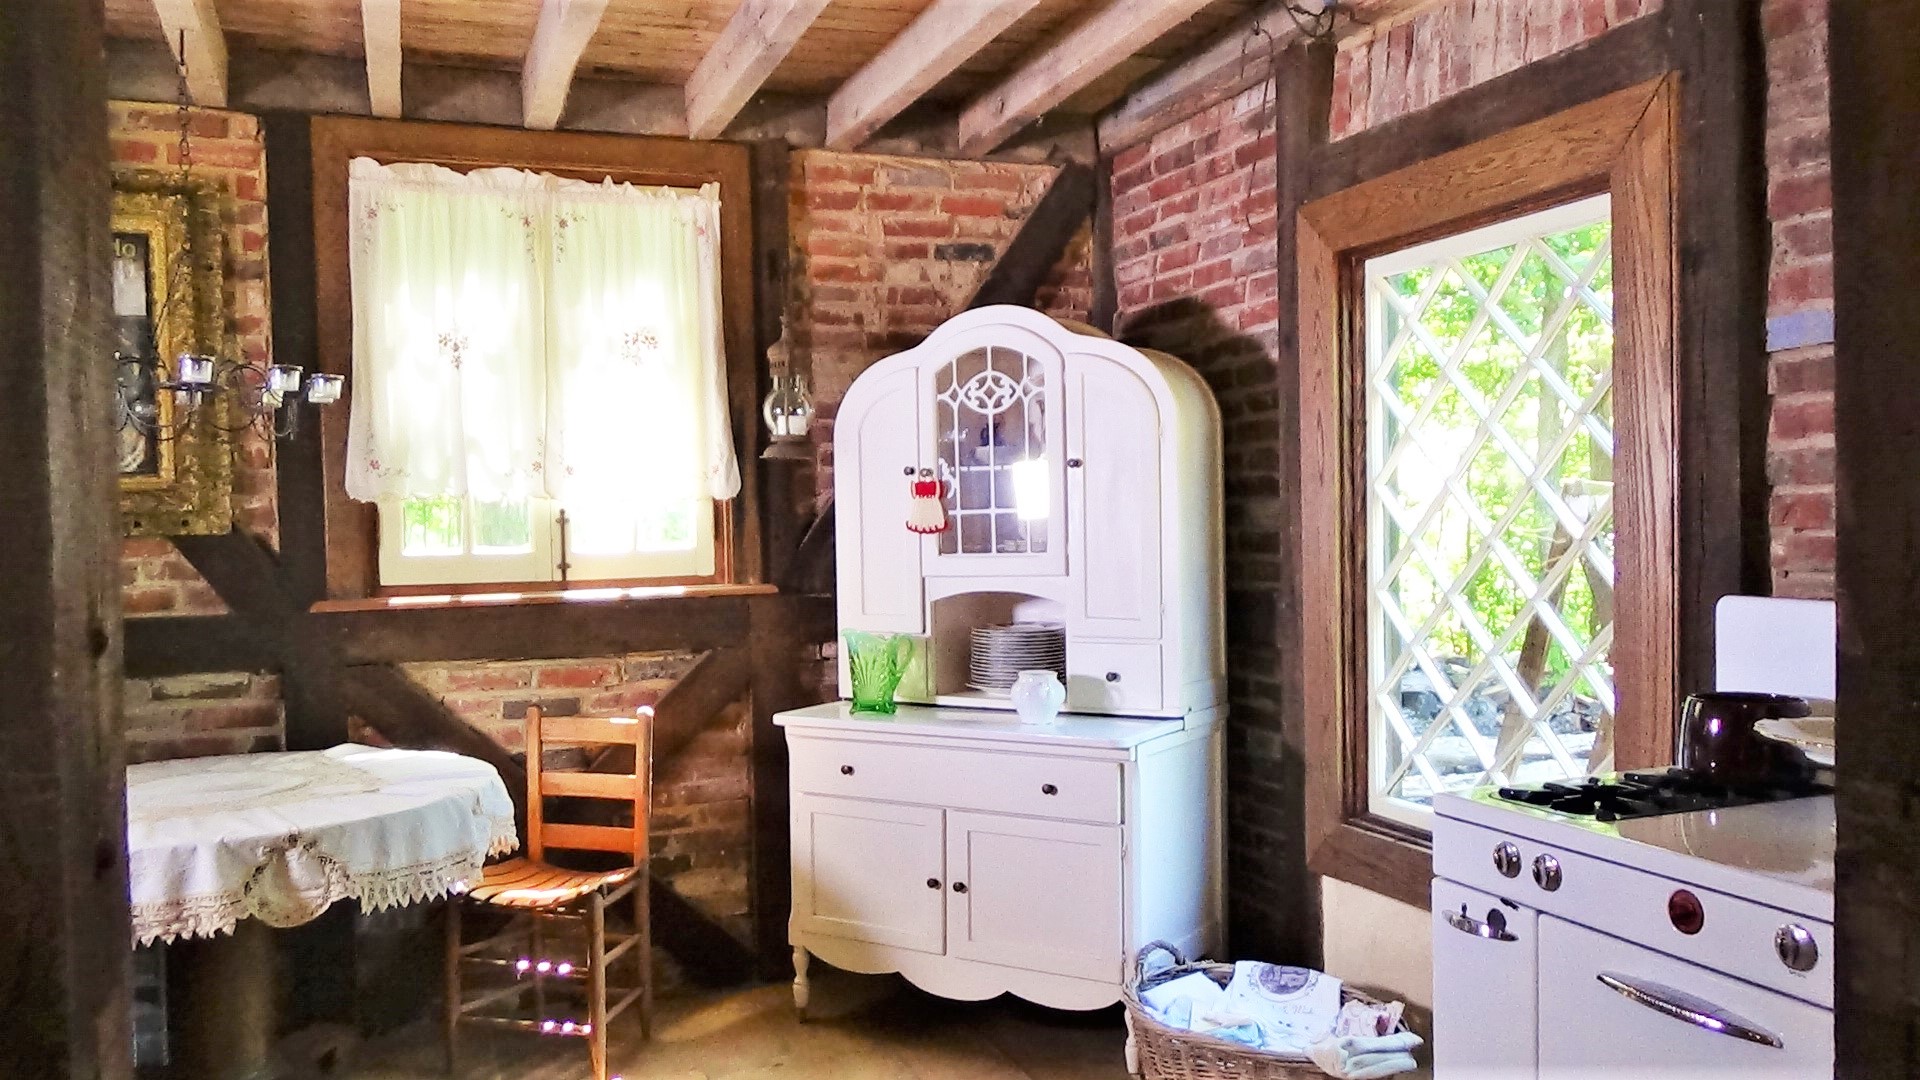
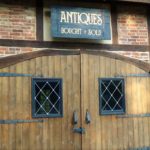
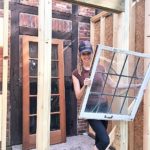
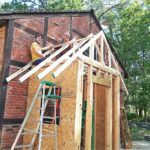
Posted By Ruth Guerri On In Barn Conversion,Featured Posts | No Comments The weather is making enormous swings! One day we were working with the fan on and sweating and the next in winter clothes, hats and all, and freezing! Winter is on the way and we need to close this barn in! We’re making the doors because we want them to look like they’re 100 years old and they came with the barn and they have to be an exact size, not easy to find! Our good friend Dave who is a very talented blacksmith, one of his many talents, is hand forging all of the hardware for us to maintain the period look, huge hinges to support huge doors! Here’s how we made them. First, we used pine, “box car” siding, joined it together to size, using black, square head screws, we needed 2 doors, 5 ft wide, and 8 ft tall, then we cross braced it with 2 X 4’s, then set the window bucks. Next, I used an orbital sander to rough up the surface a little, so when stained, the surface wouldn’t look so smooth. Next, I used a hammer and beat dents in several places, I liked it! I used the claw end of the hammer also to make a few “scrapes”. After all, 100 year old barn doors would be roughed up! Then, I mixed up some stain, golden oak, red oak and special walnut to get just the right color and stained both sides of the doors, two coats each. When completely dry, I applied a wax finish for a hand rubbed look and then buffed it. Of course when they’re exposed to the elements, they will age on their own! Next, we hung the doors, with help, very heavy! We’ll take the window bucks out to do it. On a warm, sunny day, thank God, we put the doors in place, making sure everything was plumb, level and square so that the doors would swing properly, then we set the hinges. And wow, they looked even better than we could have imagined! The next step was to put the window bucks back in, and set the windows. I will post how I made the diamond paned windows. I couldn’t find the exact size we needed of course, so I figured out a way to create them using old windows and lead strips without spending a fortune! Lastly, we mounted the iron handles and the lock and we are in business! I love them! They look old already! Stay tuned for the new staircase!
-
 [6]
[6]
-
 [7]
[7]
-
 [8]
[8]
-
 [9]
[9]
-
 [10]
[10]
-
 [11]
[11]
-
 [12]
[12]
-
 [13]
[13]
-
 [14]
[14]
-
 [15]
[15]
-
 [16]
[16]
-
 [17]
[17]
-
 [18]
[18]

Chalk Painting
Posted By Ruth Guerri On In Antiques,Featured Posts | No Comments This is a new adventure for me, oh I’ve painted furniture for years, but the old school way, sanding, priming, painting, sealing, etc., so I’ve resisted the whole chalk paint movement, it sounded too good to be true, what, no priming?! Too trendy, too expensive, too easy! But then again, I was reluctant to join the computer age and actually the entire 21st century and here I am….. a blogger! So I’ve been seeing pieces of furniture at auctions that just needed too much work to restore to original, so I decided to jump on the bandwagon and try chalk painting! I simply refuse however to paint oak or walnut wood unless the piece is really too far gone, so I am limited, but there’s still plenty out there to paint. Here are my first two pieces to experiment on, nothing fancy and $2.00 each at auction.

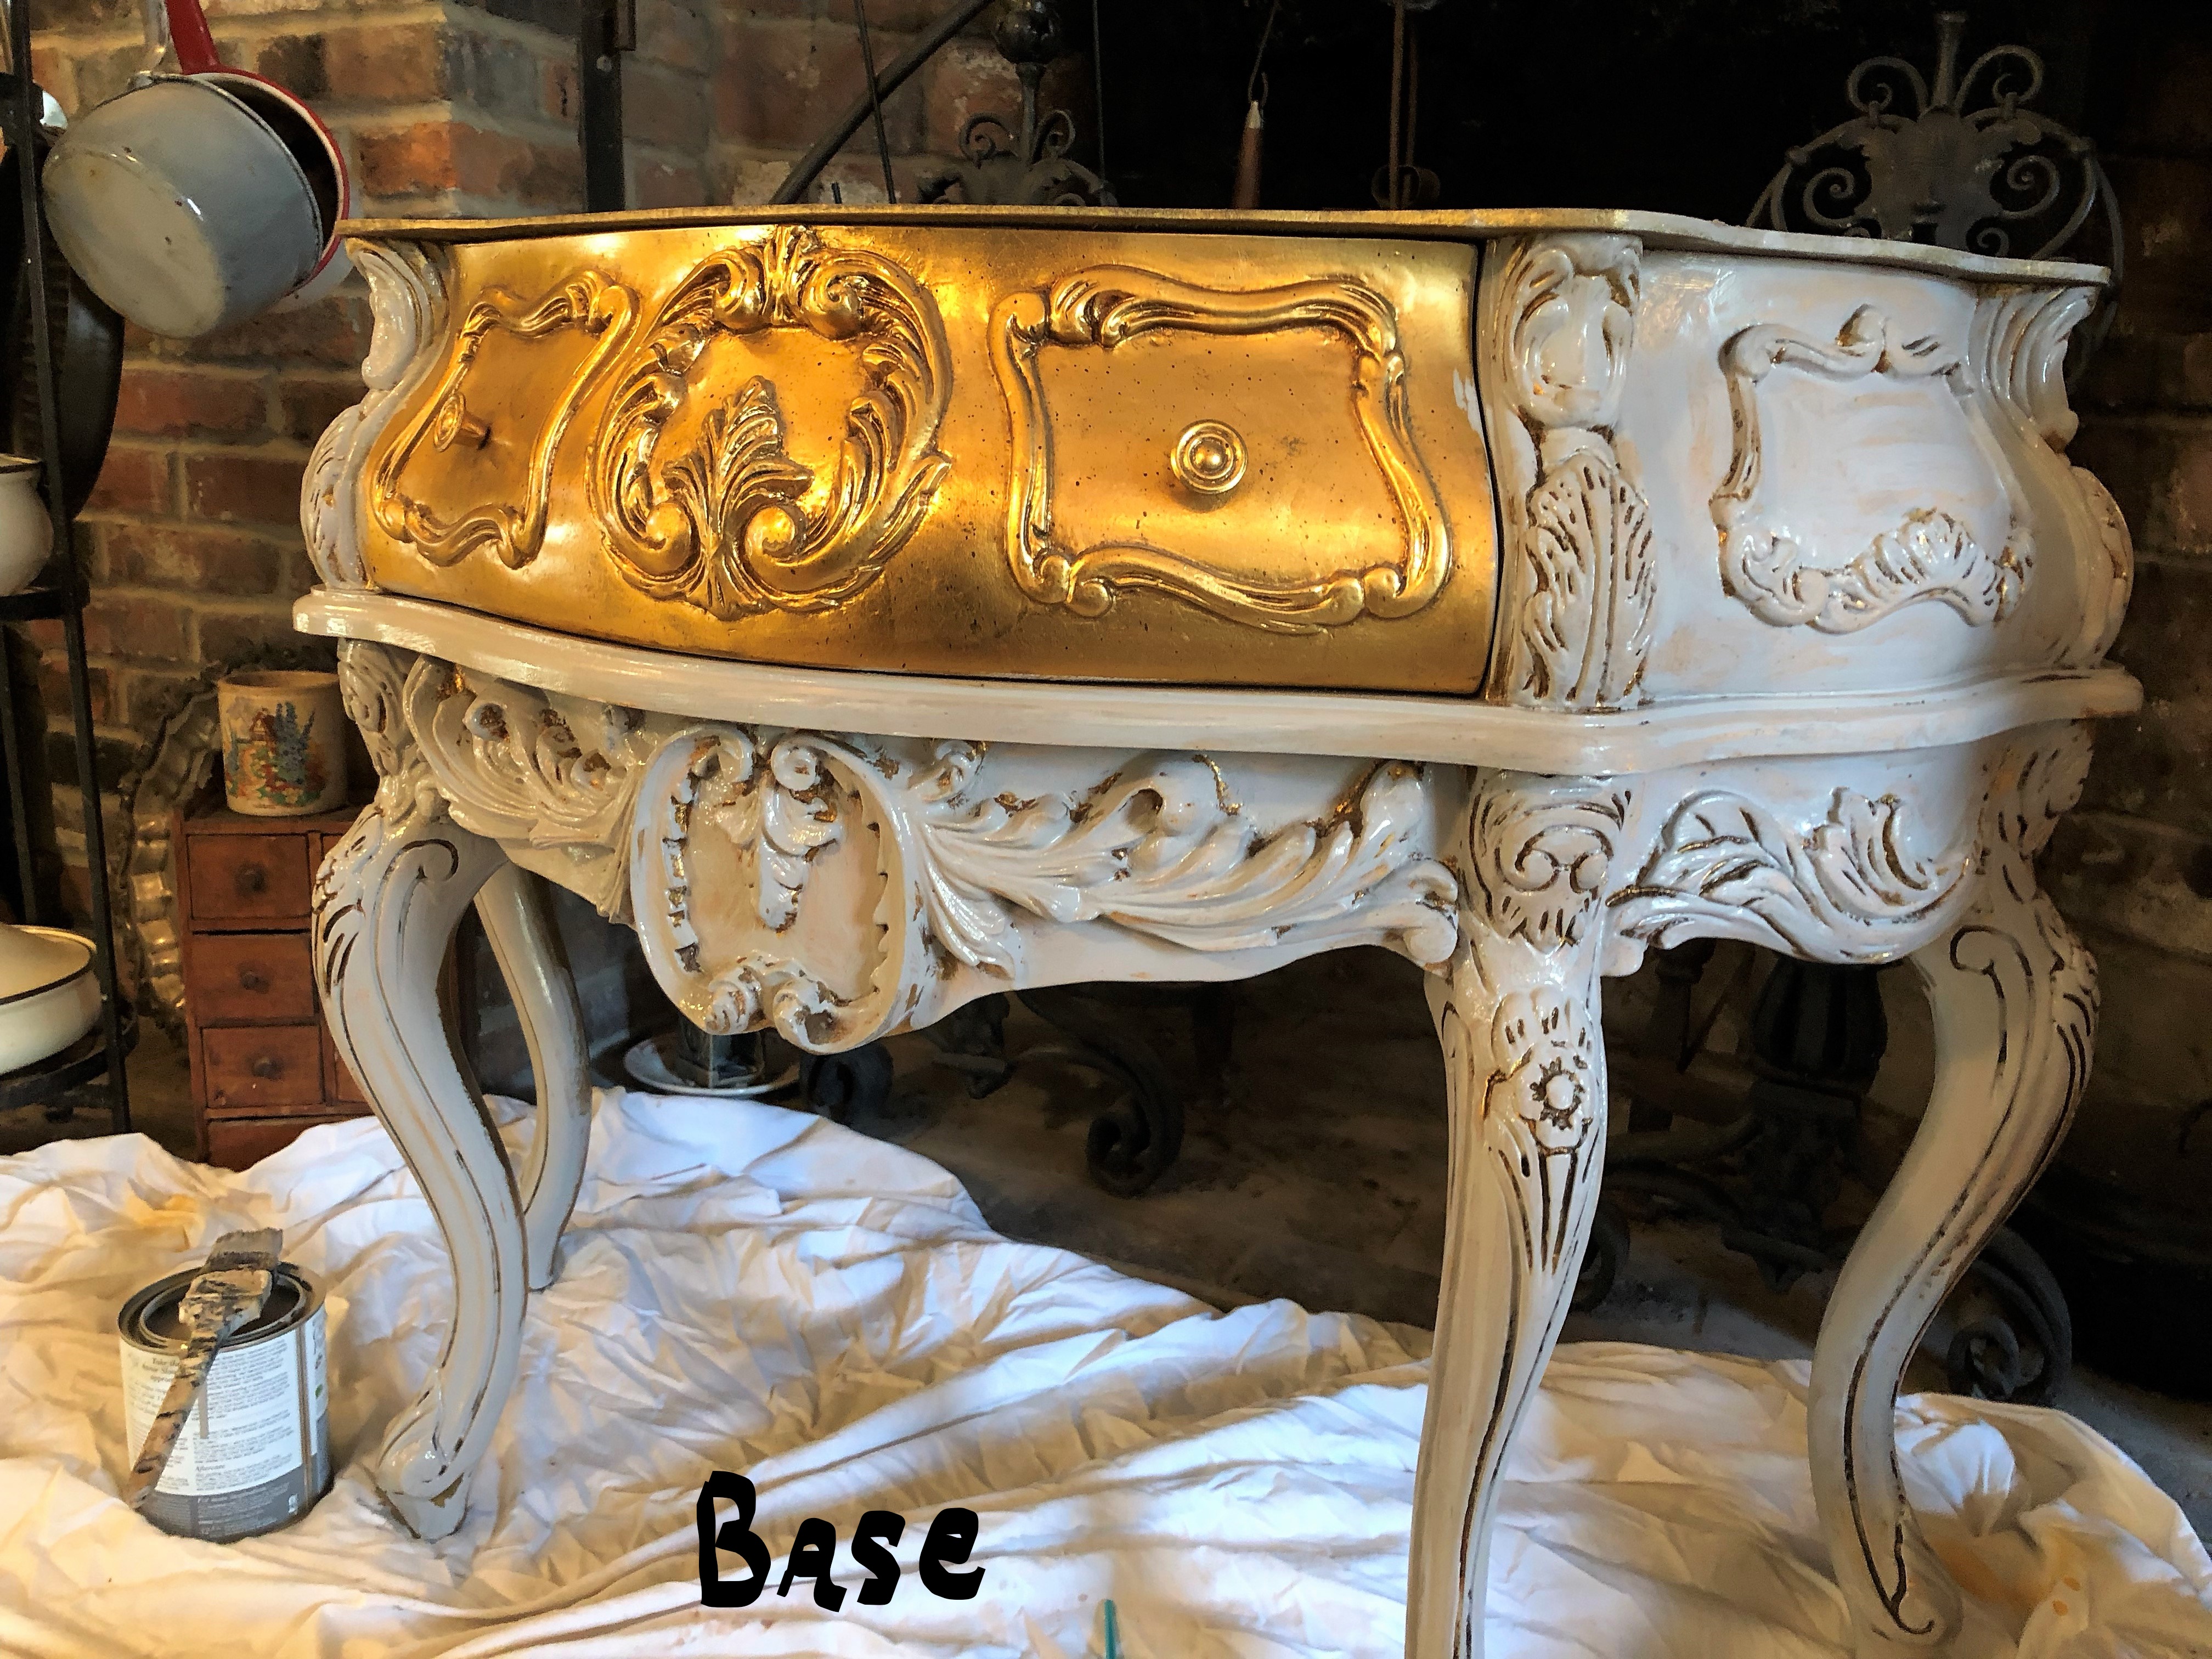
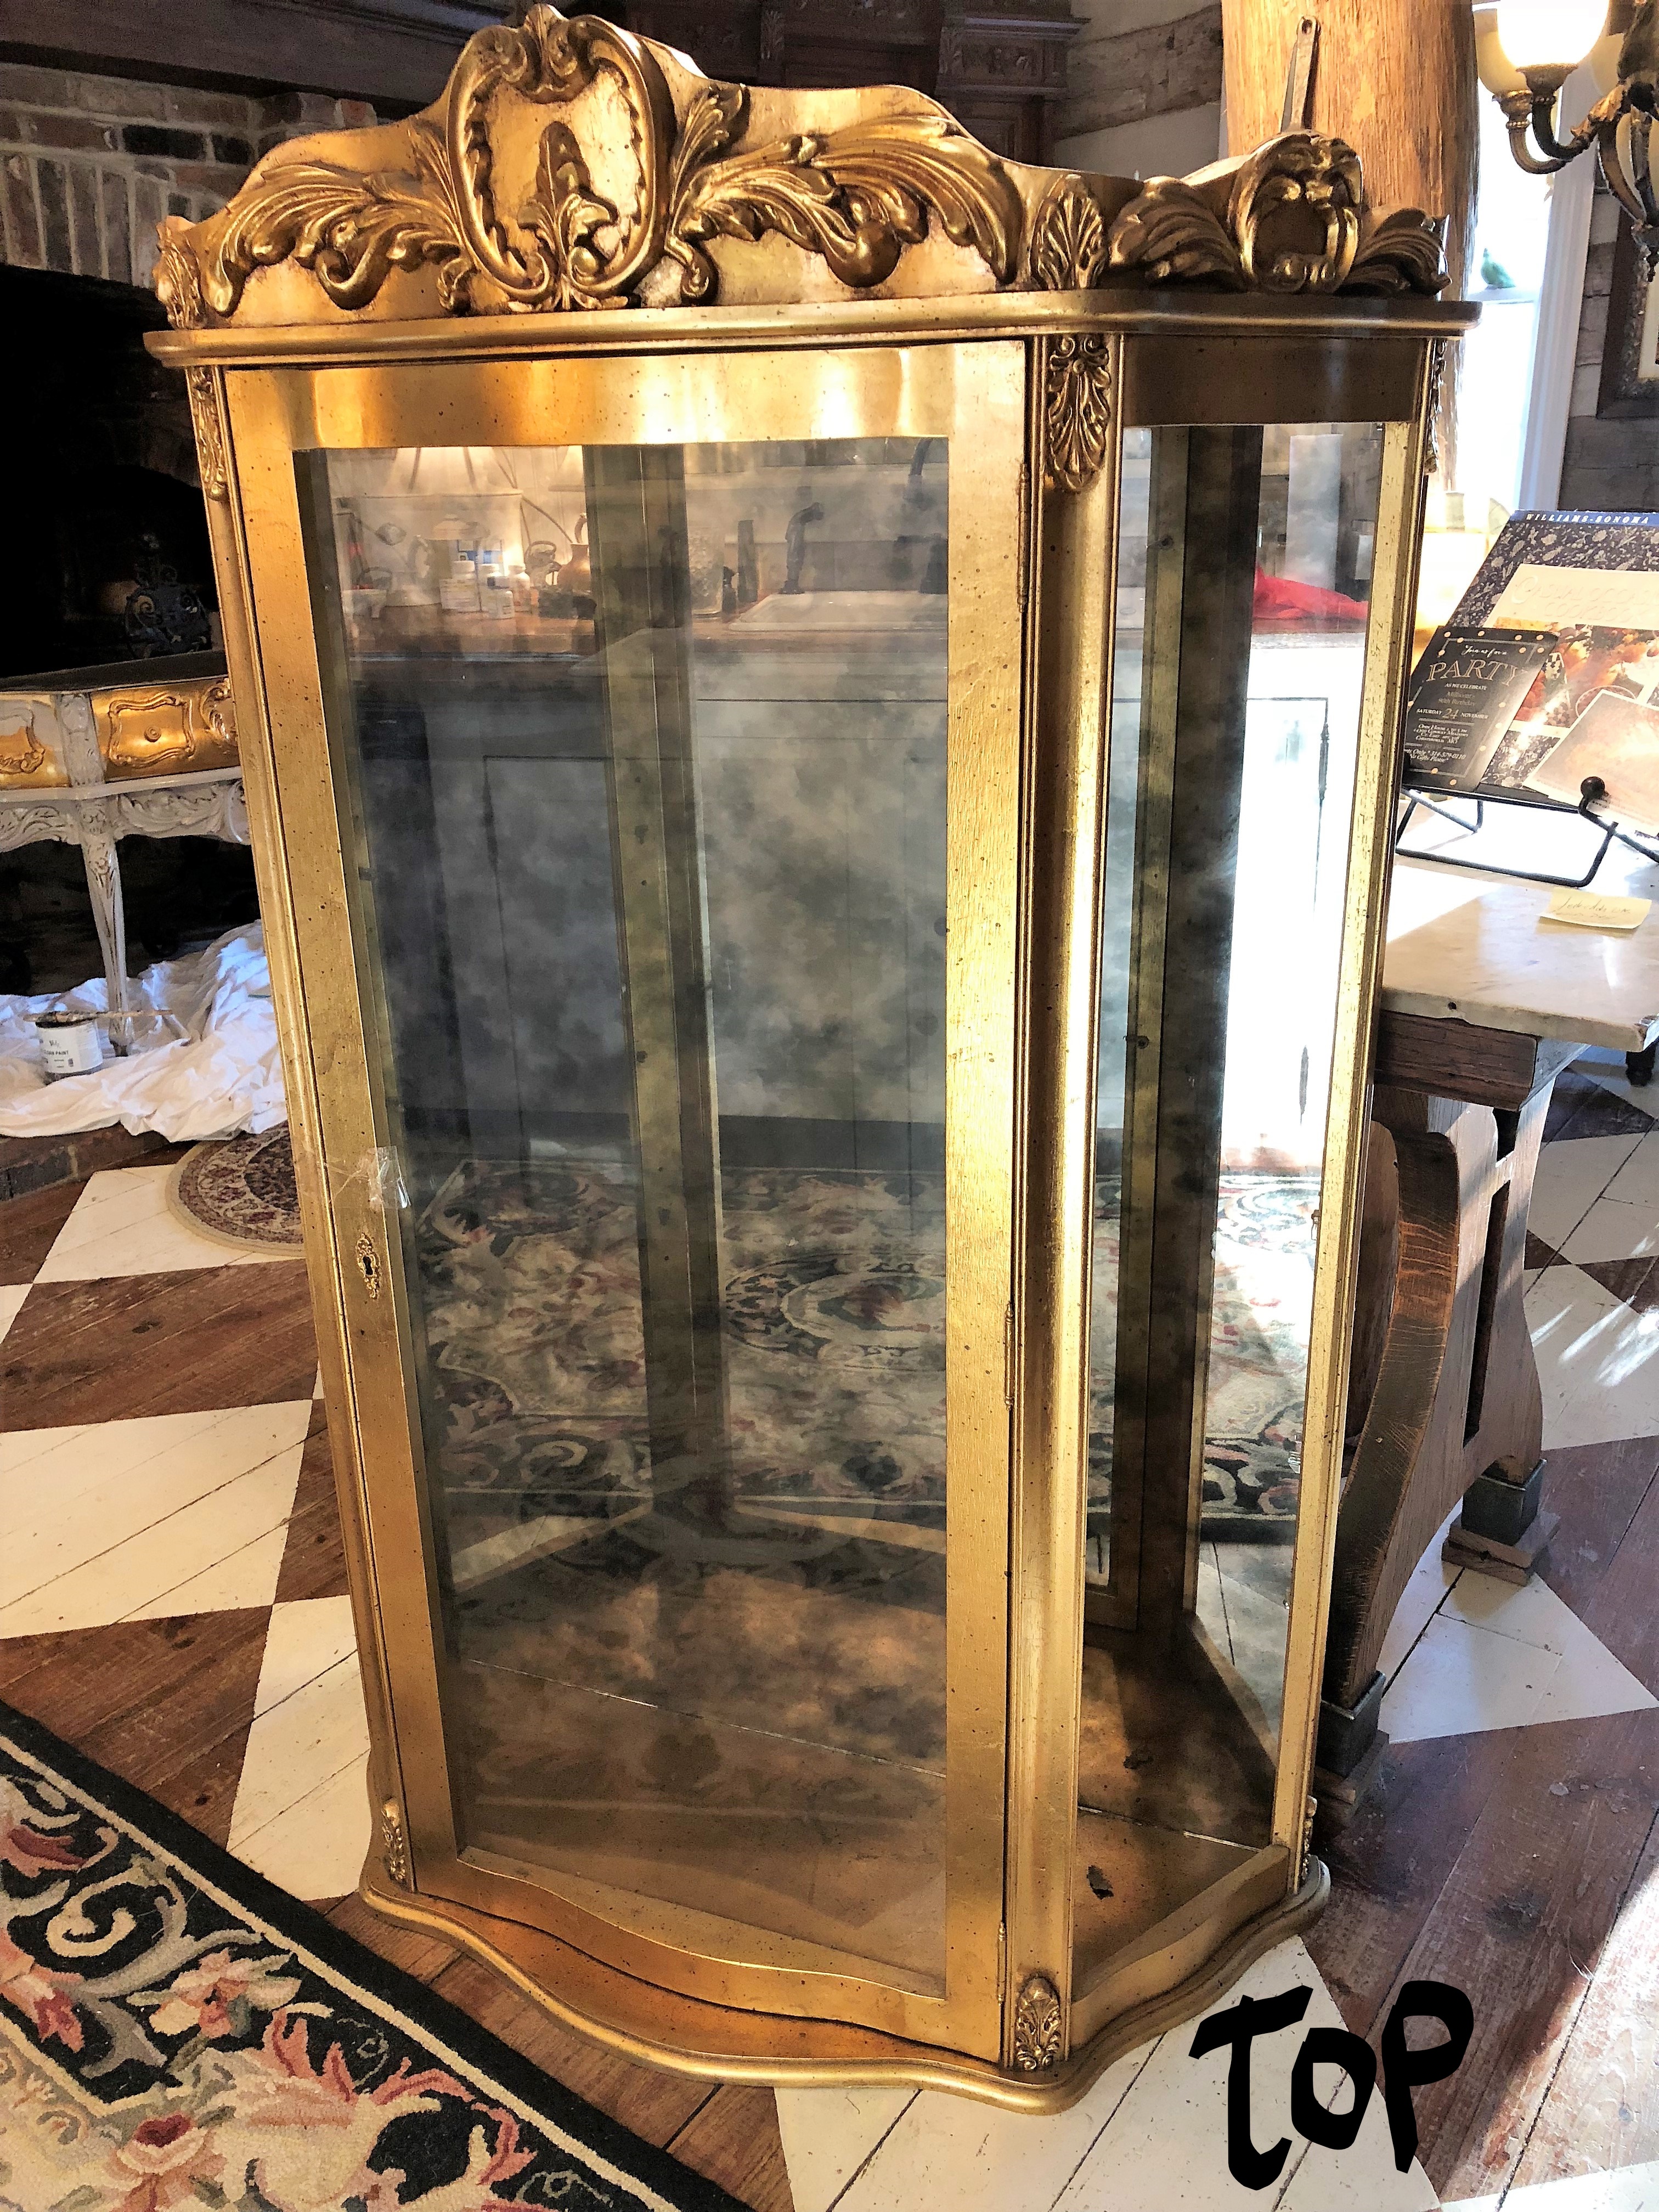
 So I bought Annie Sloan paint and wax, one clear wax and one dark wax. Youza, expensive! But I thought I’d go straight to the old master for the first time. I was surprised and pleased when I painted my first strokes! The paint is fumeless, so I can paint in the house! It goes on like a dream and it doesn’t drip, and yes I didn’t sand or seal, just cleaned the surface to be painted, I was overjoyed with how easy it was and I love the colors. Now, the wax part is a different story, it isn’t hard to do, you can wipe it on with a cloth or you can use a brush, but the entire piece must be sealed with clear wax, then to add a deeper color or a “patina” you must go over the clear wax with the dark wax. It’s not hard, but I wouldn’t say its exactly easy, especially if your piece has carving on it. But after you see the end result, it is so worth the effort! The finish feels silky, and the color is enhanced and instantly aged! To take this further, chalk paint colors can be mixed and layered and it really is addicting! I think I will try other chalk paint manufactures, they are much cheaper, but we’ll see if they are as good as Annie’s. After my experience with the small chair and mirror, I bought an enormous china cabinet that was hideously gold and I’m tackling that with Annie Sloan’s “French Linen” beautiful color, I’ll let a little of the gold shine through, then I’ll finish with clear wax and the dark wax. Big project, but I think the end result will be stunning, thank goodness it’s in 2 pieces! Here’s my progress so far on the china cabinet. Stay tuned for the unveiling of all 3 pieces and for more chalk painting adventures! I’ve already bought a mirror and 2 more tables!
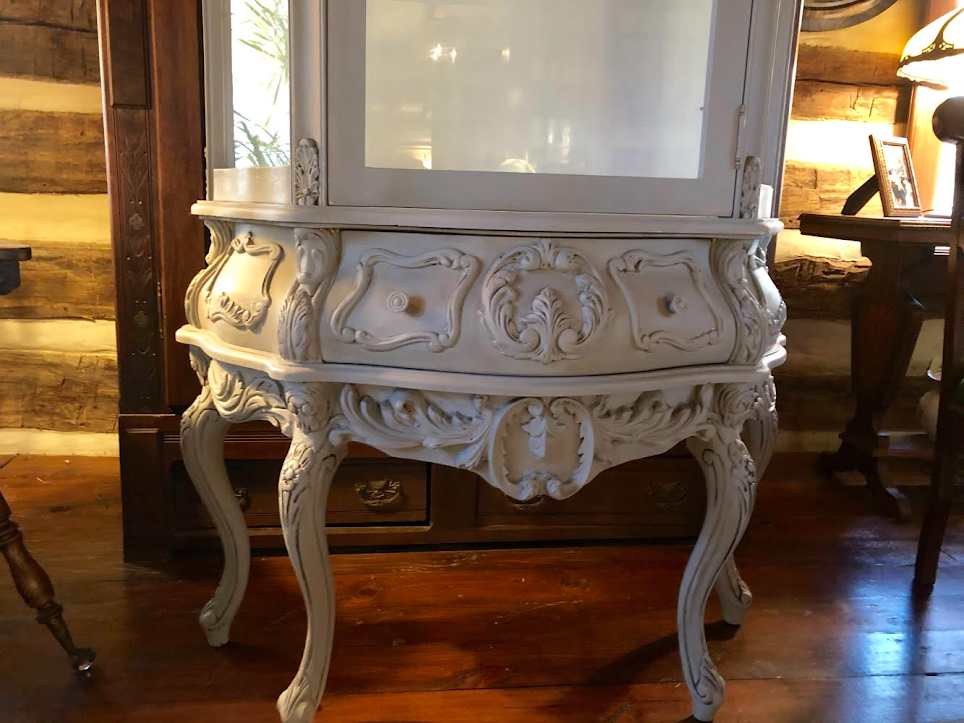
Okay, my gold cabinet is finished and I think it’s stunning! I posted it on facebook marketplace and sold it the next day! Here it is! I did learn one VERY important trick that I’d like to pass on, if you plan on using dark wax, rather than apply a coat of clear, then come back with a coat of dark, just mix the clear wax and the dark wax together in a separate container and you’ll only have to do one application, this saves lots of time! Check back for more finished pieces!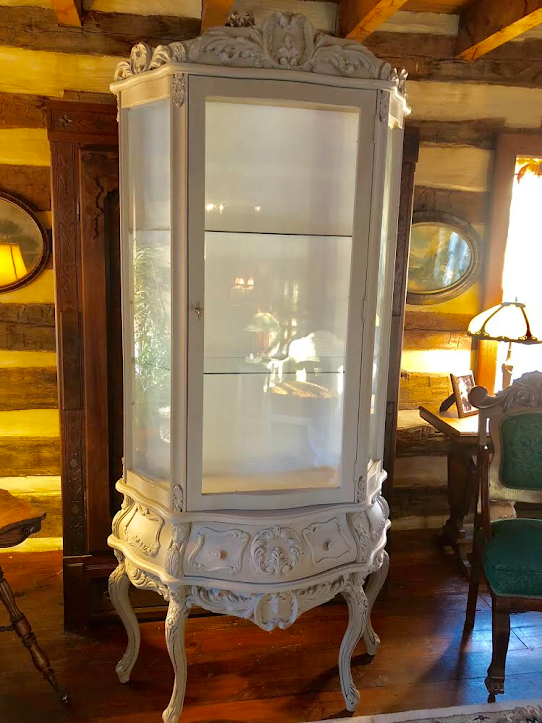
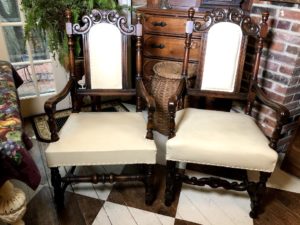
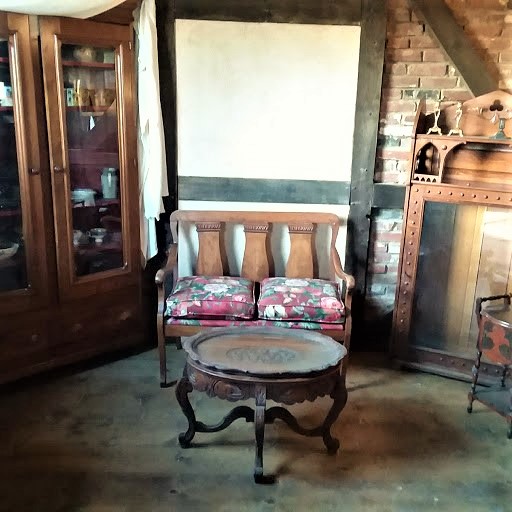
 Update! I’m still painting, it’s February and COLD, so it’s a good time to paint before gardening starts. I’ve been seeing chalk painted upholstery and leather and decided to try it, it really seems too good to true for those pieces that have perfectly good upholstery but need an updated color. I found these throne chairs at an estate sale, they are beautiful and sturdy just the way they are, but they are a little dated with their dark green vinyl, so I painted them with a sandy color and added my mixed wax, dark and light mixed together for a beautiful finish and patina and here they are! The wax makes them feel like fine calf leather! It’s quick and easy and opens up a whole new avenue for updating antiques! Next time I’ll show you the fabric I’m painting on two Victorian rosewood chairs. Stay tuned!
Faux “Stucco” Walls
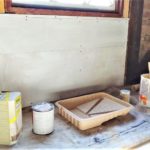
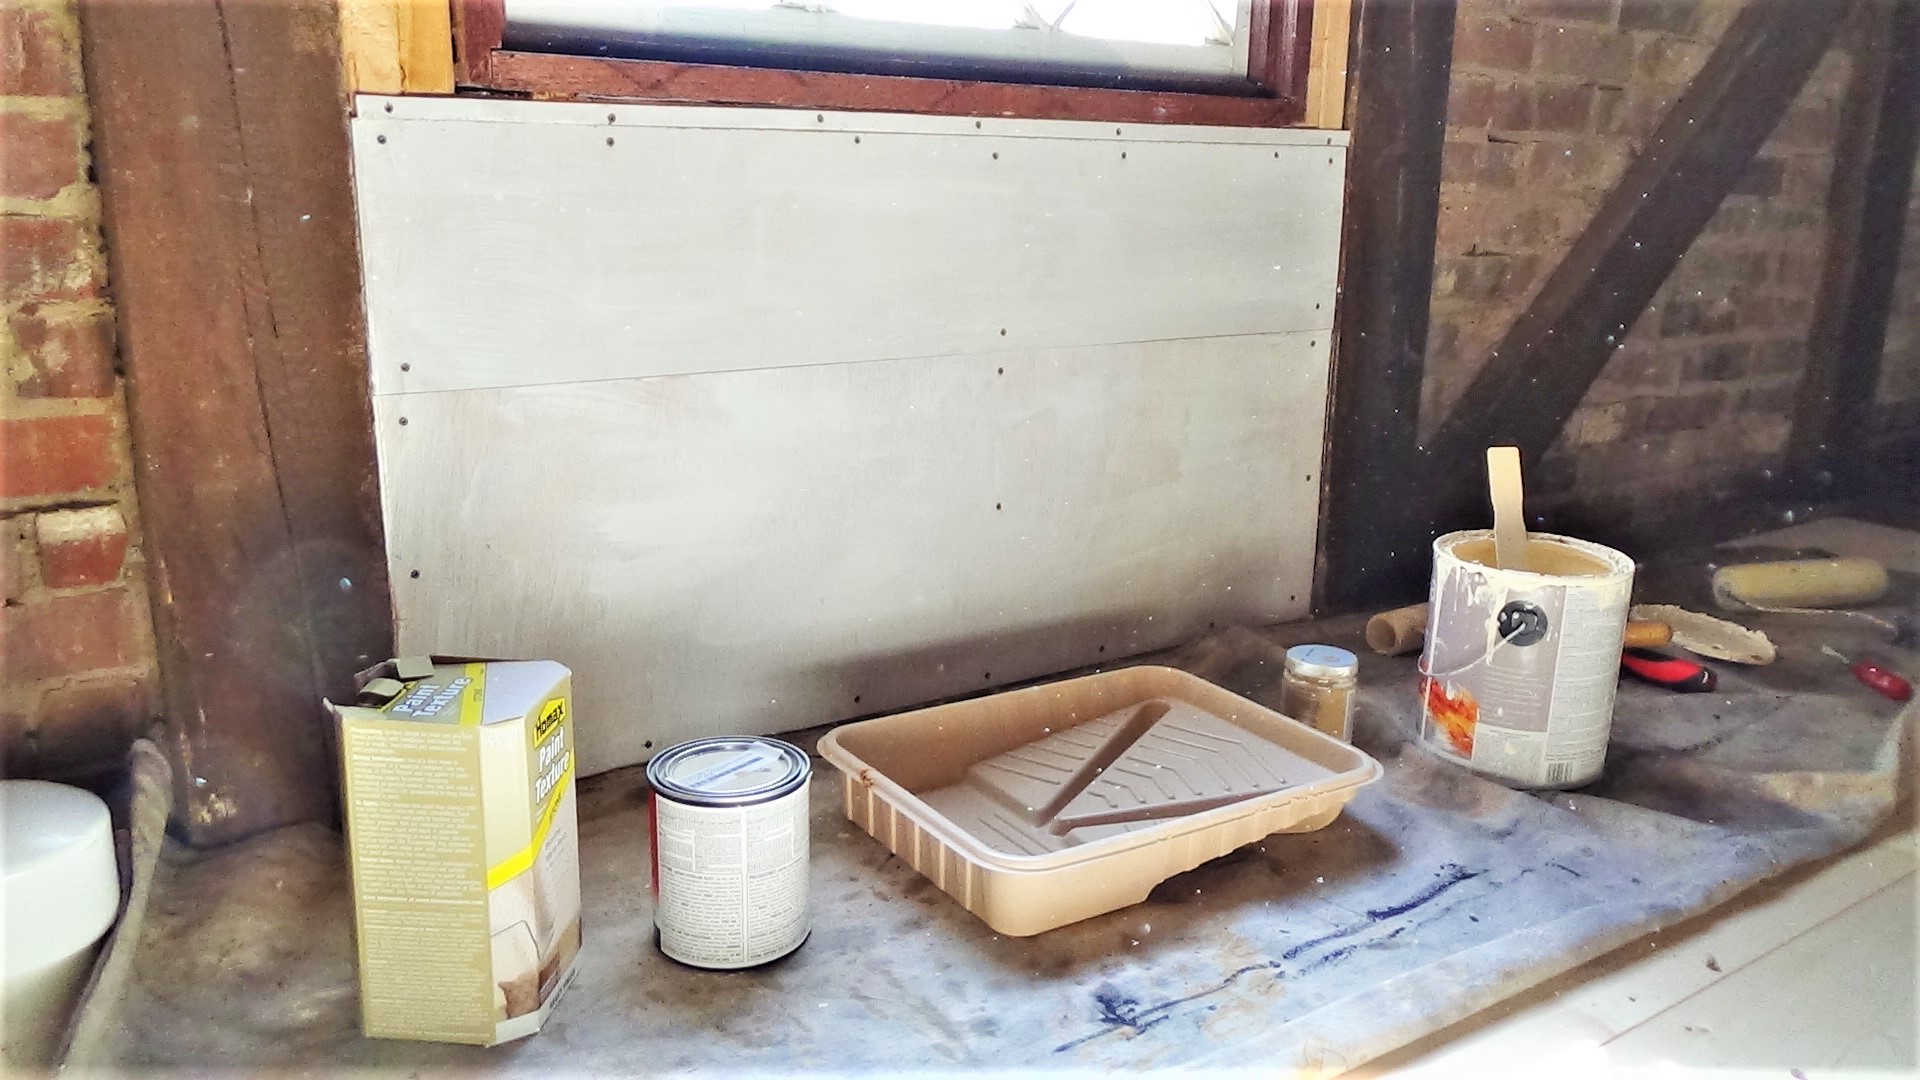
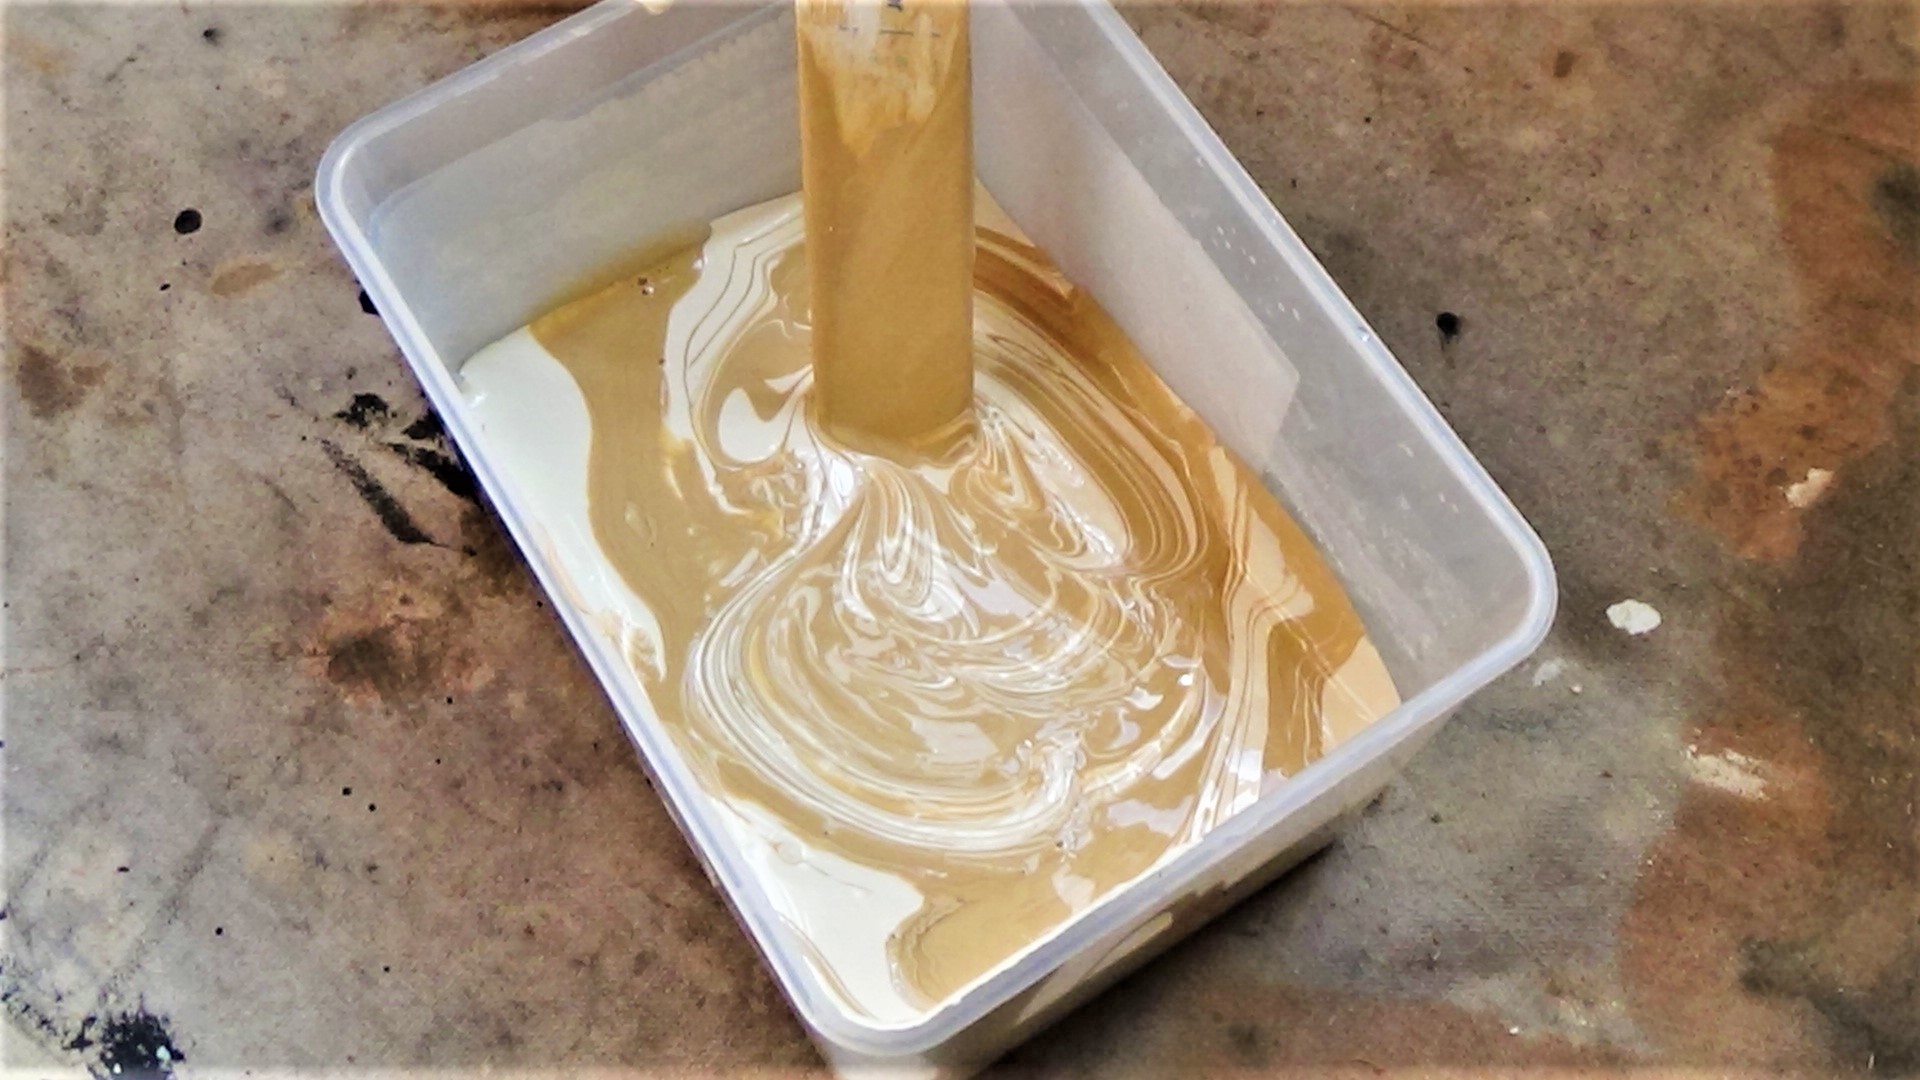
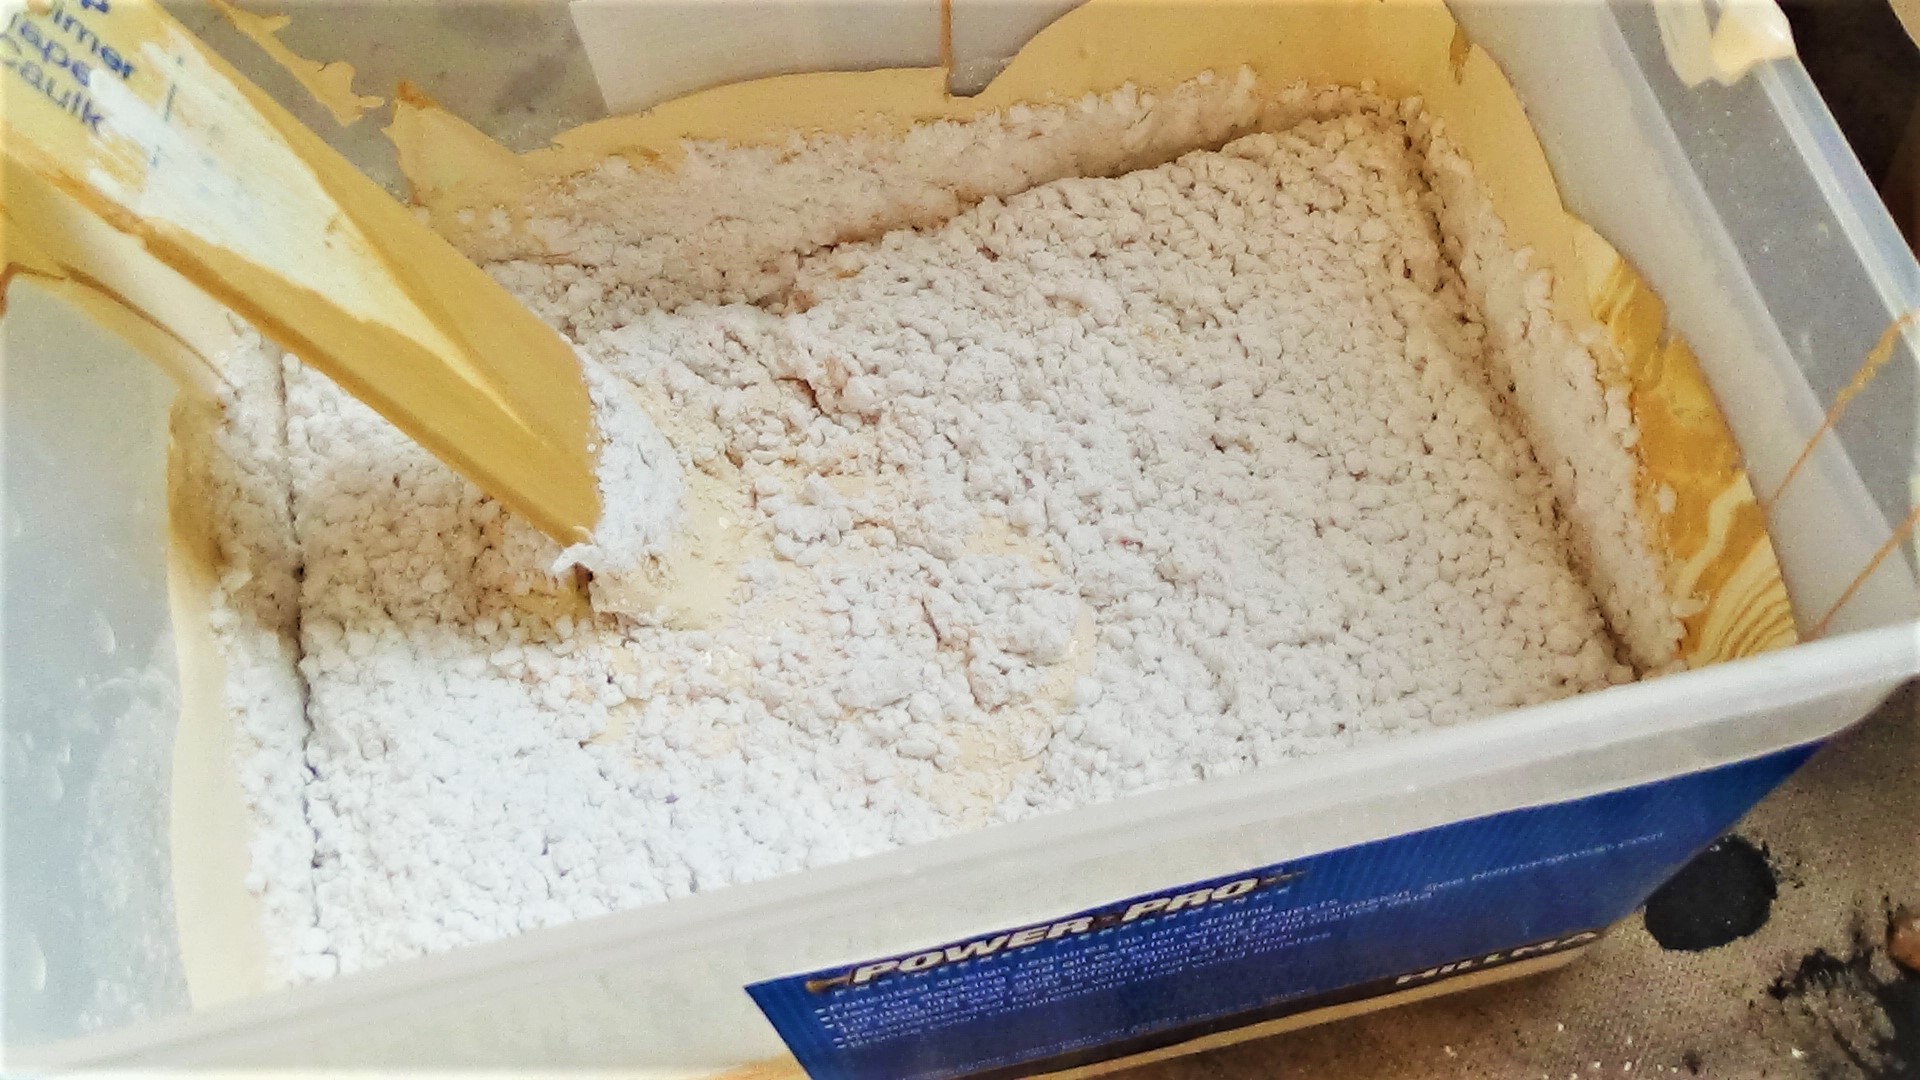
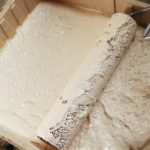
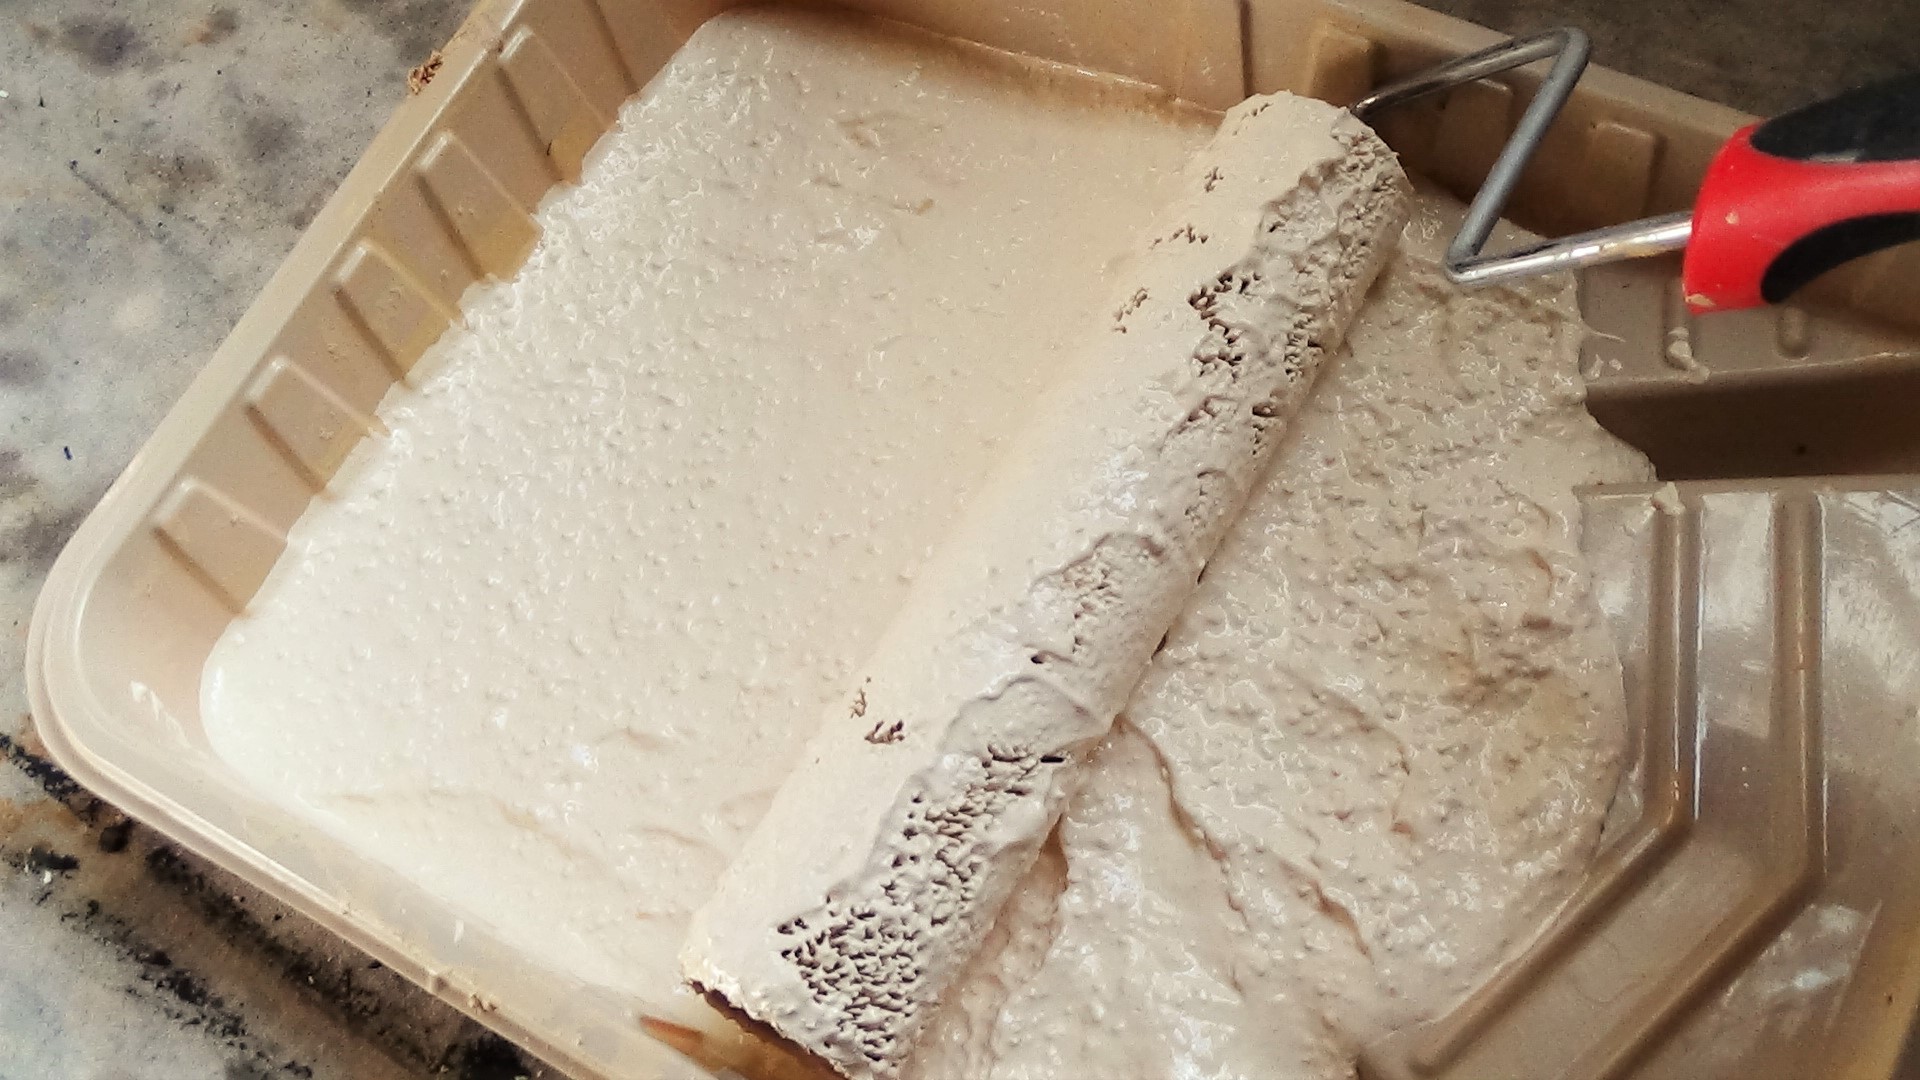
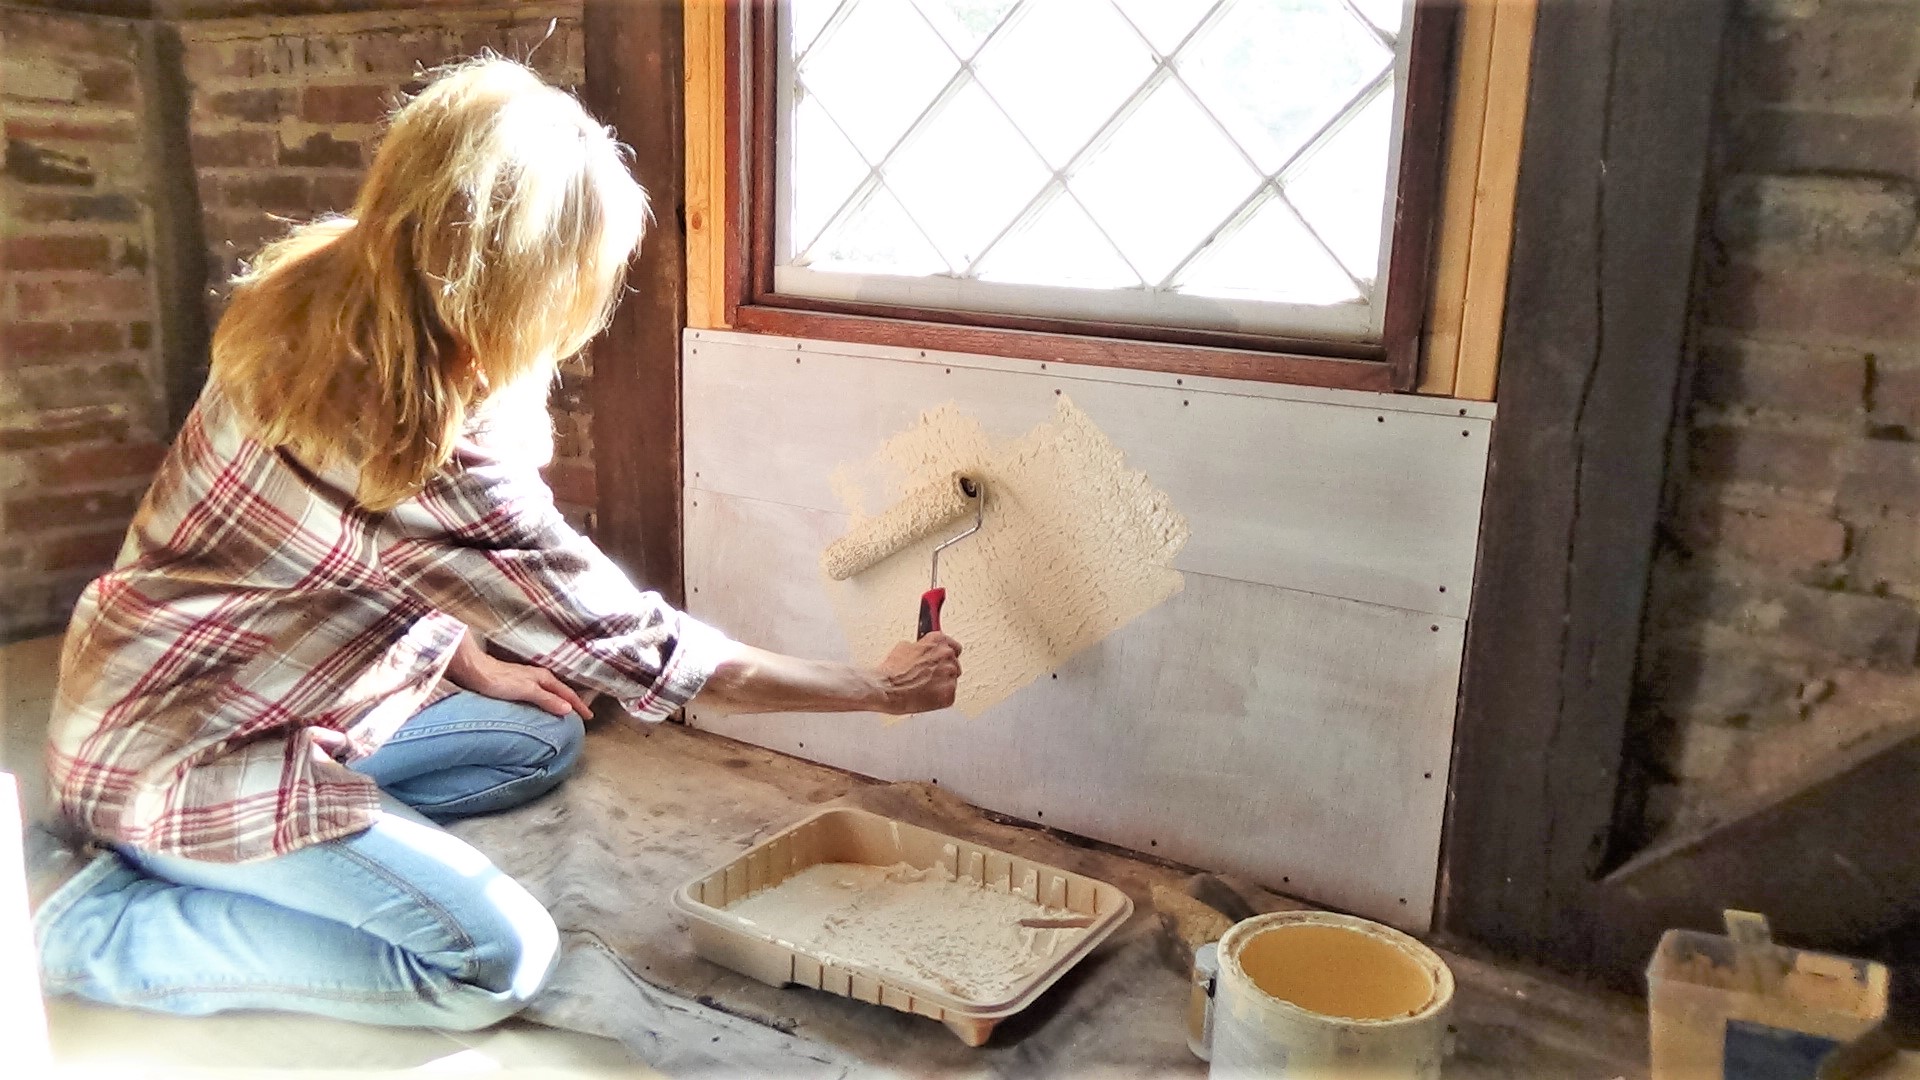
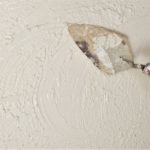
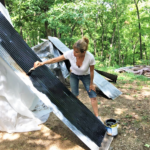
Posted By Ruth Guerri On In Barn Conversion | No Comments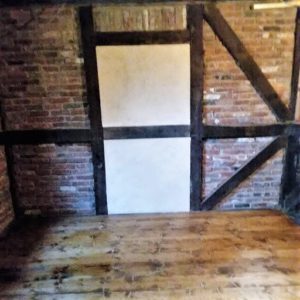 So, here’s my stucco project, in a few places in the barn, like under or around windows, or closing in a doorway, I wanted to create a stucco look, without using plaster, mortar or joint compound which is very messy and a pain in the butt! All of the spaces to cover are fairly small. So after some research, this is what I came up with. First, we covered the area to be “stuccoed” with thin plywood, then I mixed up a paint color to mimic mortar, so an ivory color, mixed with a tan color, I matched the color with some existing mortar – stucco already in the barn that we did 18 years ago. So, then I added a product called Homax Paint Texture with a stone finish that adds texture to ordinary paint, a heavy stone texture, you just stir it in until you get the desired consistancy, I wanted it heavy, like a heavy cake batter with gravel in it! Then I poured it into a paint tray and used a small roller, loaded it up and started painting it on the plywood, randomly. I used a brush for the edges, then used a trowel to add a “swirl” pattern. After it dried, I went back in with a paint brush and added some lighter tones to create dimension. It worked, it looks just like stucco, without using mortar or joint compound! Piece of cake and fun to do!
-
 [19]
[19]
-
 [20]
[20]
-
 [21]
[21]
-
 [22]
[22]
-
 [23]
[23]
-
 [24]
[24]

Barn Conversion – Antique Shop
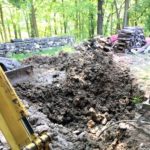
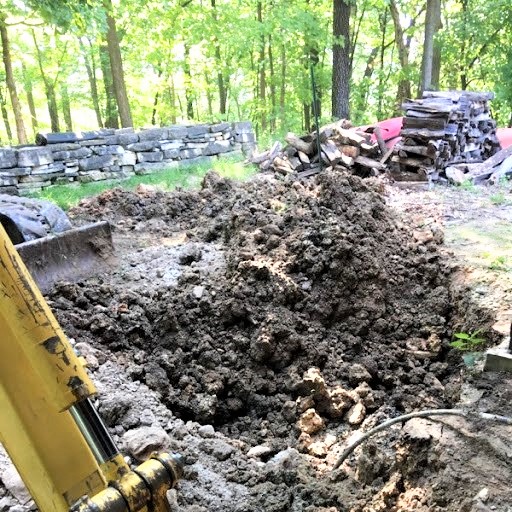
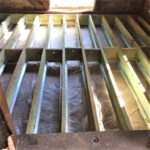
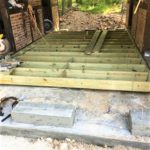
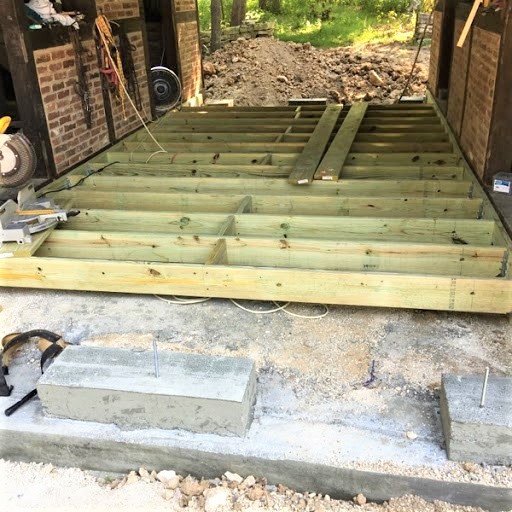
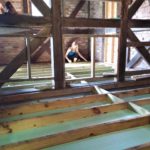
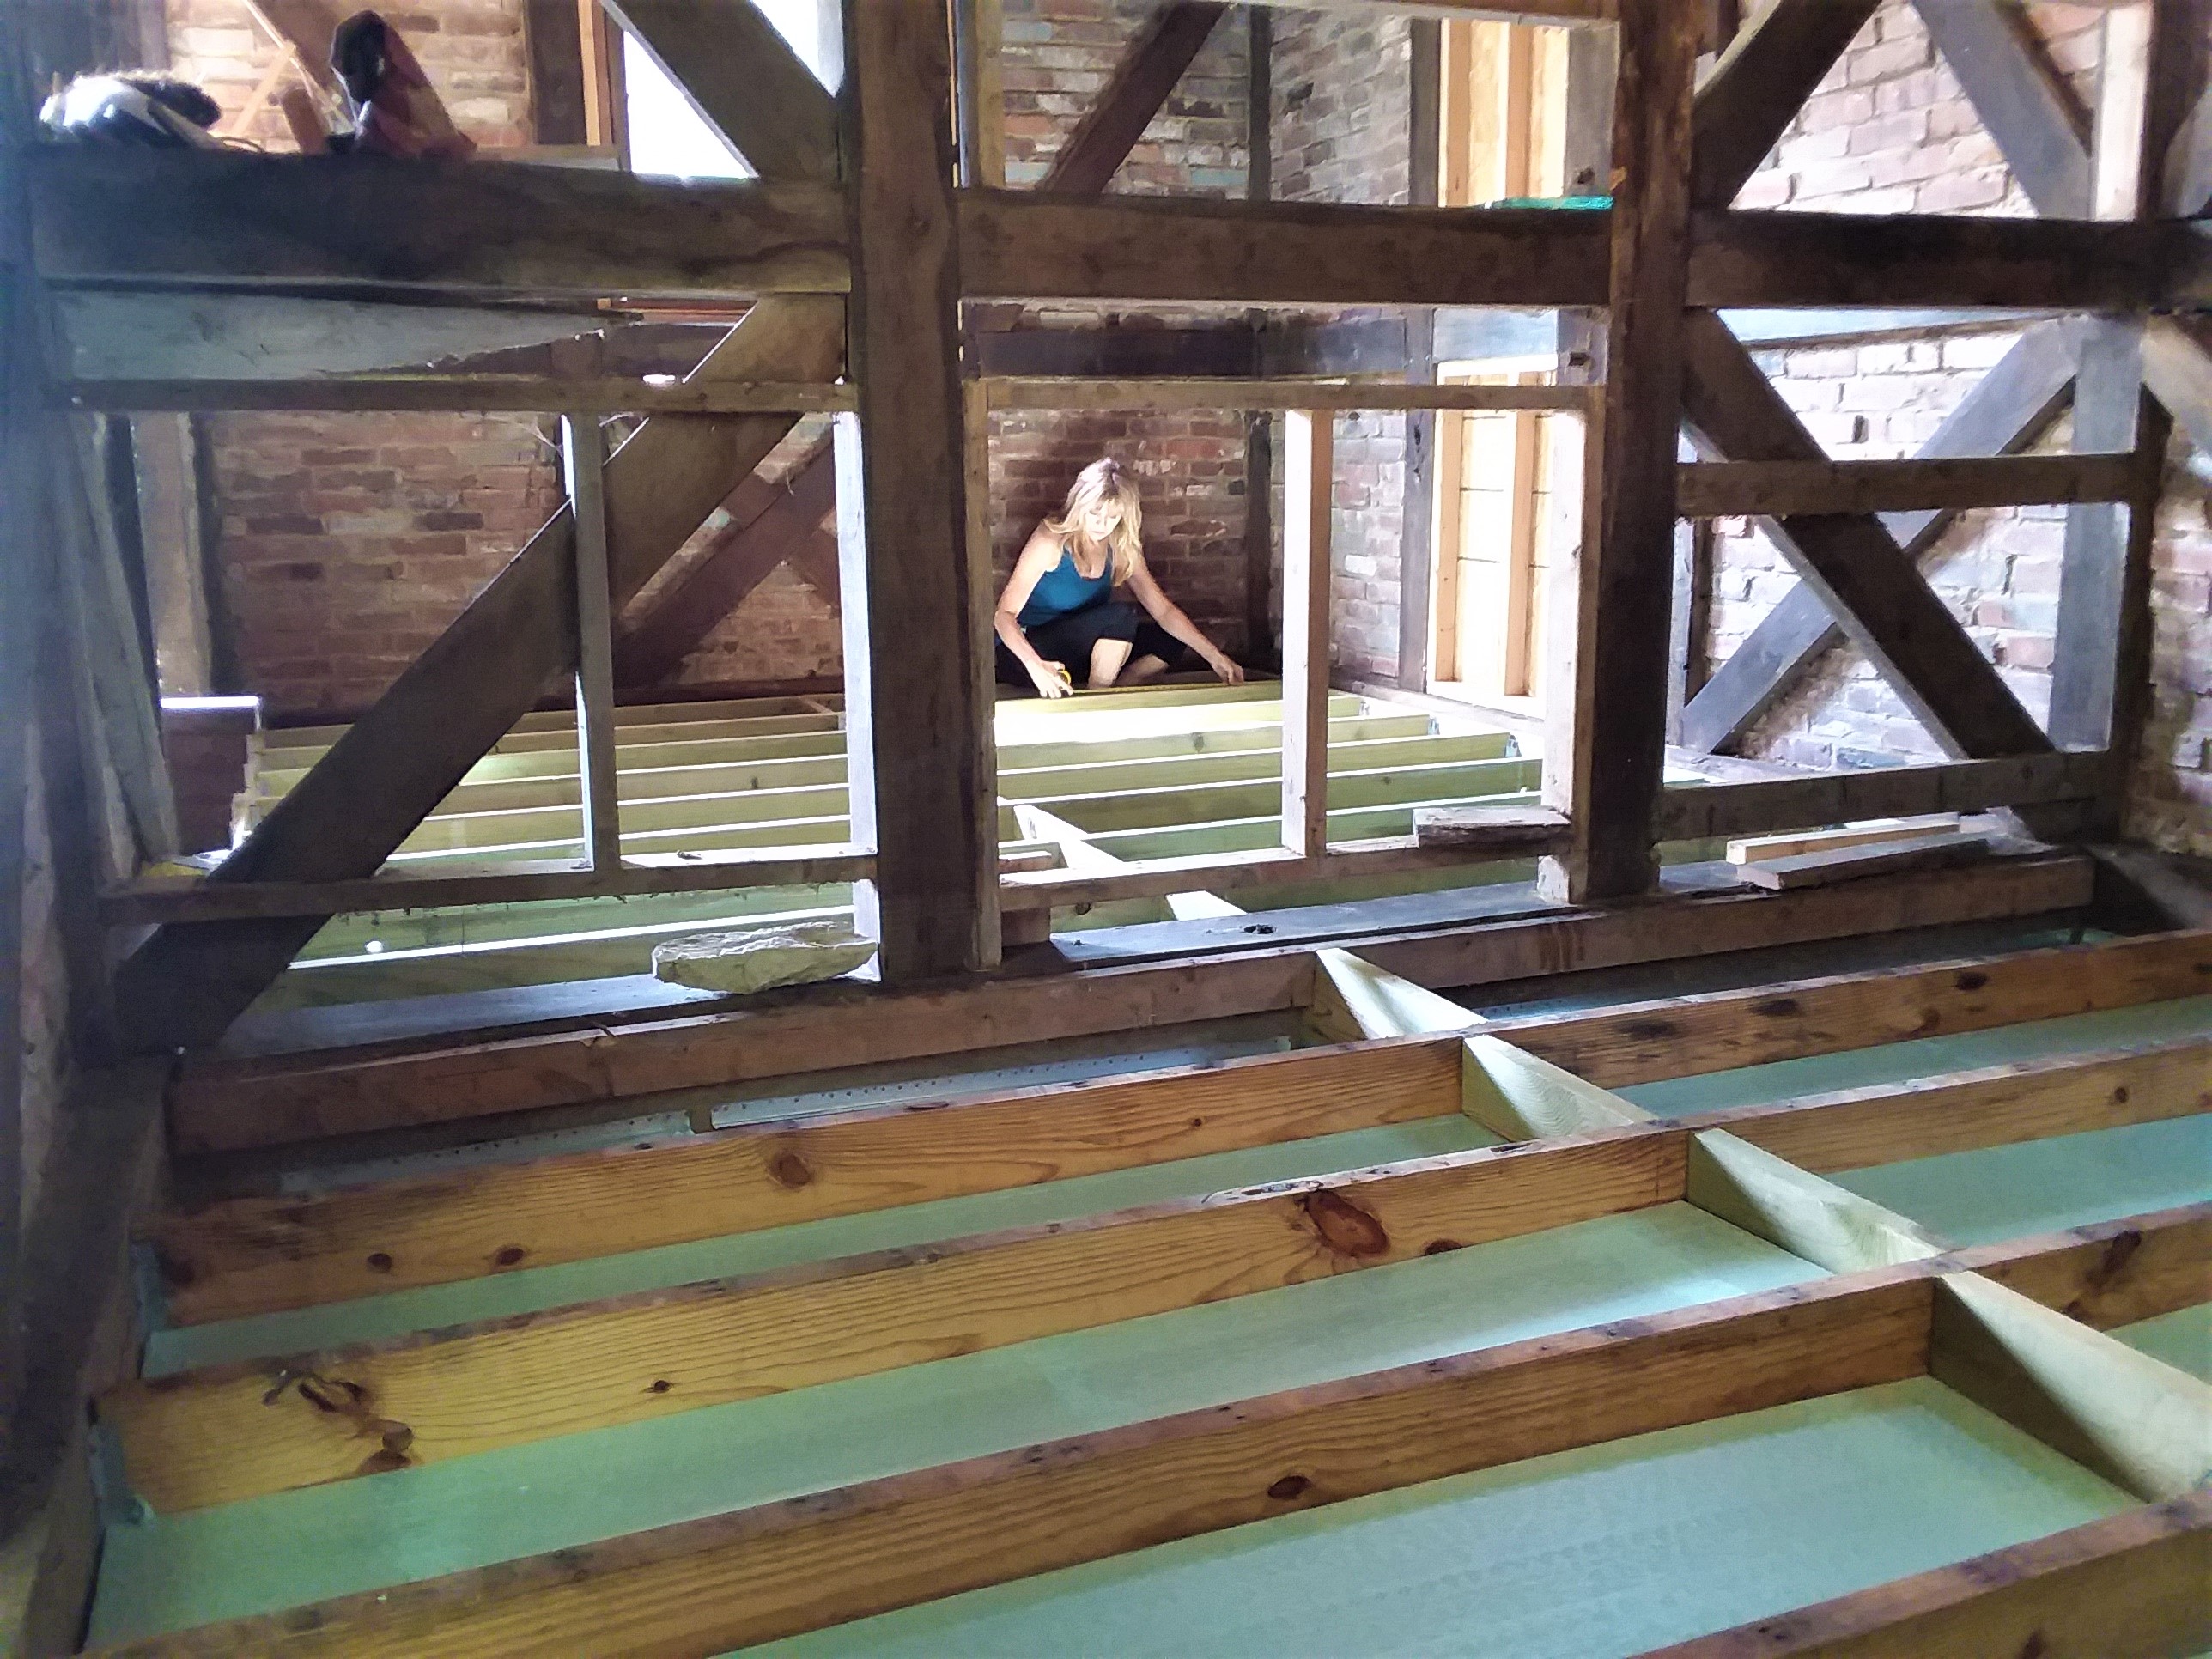
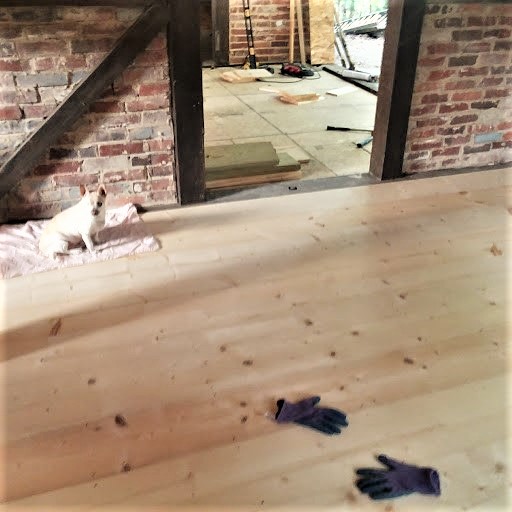
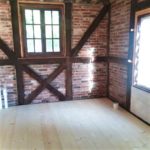
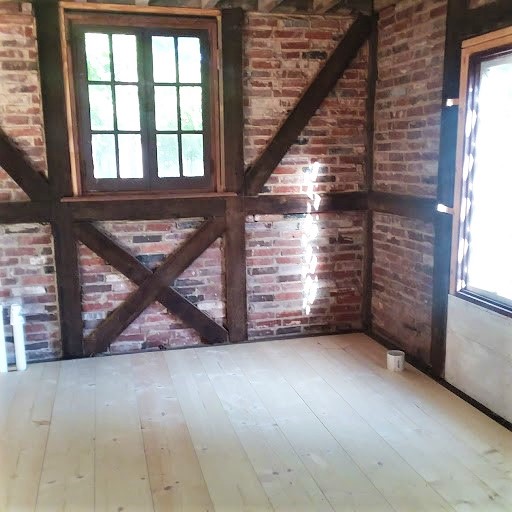
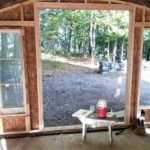
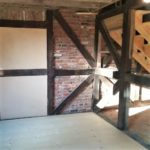
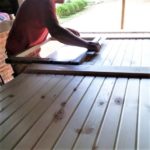
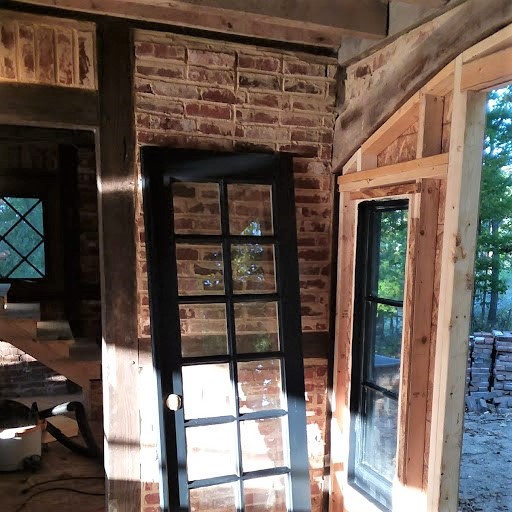
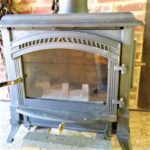
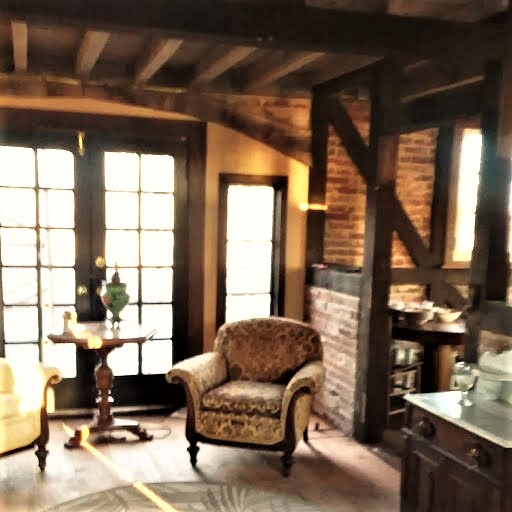
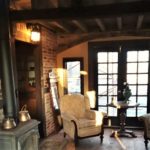
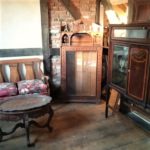
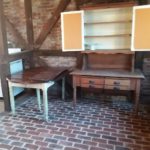
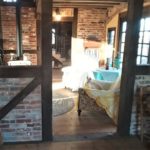
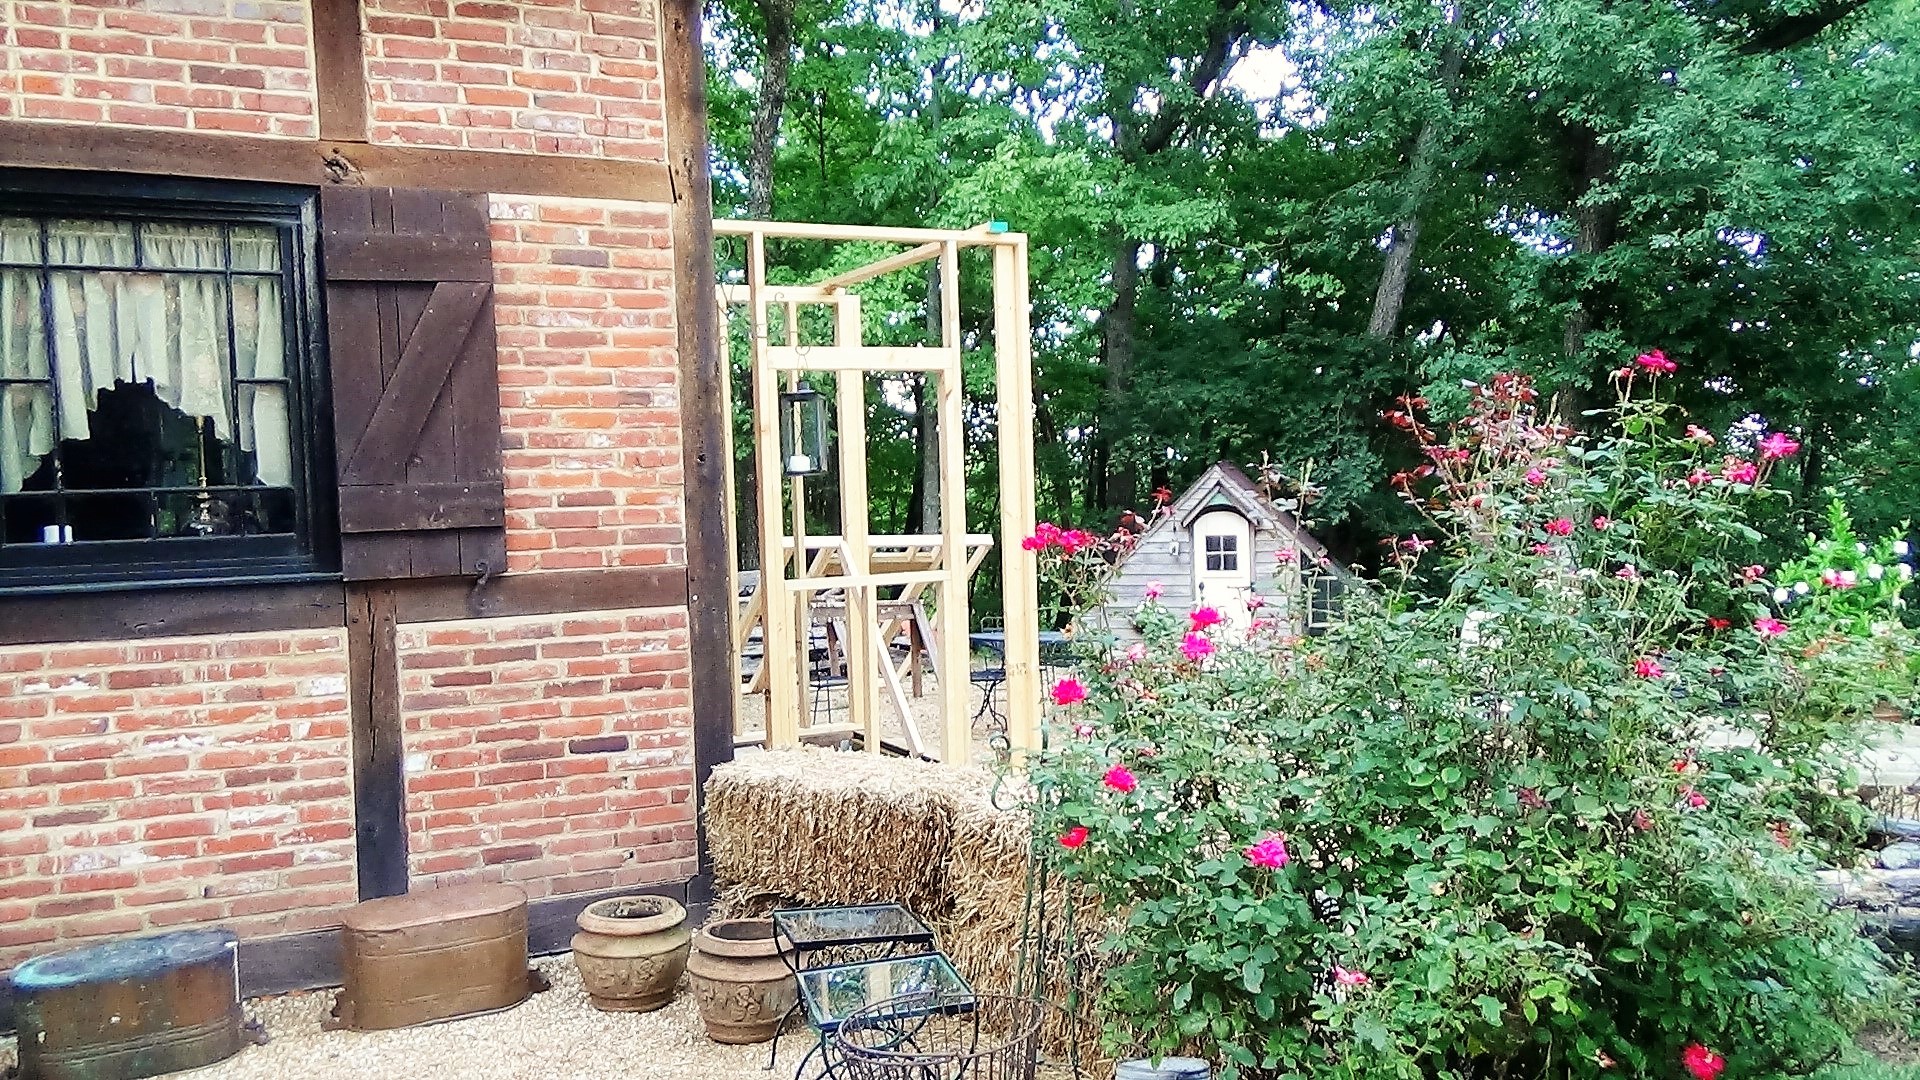
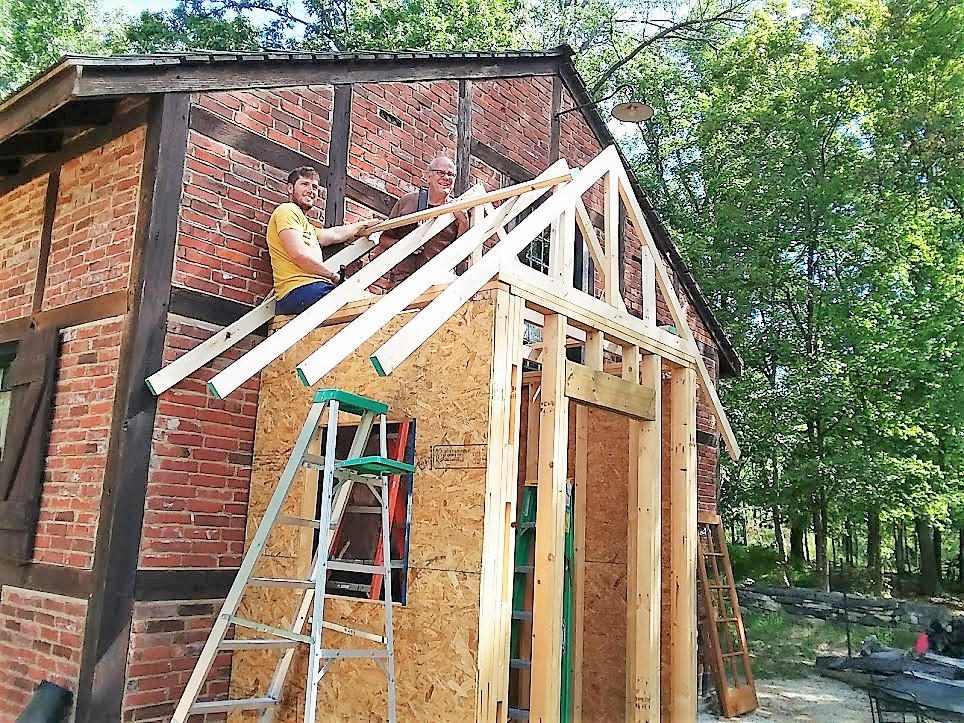
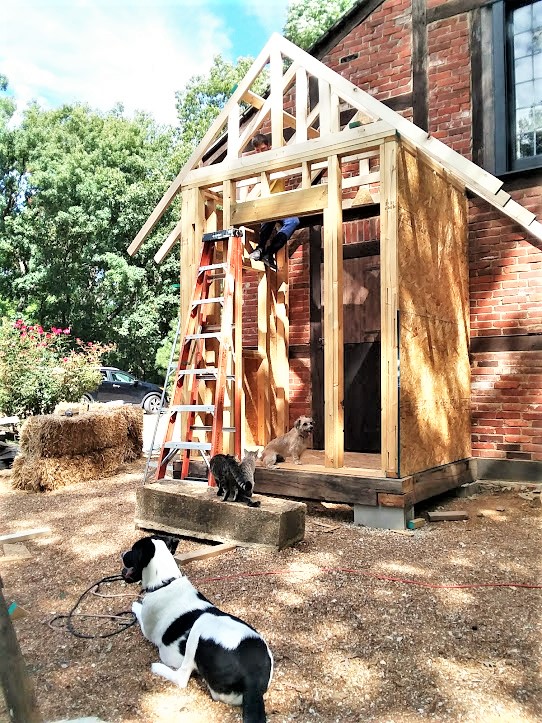
Posted By Ruth Guerri On In Antiques,Barn Conversion | No Comments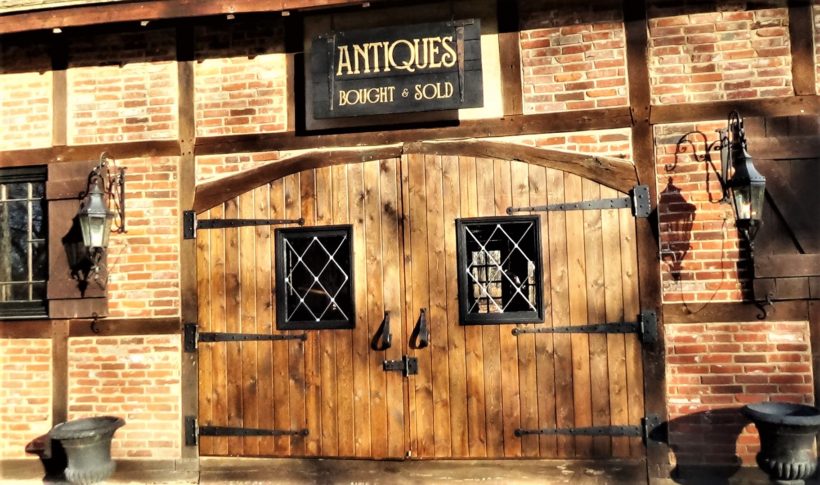 We have been working non-stop on our barn project, we are converting it into an antique shop, only to be open for specials sales and by invitation, shopping, and lunch! We’re trying to beat the cold that is sneaking in on us! I was hoping to have my first sale in November, but we’ll see….. Subfloors, trenching, the heavy yuk work is over, thank God and we’re moving on to the fun stuff! Laying finished floors, (wood and brick), building arched barn doors and setting doors and windows in the back wall, building a new staircase….etc. It just keeps getting more exciting! All of the windows and doors have come from architectural salvage stores, except for the barn doors and their windows, we’re making those because they have to be an exact size and it’s a really fun project, they must also be aged so they match the barn. I’m making leaded, diamond pane windows for the barn doors using surface lead strips, great project, I’ll post more about that later. Another interesting task is creating a stucco look for a few walls, I’ll post more on that as well. I found a wood burning stove to keep us warm, knowing we can’t be painting and staining in the cold! Here are a few pics, I’ll post more as we progress.
-
 [25]
[25]
-
 [26]
[26]

-
 [27]
[27]
-
 [28]
[28]
-
 [29]
[29]
-
 [30]
[30]
-
 [31]
[31]
-
 [32]
[32]

-
 [33]
[33]

-
 [34]
[34]

-
 [35]
[35]
-
[6]
-
 [36]
[36]
-
[7]
-
 [37]
[37]

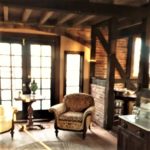
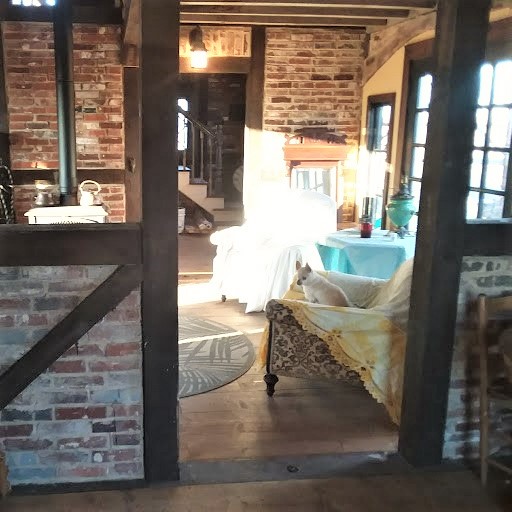
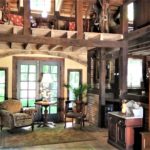
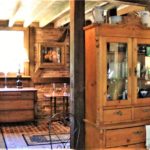
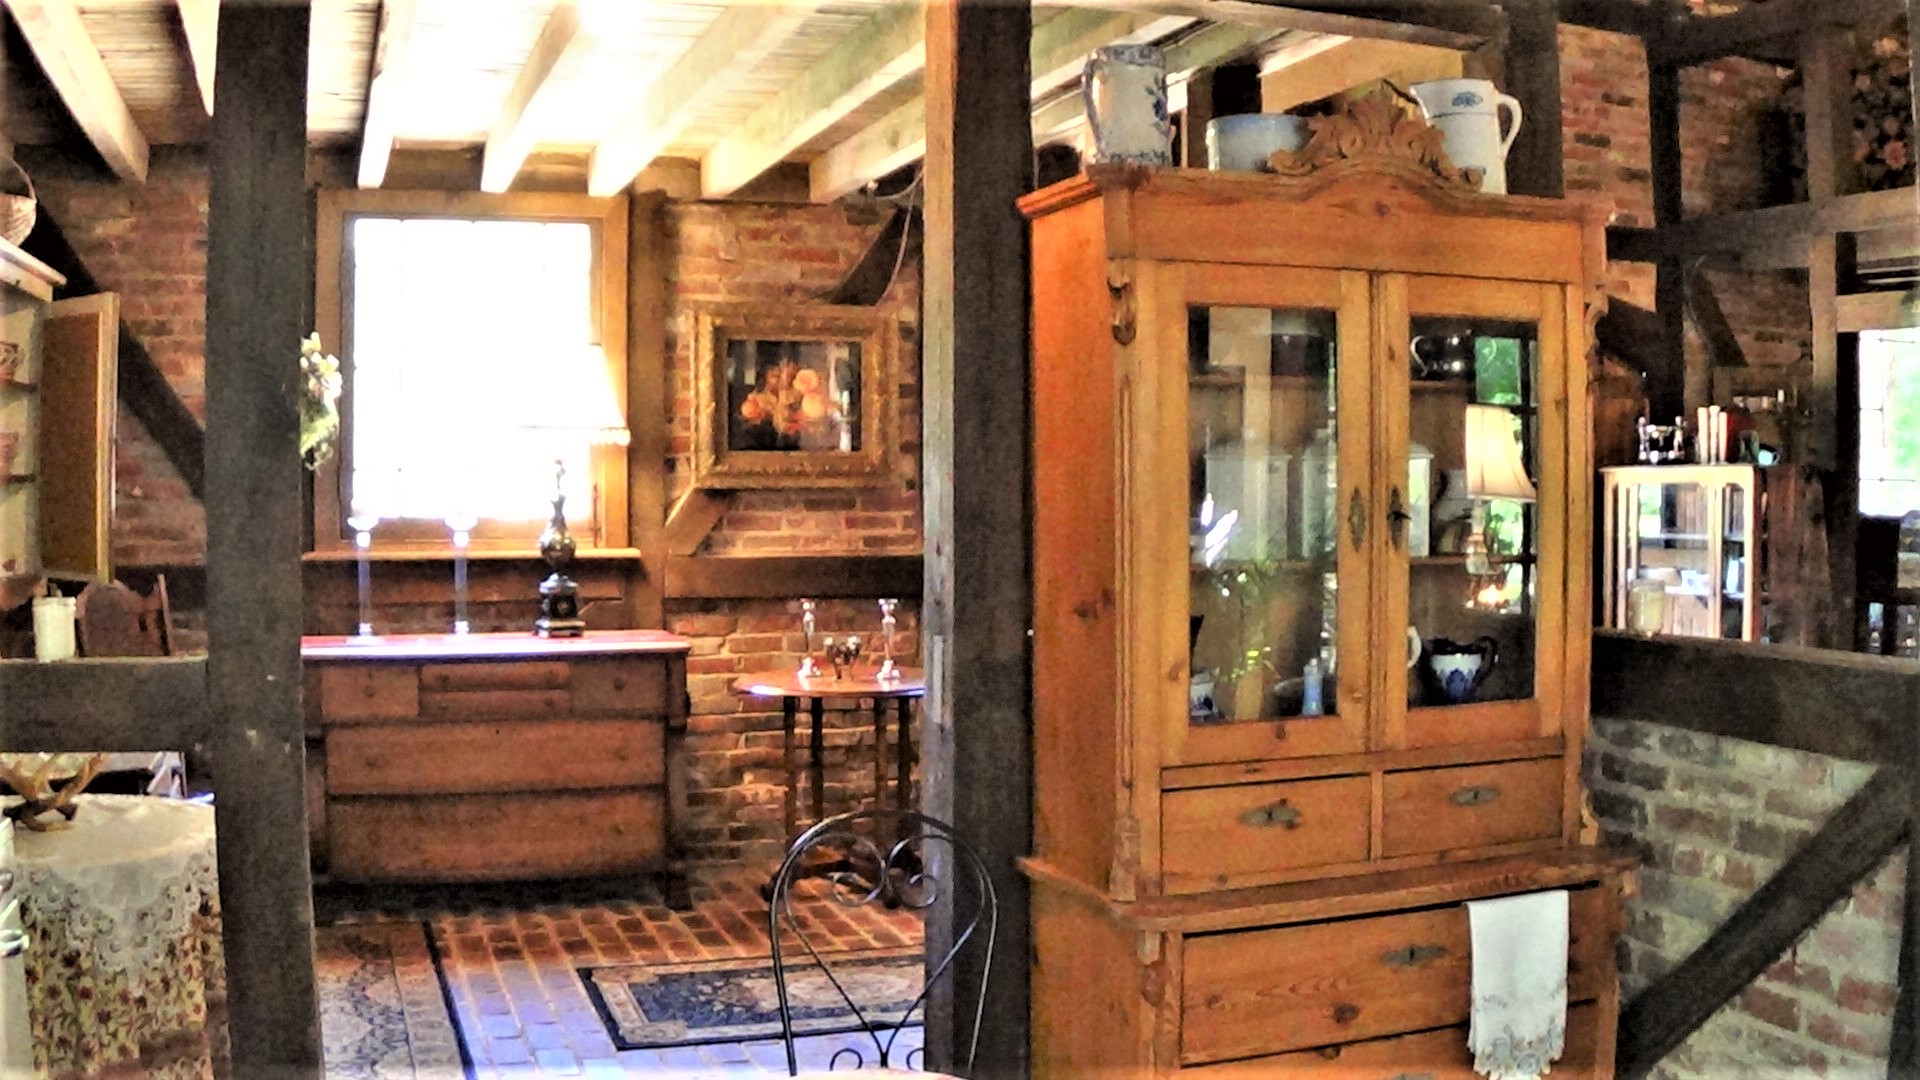
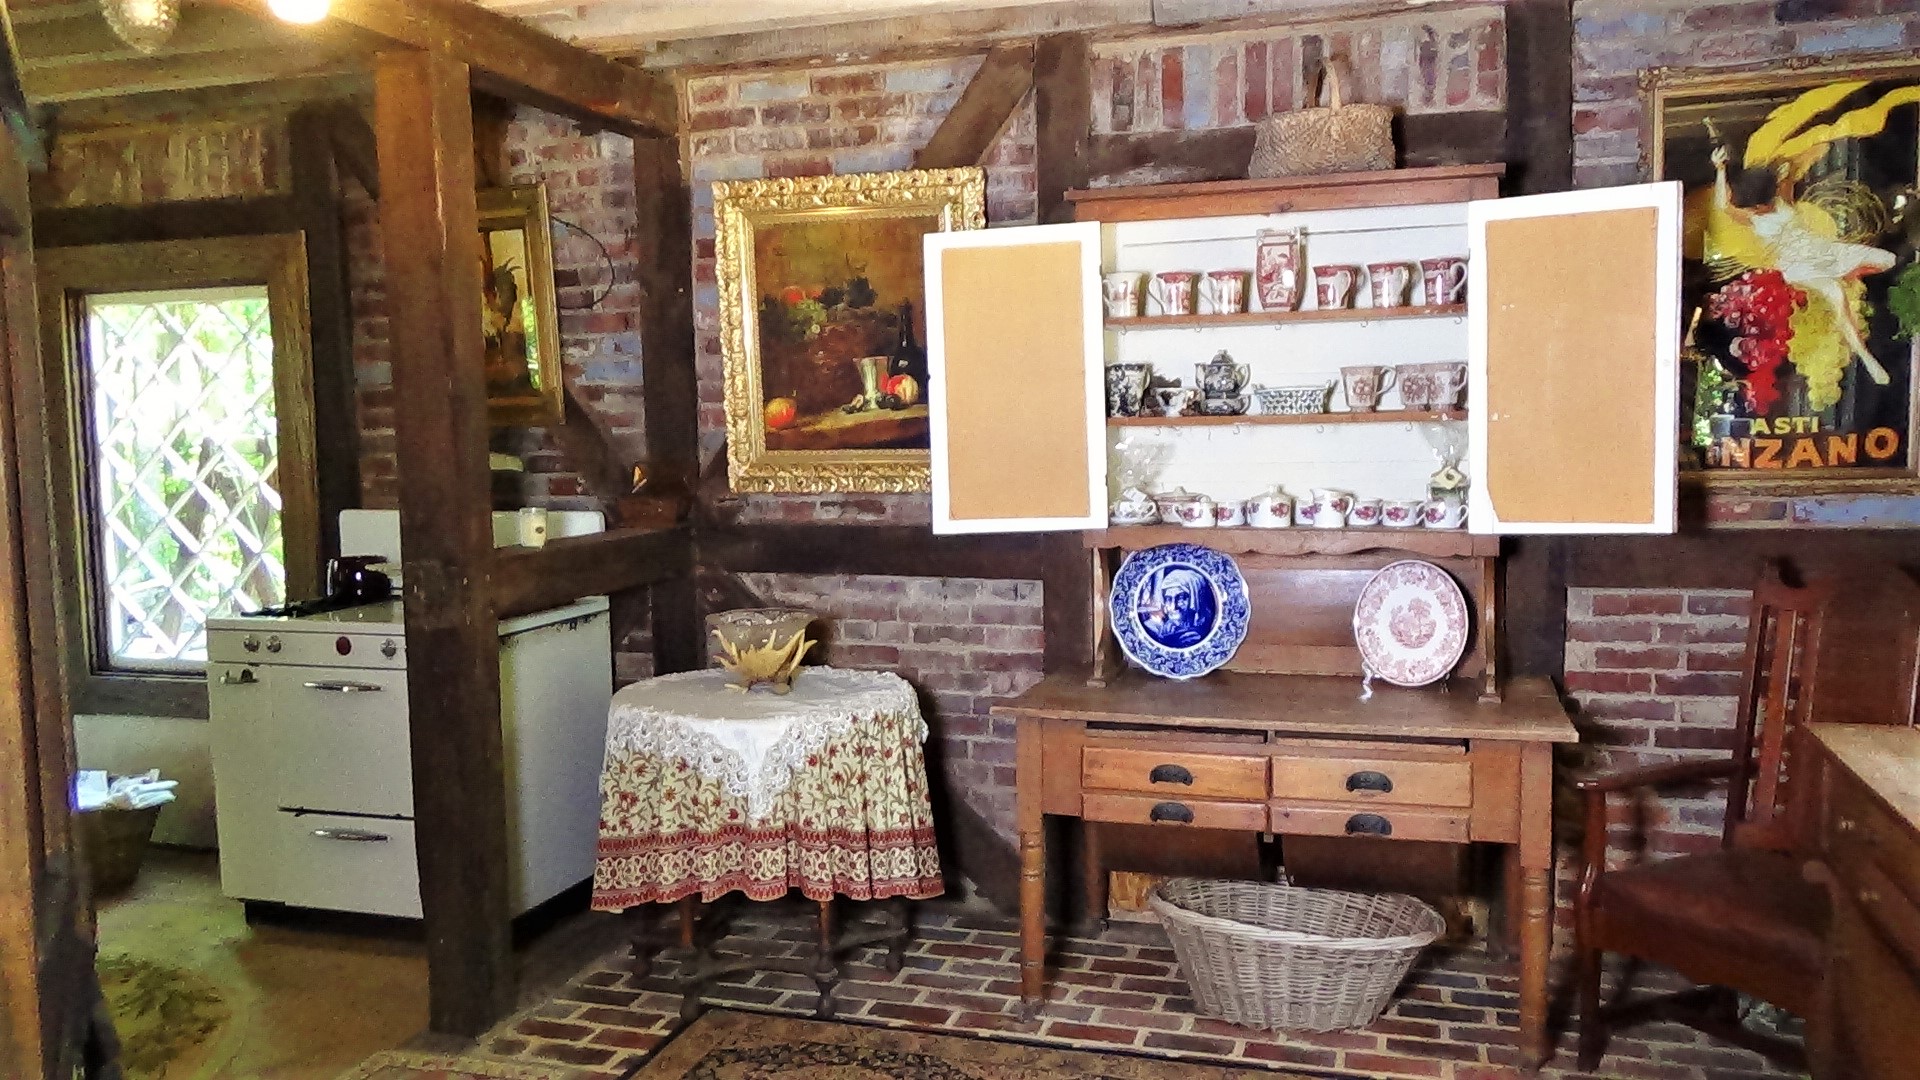
So here we are around the beginning of March! We’ve made major progress on the barn! It’s beginning to look a lot like an antique shop! Our target date is April 14, that’s the date of Ellie’s wedding shower so we must be finished! I convince myself daily that it’s no problem! We moved most of the furniture in last weekend, I’m waiting to move in the “fluff” until we get a little further along, rugs, lamps, linens, glassware, pictures, etc. because we still have some finish work to do, like painting and staining. Here are some pics of the shop so far. The the next time I post it should be all done! After Ellie’s shower and reception, I’ll be ready to open my shop, can’t wait!
-
 [38]
[38]
-
 [39]
[39]

-
 [40]
[40]

-
 [41]
[41]

-
 [42]
[42]

-
 [43]
[43]
-
 [44]
[44]
-
 [45]
[45]

-
 [46]
[46]
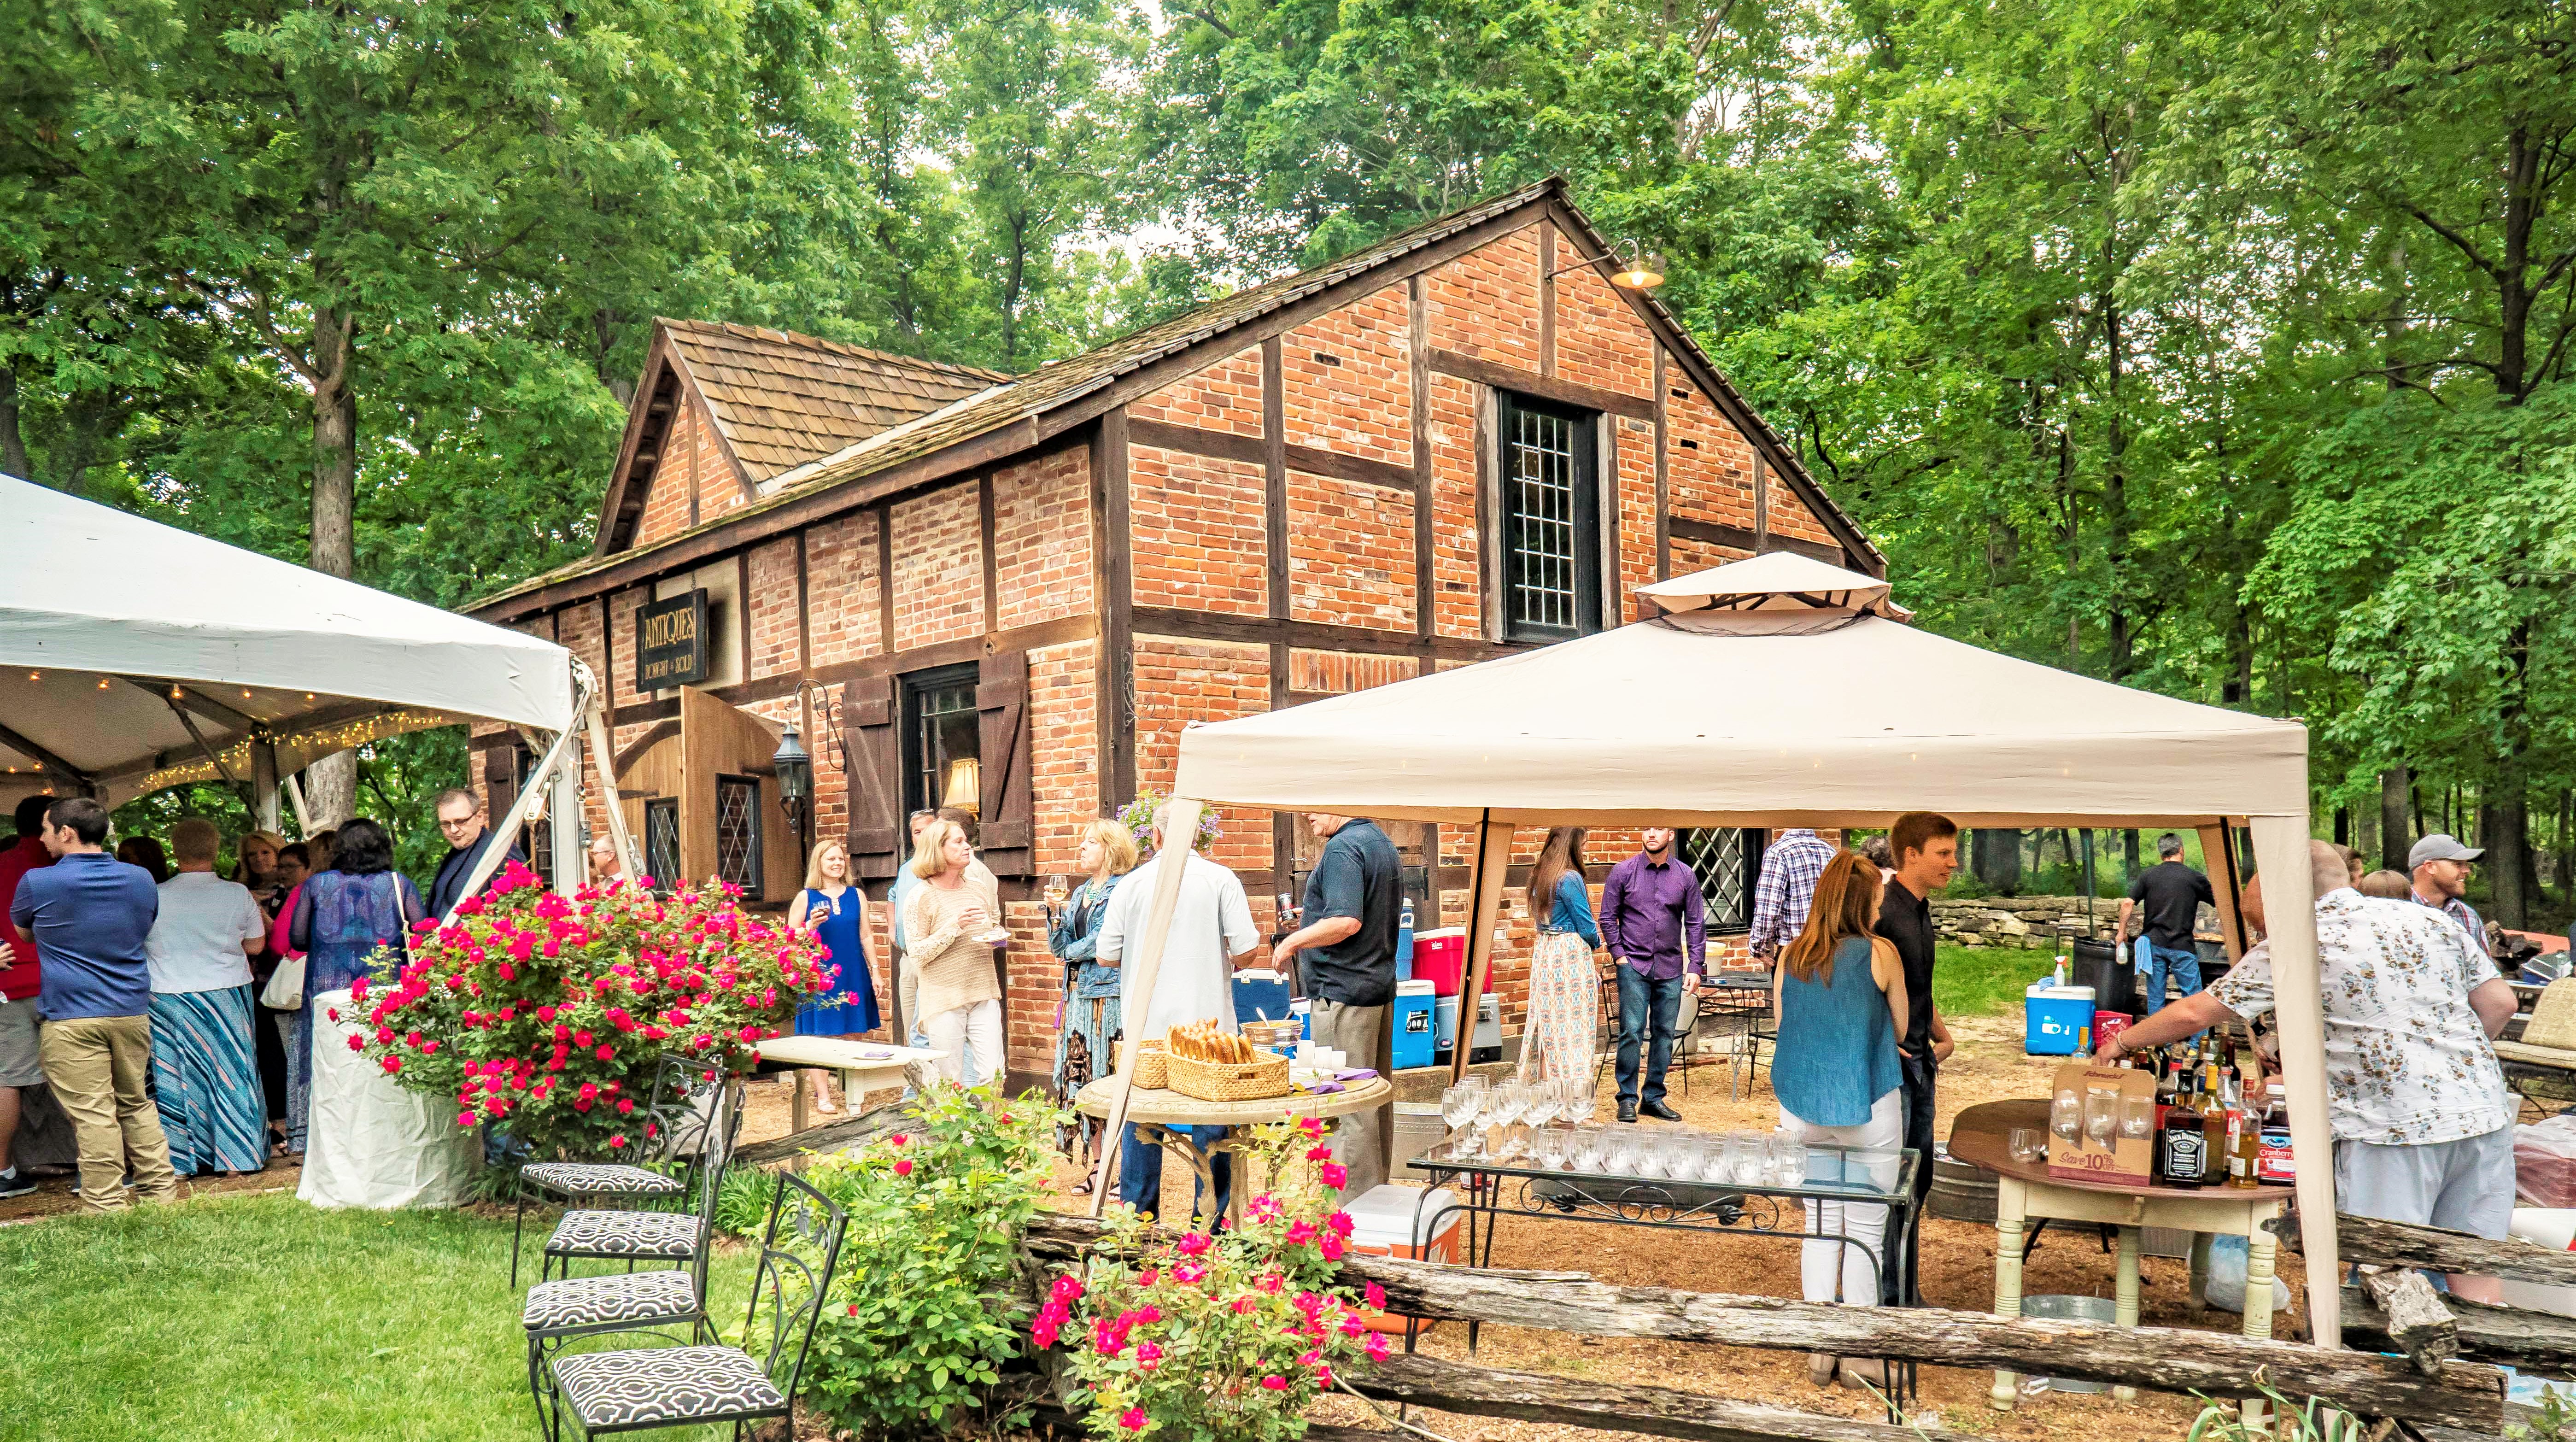
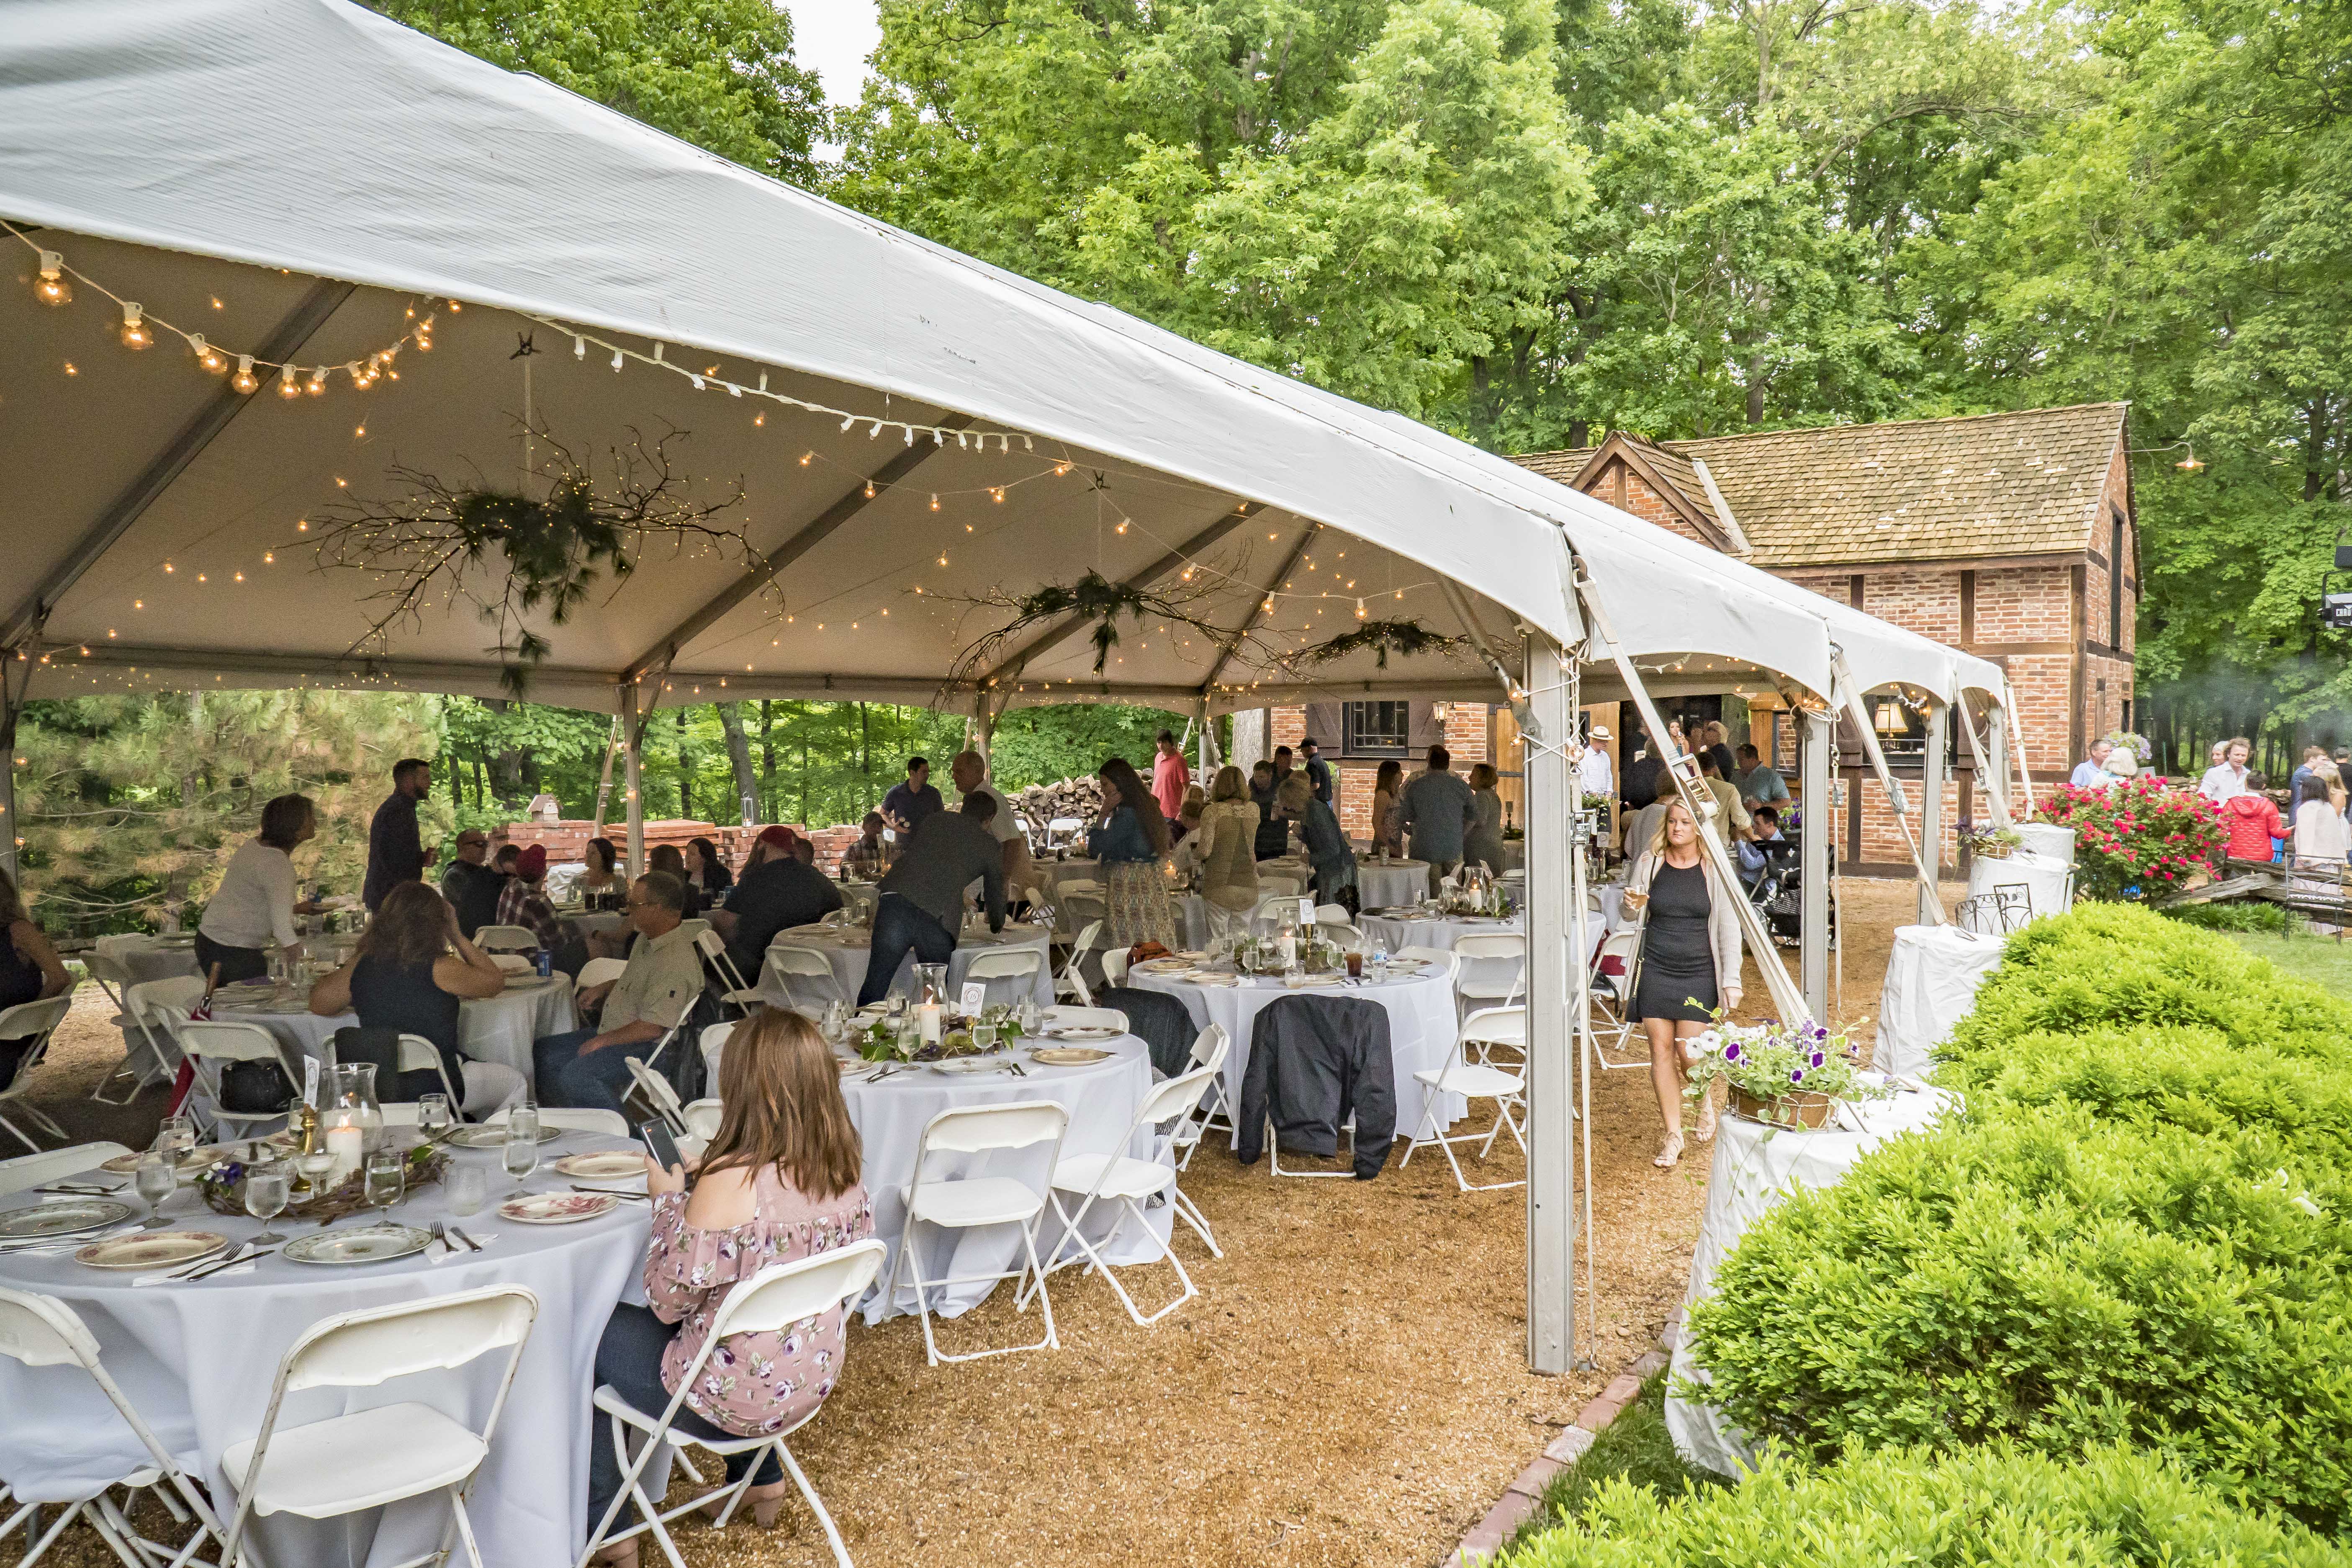
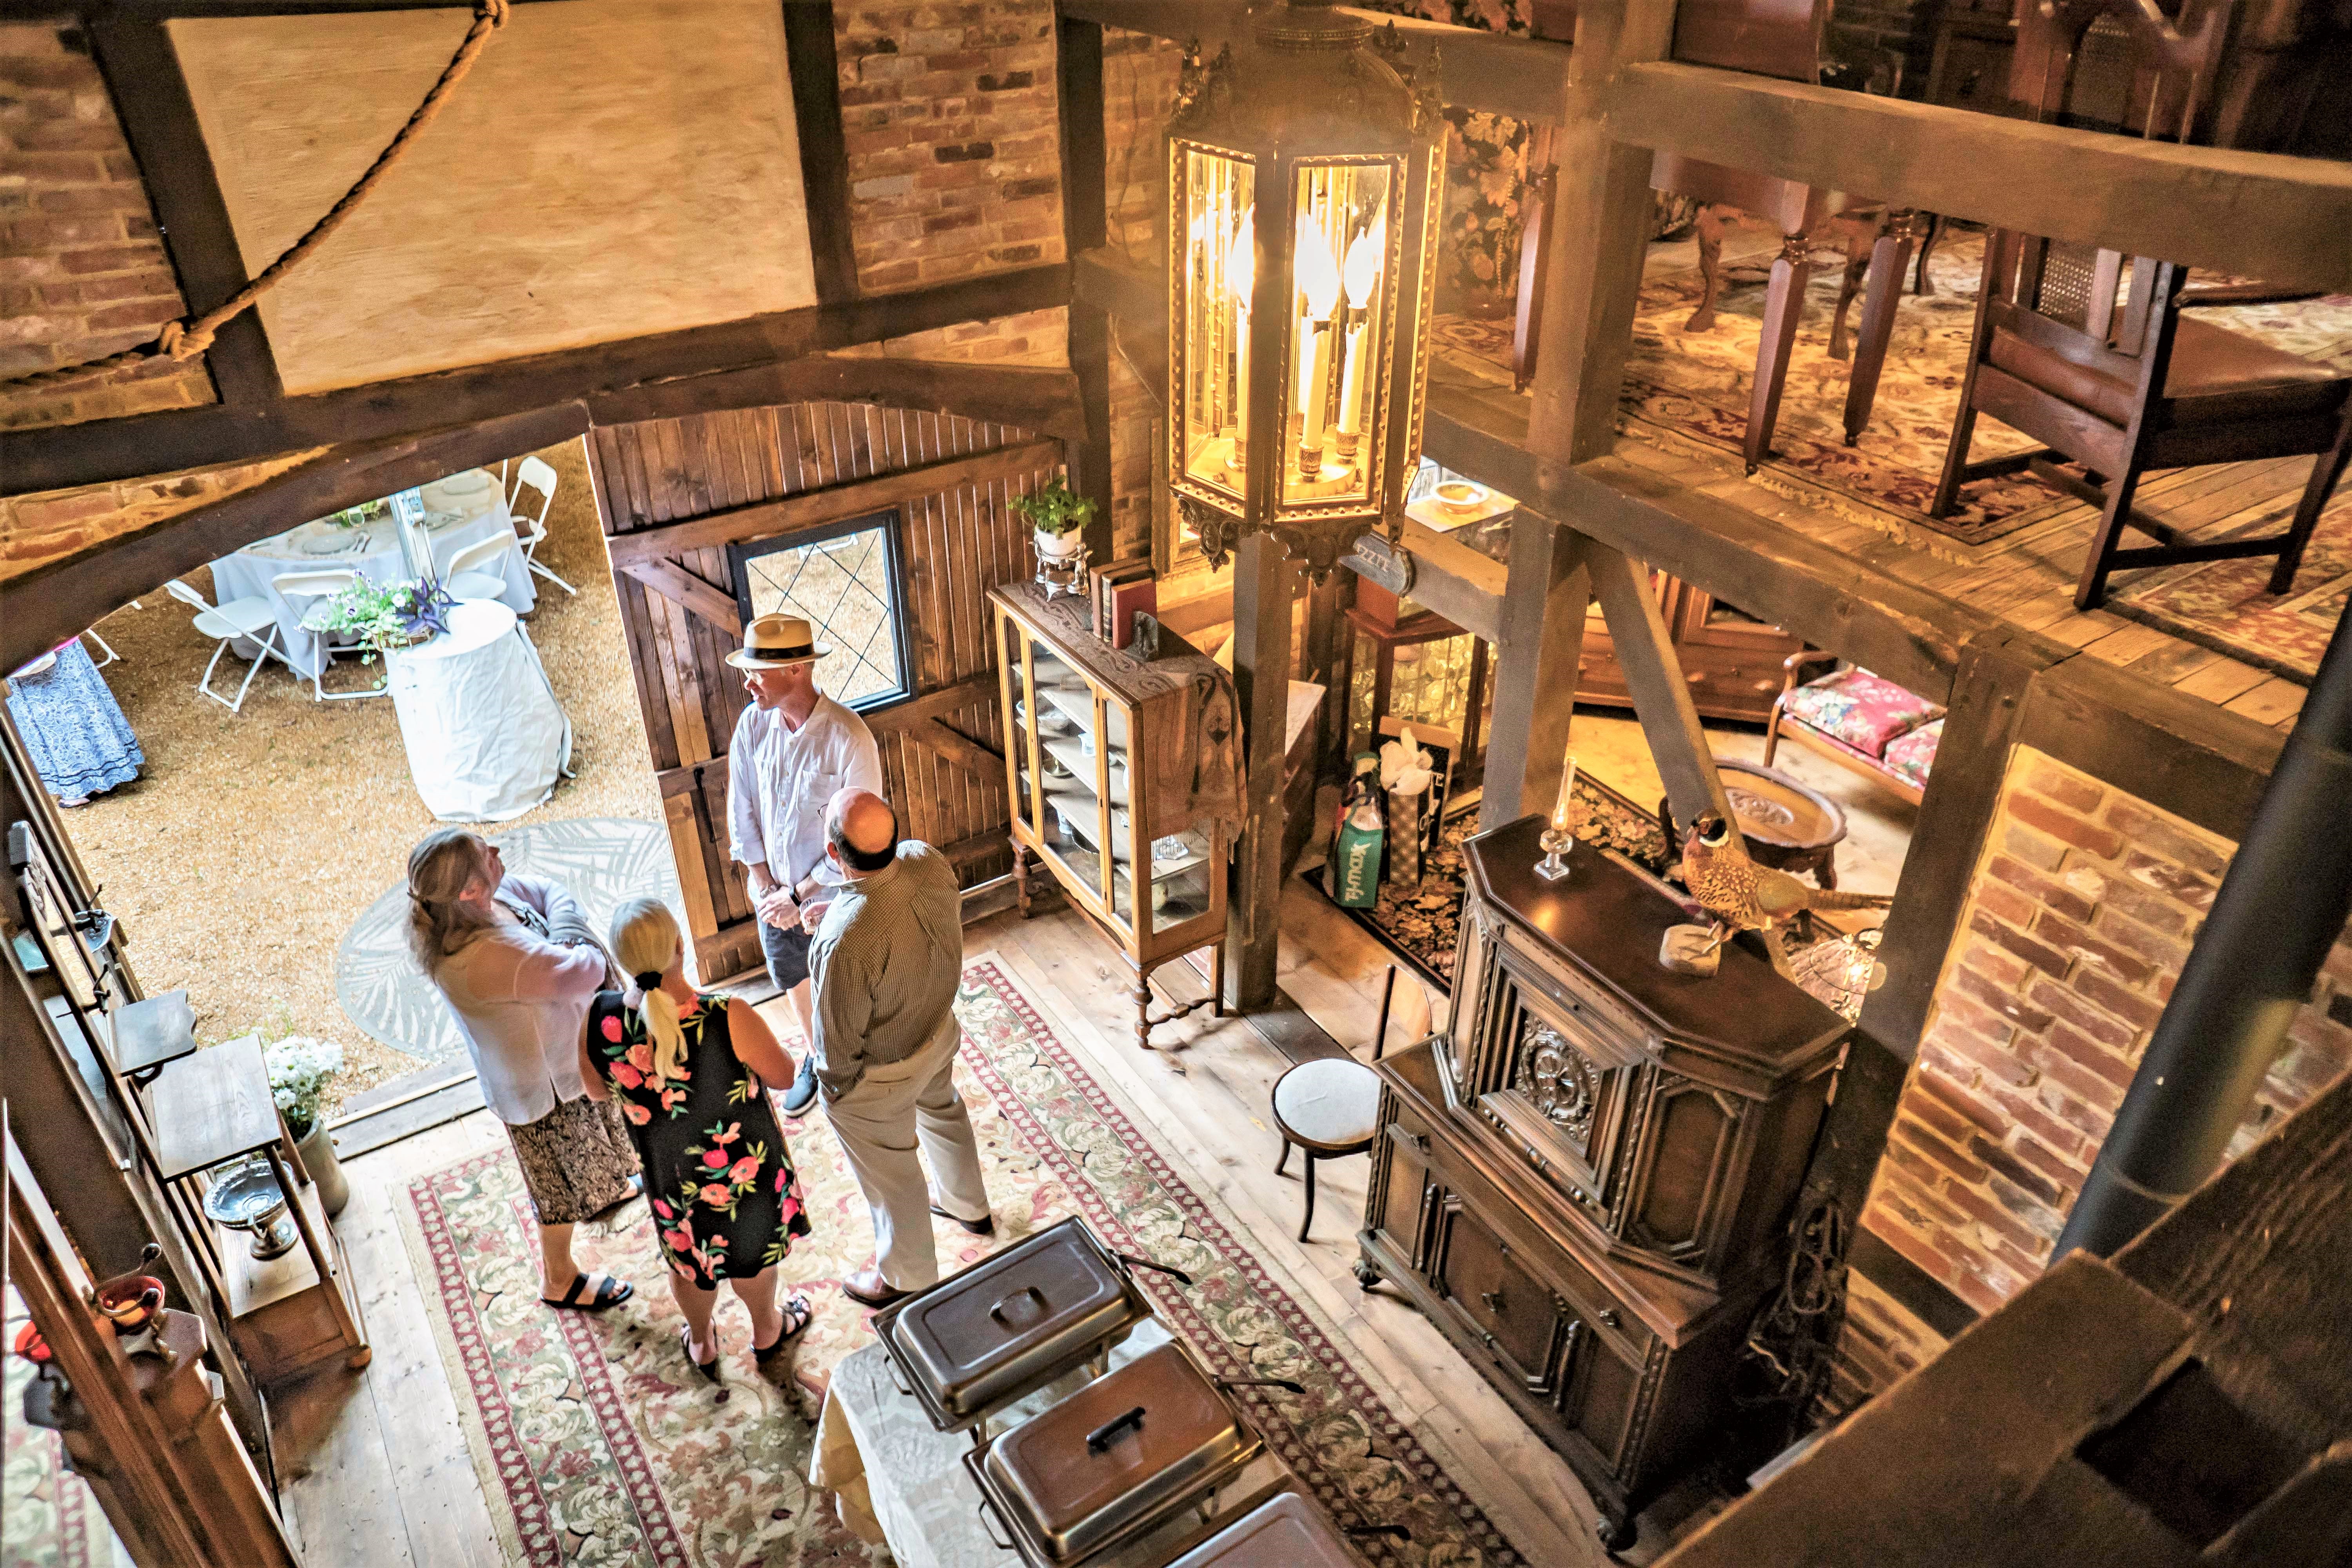
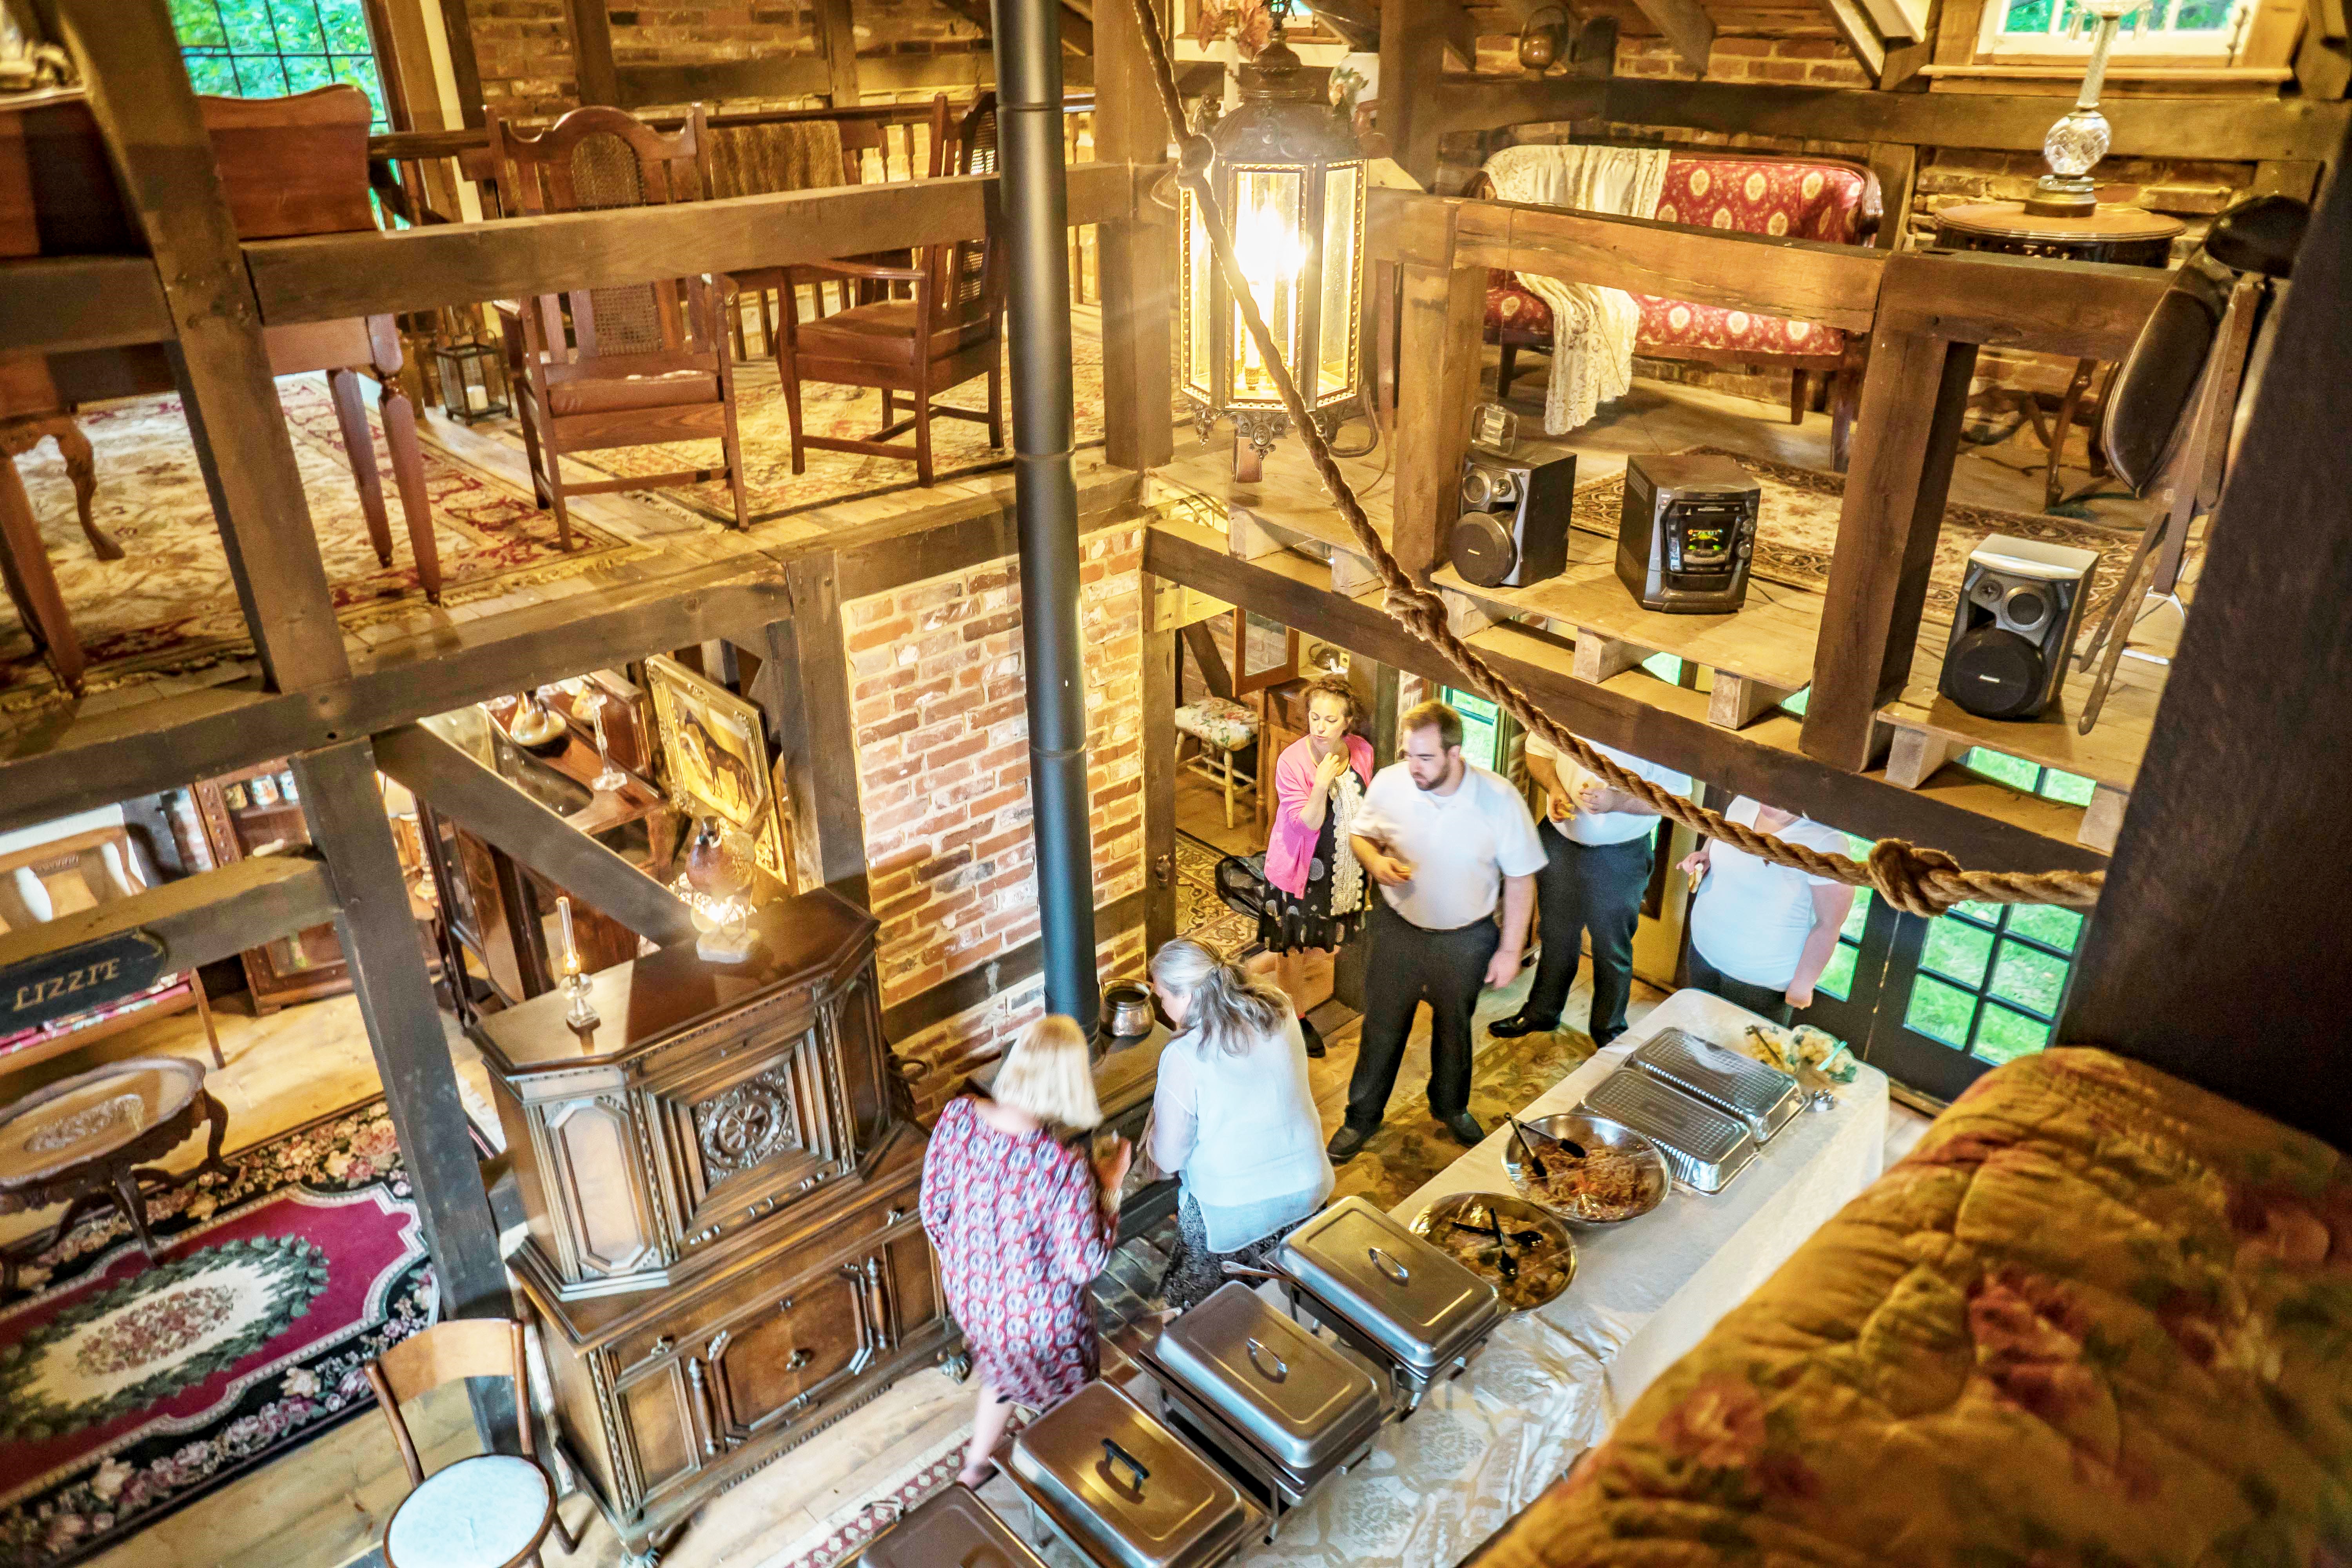
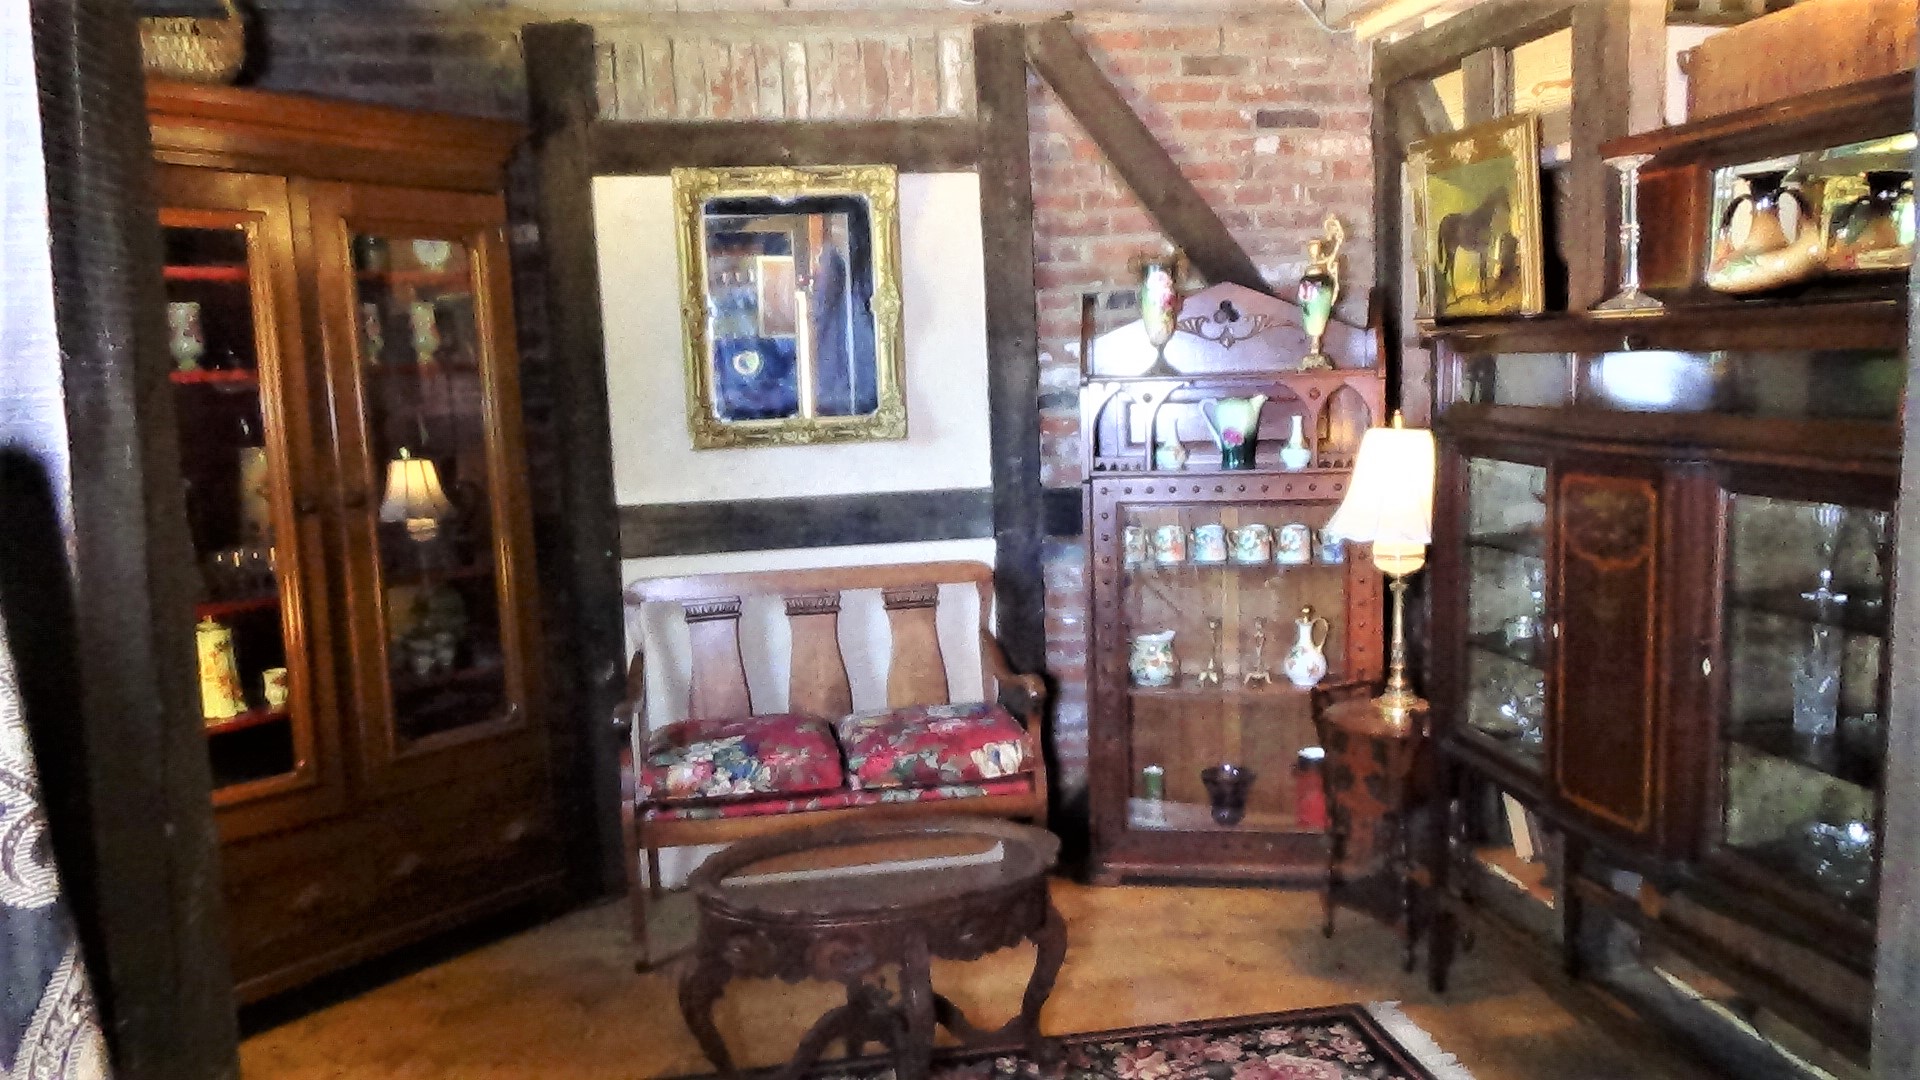
Well….we did it! Ellie and Brandon’s shower, wedding reception and the grand opening of the new “Cabin in the Woods Antiques” shop! We’re all still standing, mostly sane and still speaking to each other! Take a look at my featured post on “The Wedding” for pics. It really was all splendid, and to think we get to do it all over again for Ursi! The shop opening was so much fun, after 24 years, I’m back at it! I had “Gray Have Inn Antiques” over 24 yrs ago, hard to believe! Some things have changed, like collecting money, I used to have an old-fashioned cash register and handwritten receipts! Now I have “square up”, some little-newfangled device that attaches to your phone and you can magically swipe a credit card! But one thing has blissfully remained the same, and that’s the fact that you will sell your beloved antiques and you will have to find MORE! The opening was July 7th and it was a huge success, I purposefully tried to keep it small, I didn’t quite know what to expect because we live in the woods far off of the county road, quite different from my first shop on a busy hwy! So Eb (my husband) and Ellie and I put up flyers and set out signs, posted to a select group on facebook and emailed friends, the turnout was a steady flow of customers on Saturday and more on Sunday! I must have been a merchant in a past life, I am so at home in my new shop and I want to publicly thank my husband for his back-breaking work and unfaltering support! My little Ellie was only 4 in our first shop and was right there beside me again, and Ursi lent lots of moral support from Miami, it was a family affair! Here are some pictures of the shop as a charming backdrop for the wedding reception and some of the shop interior which is now packed full and ready for another sale! We have hit auctions, estate sales, dug thru barns and warehouses for the new inventory, the next sale is August 18! We’re open by appointment most anytime. Email me for info and to set up a time and date! ruthguerri@brick.net Stay tuned for the next phase of the shop, a new entrance on the side. We’re letting out cooled and heated air when we open the giant barn doors! I’ll keep you posted!
-
 [47]
[47]
-
 [48]
[48]
-
 [49]
[49]
-
 [50]
[50]
-
 [51]
[51]

-
 [52]
[52]
-
 [53]
[53]
-
 [54]
[54]
-
 [55]
[55]
-
 [56]
[56]
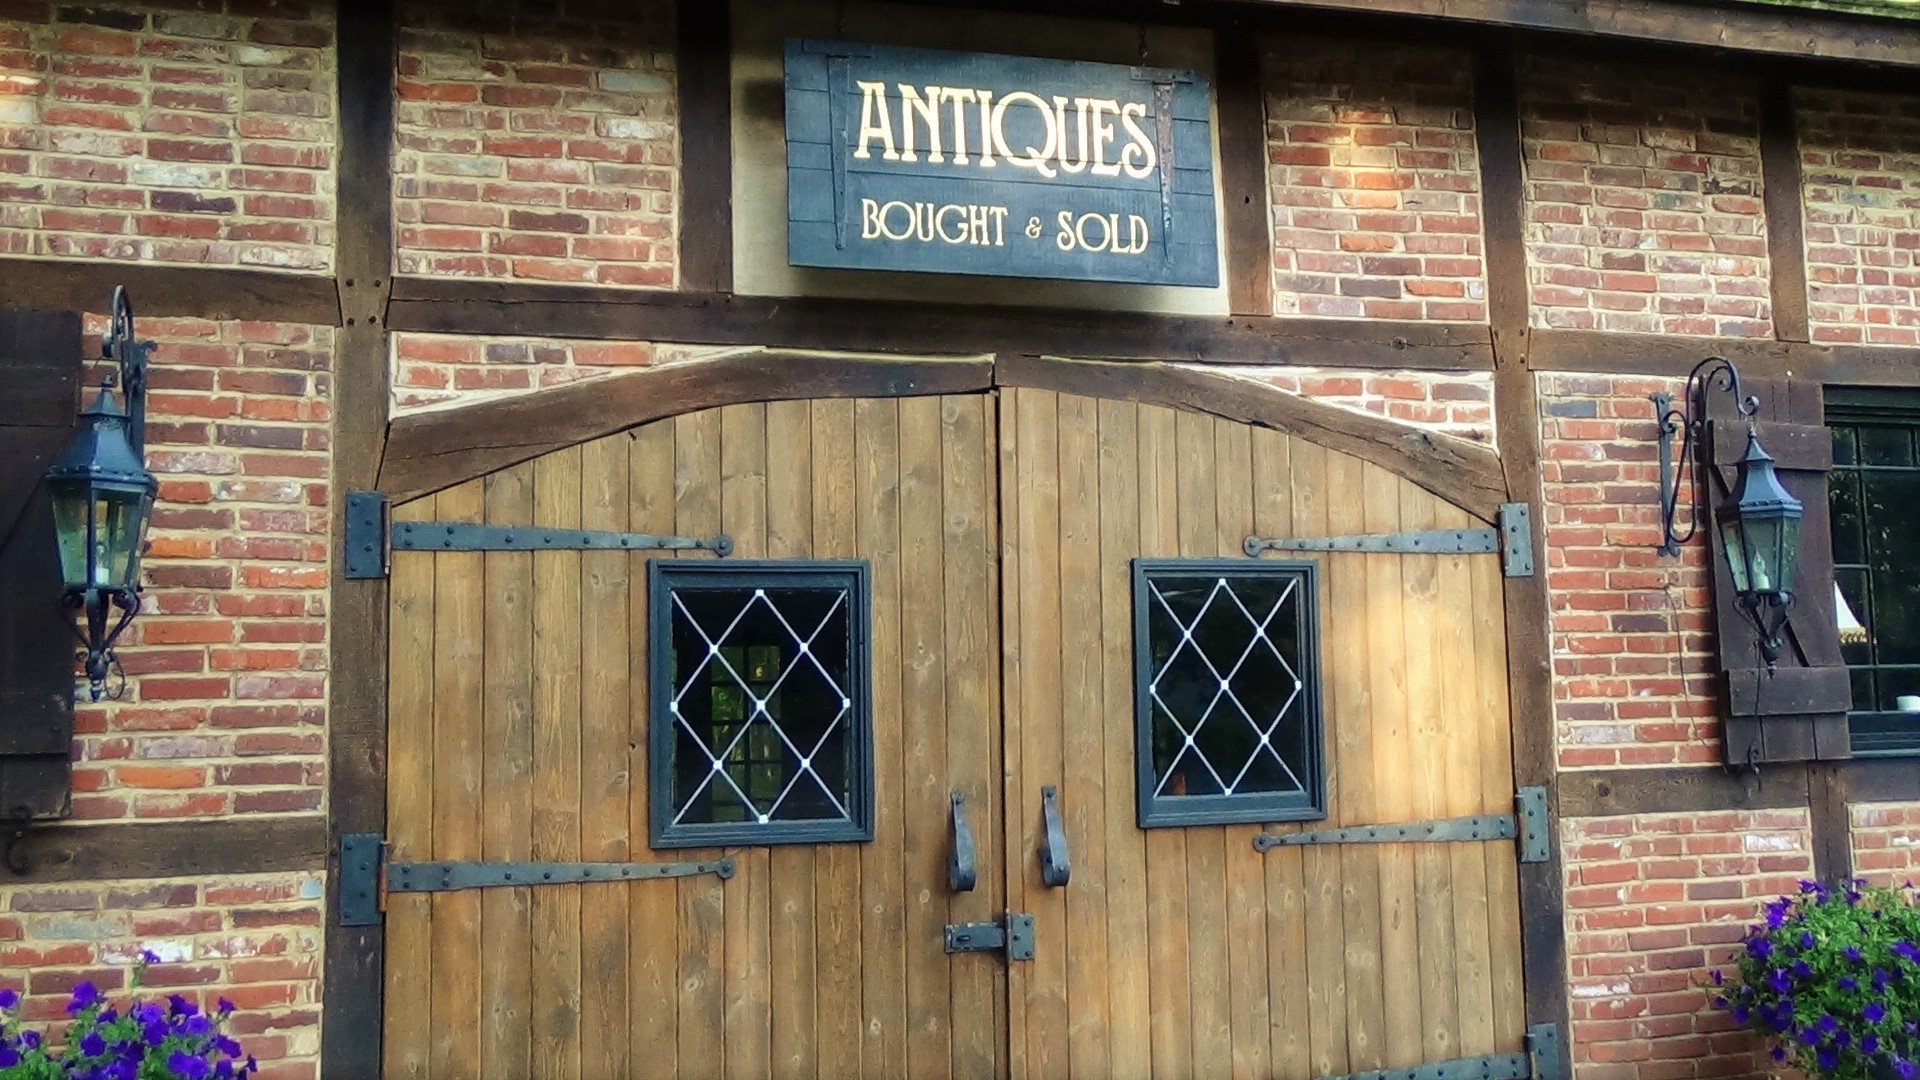
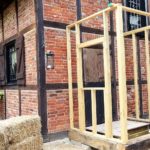
It’s really kind of sad, we’re closing in on the last phase of the barn conversion! What now, we’ll probably suffer from building withdrawal! But there’s still lots of fun work to be done, it’s so small (in comparison) that nothing we’ve done is overwhelming, just fun, well, except painting and working on the roof in 100-degree sun!
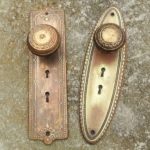
So basically the entrance is a small porch, 10 X 8. We found an old door and window that work perfectly, and my personal favorite, antique hardware, I have a weird obsession with old hardware, and……. stone and black iron. I don’t know how that sort of thing happens! We’re putting wood clapboard siding on the exterior, front and entrance side and old barn tin on the solid wall on the back side. The siding will be stained similar to the barn doors. We’ve decided to go tin roof rather than cedar shake, and so over the weekend we worked on the roof and it was blazing! The interior of the porch can so many different ways, but we’ve decided on beadboard for the walls that will be painted and old tin panels on the ceiling, color is up in the air, I just have to see it in place before deciding. And for the floor, I promised myself after laying the brick floor in the barn, NEVER to do it again! So wide pine planks on the porch floor, stained, I think, maybe painted. Can’t wait to see it finished, it’ll be so damn cute! The very last thing is to hang up my bracket and the “Open and Closed” sign, another weird obsession I have is for signs, especially black with gold font! So here are a few pics of our progress so far, I’ll post more as we go!
-
 [57]
[57]

-
 [58]
[58]
-
 [59]
[59]

-
 [60]
[60]

-
 [61]
[61]
-
 [62]
[62]
-
 [63]
[63]